
 Pin It
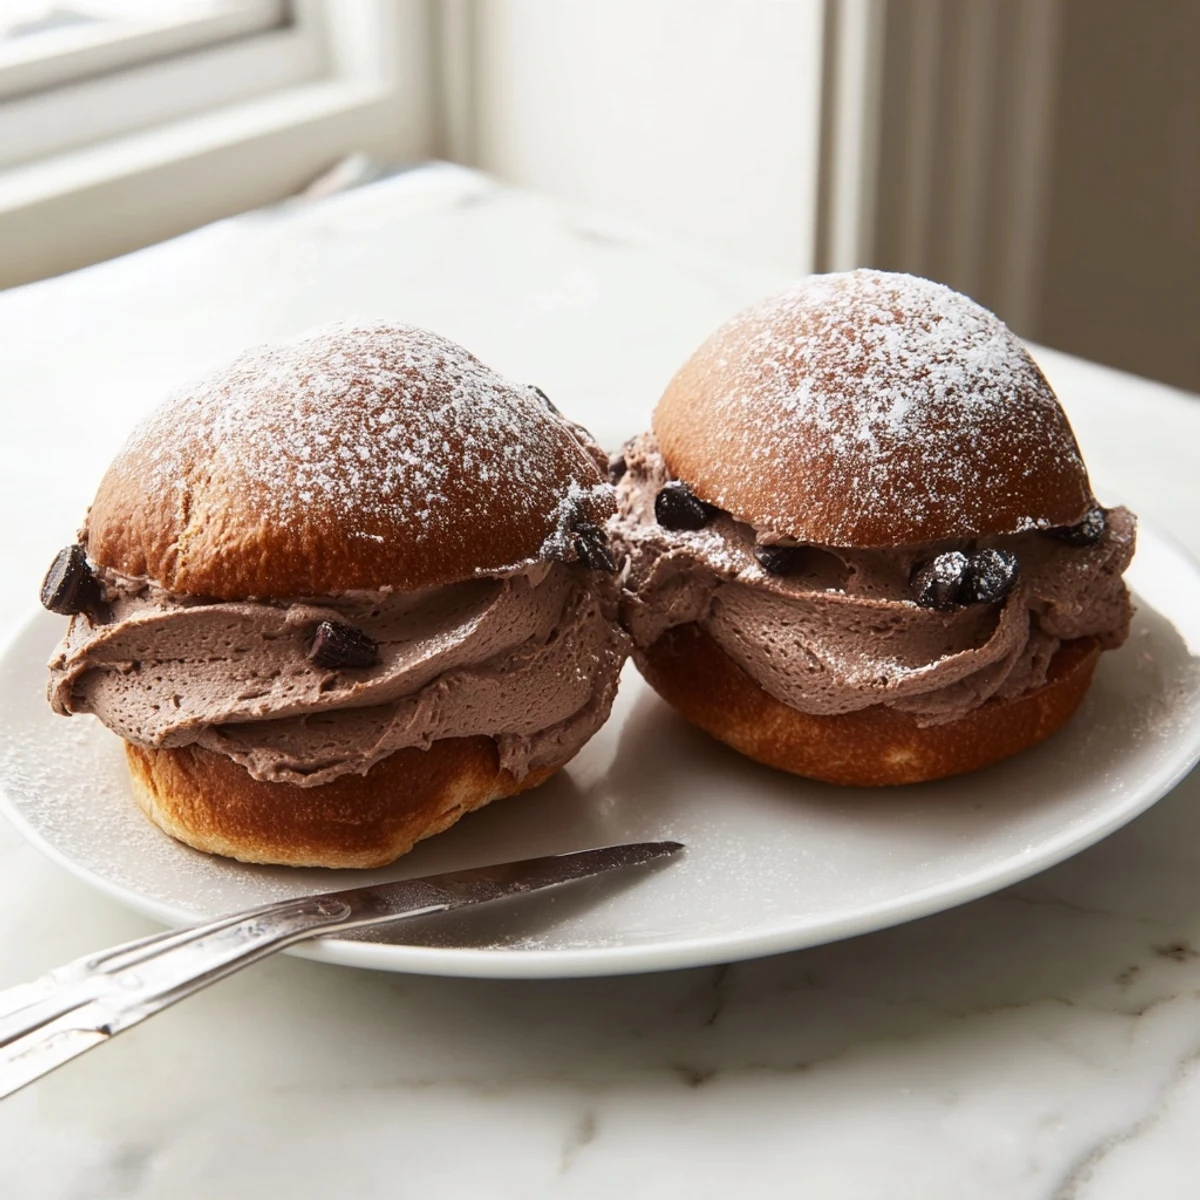
 These Italian chocolate maritozzi are soft, pillowy sweet buns enriched with cocoa powder and studded with dark chocolate chunks. After two rises, they bake into tender oval rolls with a subtle chocolate flavor throughout the dough.
Once cooled, each bun is sliced and generously filled with a luscious whipped cream folded with melted dark chocolate, creating a rich, creamy center that contrasts beautifully with the lightly crusty exterior.
Traditionally enjoyed as a Roman breakfast treat alongside a cappuccino, these chocolate-filled pastries bring an indulgent twist to the classic maritozzi. Dust with powdered sugar and serve fresh for the best experience.
The smell of cocoa and yeast together in one kitchen is enough to make anyone stop whatever they are doing and wander toward the oven. My first encounter with chocolate maritozzi happened in a tiny Roman bakery where the owner handed me one still warm from the morning batch and refused to let me pay. That single bite, a soft chocolate bun cracking open to reveal this impossibly rich, pillowy cream, rewired something in my brain and I spent the next three weeks trying to recreate it at home.
I made a batch of these for my sisters birthday brunch last spring and she stood in the kitchen eating two before the guests even arrived. She tried to hide the powdered sugar evidence on her black shirt but there was no fooling anyone.
Ingredients
- 350 g all-purpose flour: The backbone of the dough and regular all-purpose works perfectly here so there is no need to seek out anything special.
- 40 g unsweetened cocoa powder: This gives the dough its deep chocolate character without adding extra sweetness.
- 120 ml whole milk, lukewarm: Whole milk adds richness and the lukewarm temperature wakes up the yeast properly.
- 60 g granulated sugar: Just enough sweetness to let the dough hold its own against the rich filling.
- 7 g active dry yeast: One standard packet is exactly right and always check the expiration date because tired yeast will ruin your morning.
- 1 large egg: Adds structure and tenderness to the crumb.
- 40 g unsalted butter, softened: Softened butter incorporates smoothly and creates that pillowy texture.
- 1/2 tsp vanilla extract: A quiet background note that rounds everything out.
- 1/2 tsp salt: Essential for balancing the chocolate and sugar.
- 60 g dark chocolate, chopped: Folded in near the end of kneading so you get little pockets of melted chocolate throughout the buns.
- 300 ml heavy whipping cream: The base of the filling and it must be very cold to whip properly.
- 70 g dark chocolate, melted and cooled: Folded into the whipped cream for a luxuriously silky filling.
- 30 g powdered sugar: Sweetens the cream gently without making it grainy.
- 1 tsp vanilla extract for filling: Adds warmth and depth to the cream.
- 1 egg yolk plus 2 tbsp milk for brushing: Creates that beautiful shine on top of each bun.
Instructions
- Wake up the yeast:
- Stir the yeast and one tablespoon of sugar into the lukewarm milk in a small bowl and let it sit for about ten minutes until it looks bubbly and alive on top.
- Build the dry foundation:
- Whisk together the flour, cocoa powder, remaining sugar, and salt in a large bowl until the color is even and there are no cocoa clumps hiding anywhere.
- Bring the dough together:
- Make a well in the center of your dry ingredients and drop in the egg, vanilla, softened butter, and the foamy yeast mixture, then stir with a wooden spoon until a shaggy dough starts to form.
- Knead with patience:
- Turn the dough out and knead by hand or with a mixer for eight to ten minutes until it feels soft and elastic, then work in the chopped dark chocolate during the last minute so the pieces stay somewhat intact.
- Let it rise:
- Place the dough in a clean bowl, cover it with a damp towel or plastic wrap, and leave it in a warm spot for one to two hours until it has roughly doubled in size.
- Shape the buns:
- Gently punch down the dough and divide it into eight equal pieces, rolling each into a plump oval and setting them on a parchment lined baking tray with a little room to grow.
- Second rise:
- Cover the shaped buns loosely and let them puff up for about forty minutes while you preheat your oven to 180 degrees Celsius.
- Brush and bake:
- Whisk the egg yolk with two tablespoons of milk and brush it generously over each bun, then bake for fifteen to eighteen minutes until they feel just firm to the touch and smell heavenly.
- Cool completely:
- Transfer the buns to a wire rack and let them cool entirely because warm buns will melt your beautiful filling into a puddle.
- Make the chocolate cream:
- Whip the cold heavy cream with powdered sugar and vanilla until it holds firm peaks, then gently fold in the melted and cooled dark chocolate with a spatula until the color is uniform.
- Fill and finish:
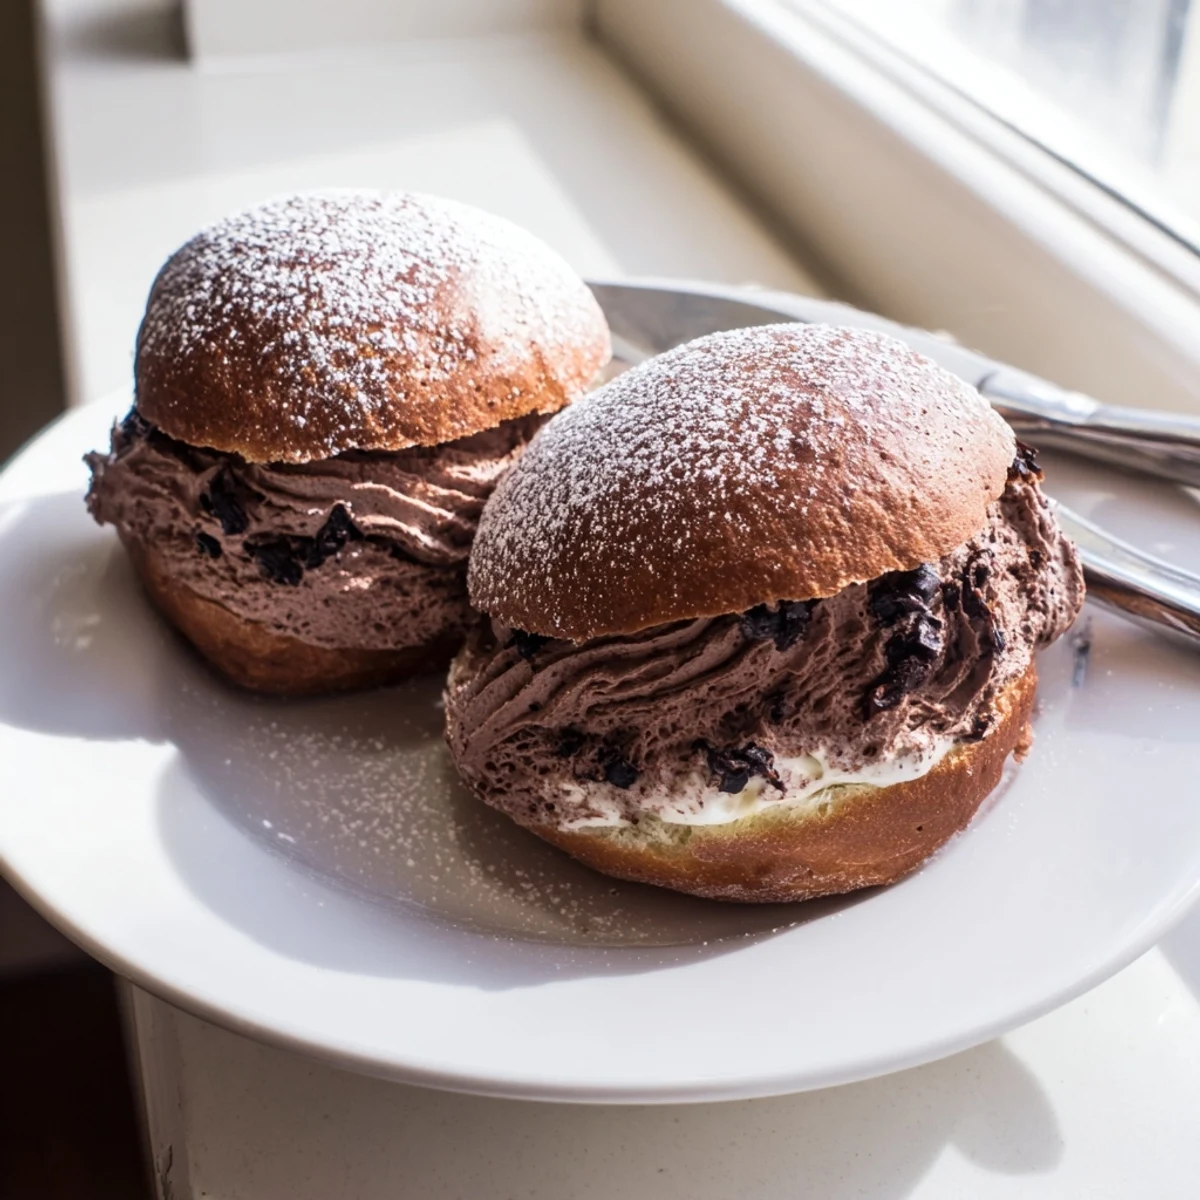
- Slice each cooled bun lengthwise leaving a hinge on one side, pipe or spoon a generous amount of chocolate cream inside, and dust with powdered sugar if you want that classic bakery look.
 Pin It
 One Saturday morning I brought a tray of these to a friend who had just moved into a new apartment with nothing but a coffee maker unpacked. She sat on the kitchen floor eating a maritozzi with her cappuccino and declared the place officially home.
Choosing Your Chocolate
The chocolate you pick does the heavy lifting in this recipe so use something you would happily eat on its own. I tested these with supermarket baking chocolate once and the result was flat compared to a decent seventy percent bar, which made a noticeable difference in both the dough and the filling.
Getting The Rise Right
Yeast can be moody and your kitchen temperature plays a huge role in how quickly the dough climbs. On cold days I turn my oven on for one minute then shut it off and let the covered bowl sit inside that gently warm space, which usually gets the dough to double in about an hour.
Serving And Storing
These buns are at their absolute best within a few hours of filling because the cream stays fluffy and the bun maintains its tender structure.
- Store unfilled buns in an airtight container at room temperature for up to two days.
- Keep the cream separately in the fridge and fill just before serving for the best texture.
- A brief ten second warm in the microwave on an unfilled bun brings back that fresh baked softness before assembling.
 Pin It
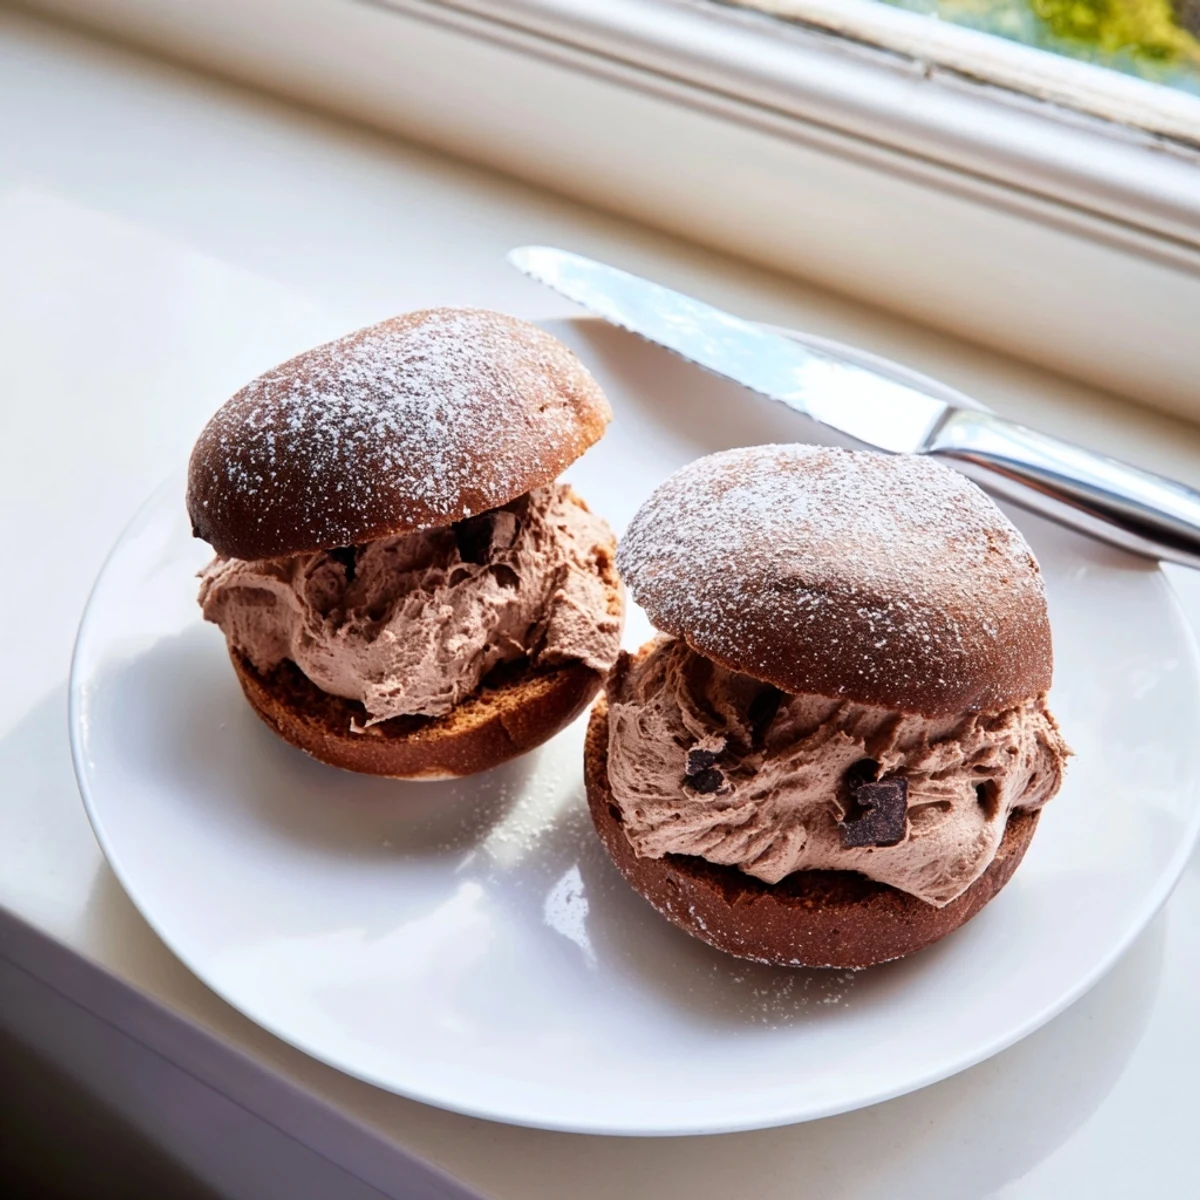
 These chocolate maritozzi are a labor of love that pay you back the moment someone pulls one apart and watches that cream peek out from the sides. They are worth every minute of rising time.
Recipe Questions
- → Can I make the dough ahead of time?
-
Yes, you can prepare the dough through the first rise, then refrigerate it overnight. Let it come to room temperature before shaping and proceeding with the second rise. This slow fermentation actually deepens the chocolate flavor.
- → Why did my whipped cream filling turn grainy?
-
The melted chocolate was likely too warm when folded into the cream. Make sure the chocolate is completely cooled but still liquid before gently folding it in. You can also refrigerate the filling for 10 minutes if it becomes too soft to work with.
- → Can I use milk chocolate instead of dark chocolate?
-
Absolutely. Milk chocolate will give the buns and filling a sweeter, milder flavor. Reduce the powdered sugar slightly in the filling if using milk chocolate, as it contributes additional sweetness compared to dark chocolate.
- → How should I store leftover maritozzi?
-
Store filled maritozzi in the refrigerator for up to one day, though they are best enjoyed immediately. The cream filling will soften the buns over time. For longer storage, freeze the unfilled buns and add the cream when ready to serve.
- → Can I knead this dough by hand?
-
Yes, hand kneading works well but requires about 10 minutes of effort to develop proper gluten structure. The dough should become smooth, elastic, and slightly tacky. A stand mixer with a dough hook will speed up the process to about 8 minutes.
- → What can I substitute for heavy whipping cream in the filling?
-
Heavy whipping cream is essential for achieving the right texture and stability. A plant-based heavy cream alternative can work for dairy-free needs, but avoid using regular milk or half-and-half, as they won't whip to the firm peaks needed for the filling.