 Pin It
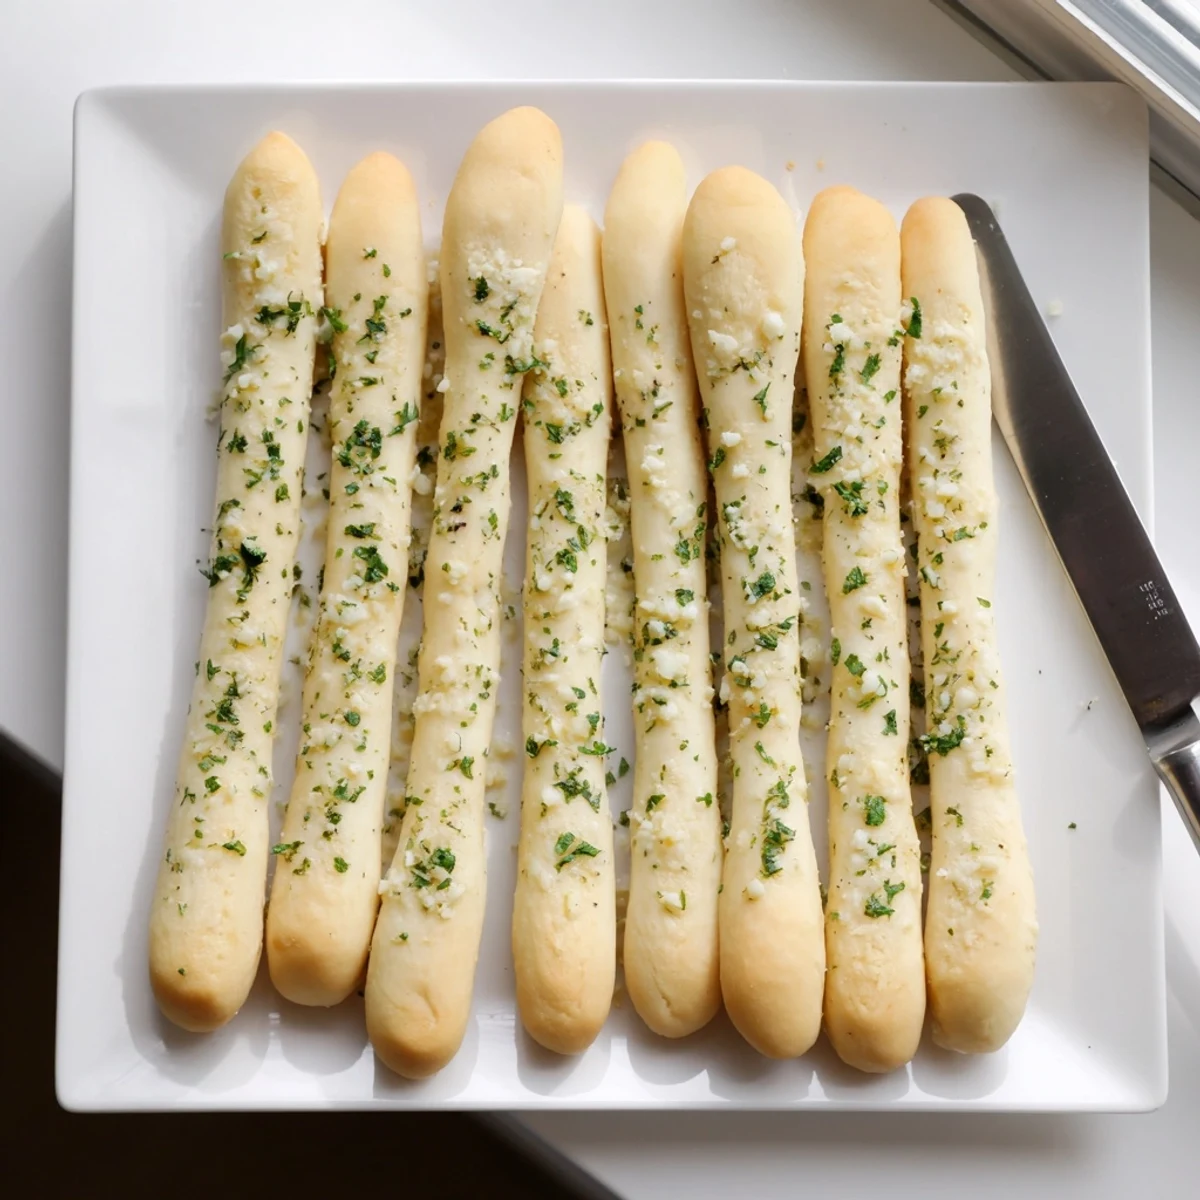
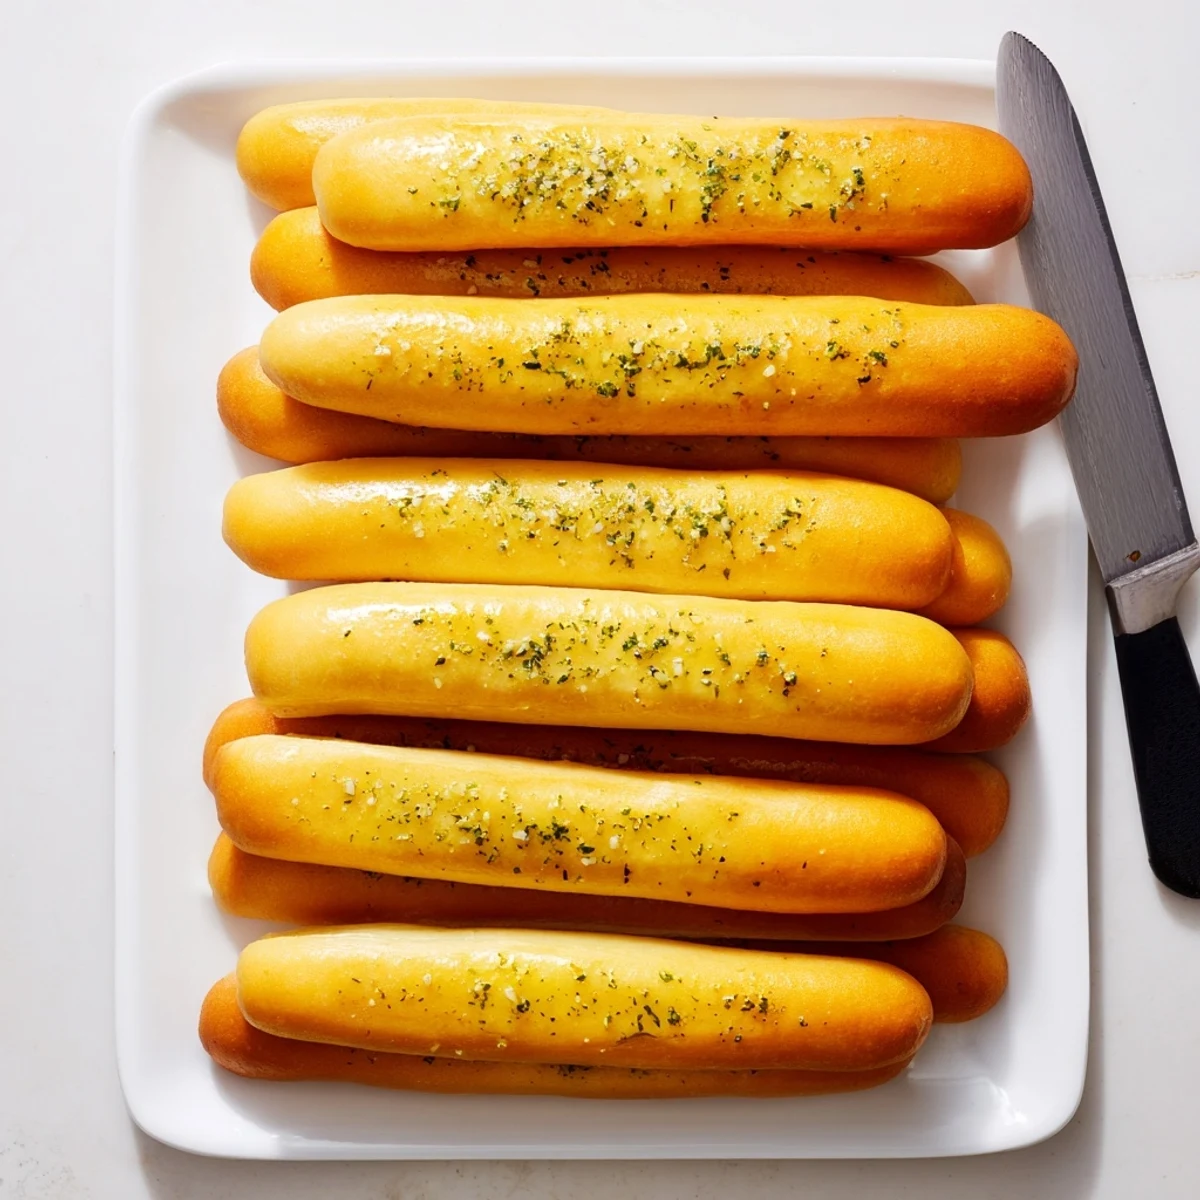
 These warm, fluffy breadsticks deliver restaurant-quality results right from your home kitchen. The dough rises beautifully into tender strands, emerging golden from the oven before receiving a generous brushing of aromatic garlic butter. Each breadstick boasts a perfectly crisp exterior with irresistibly soft, pillowy inside. The combination of fresh minced garlic and garlic powder creates layers of savory depth, while parsley adds fresh herbal notes. Ready in just 90 minutes with simple ingredients and basic techniques, these become your go-to Italian appetizer or side. Serve alongside marinara, creamy dips, or enjoy them solo—their buttery, garlicky perfection makes them impossible to resist.
The smell of garlic hitting melted butter on a cold Tuesday evening is enough to make anyone forget whatever went wrong that day. I stumbled into making these breadsticks during a phase where I refused to buy frozen anything, and honestly, my first batch was lopsided and slightly overbaked but still disappeared in ten minutes flat. There is something deeply satisfying about watching dough puff up in a warm kitchen, knowing you created it from flour and patience. These breadsticks have since become the thing friends actually request when they come over.
My neighbor Dave once knocked on my door asking if I was running a bakery because the aroma had drifted through his open window. I handed him two breadsticks still warm from the oven and he stood in the hallway eating them in complete silence, which I took as the highest compliment.
Ingredients
- All purpose flour: Three and a quarter cups gives you the right balance of structure and tenderness, and spooning it into the cup rather than scooping prevents dense breadsticks.
- Instant yeast: Two teaspoons skip the proofing step entirely, which saves you time and reduces the chance of yeast failing on you.
- Sugar: One tablespoon feeds the yeast without making the dough sweet, helping it rise reliably every time.
- Salt: One and a half teaspoons might seem like a lot but bread needs salt to develop flavor and strengthen the gluten network.
- Warm water: One and a quarter cups at around 110 degrees Fahrenheit wakes the yeast gently, and if it feels like a warm bath on your wrist it is perfect.
- Olive oil: Two tablespoons keep the interior soft and add a subtle richness that plain water alone cannot achieve.
- Unsalted butter: Three tablespoons melted for the topping lets you control the salt level and creates that glossy, irresistible finish.
- Garlic cloves: Three cloves finely minced deliver a sharp, fresh garlic punch that powder alone simply cannot replicate.
- Dried parsley: One teaspoon adds color and a mild herbal note that balances the richness of the butter.
- Garlic powder: Half a teaspoon layered on top of the fresh garlic creates a more rounded, mellow garlic flavor throughout.
- Salt for topping: Half a teaspoon mixed into the butter mixture ensures every bite is seasoned right to the edge.
Instructions
- Bring the dough together:
- Combine the flour, instant yeast, sugar, and salt in a large bowl, then pour in the warm water and olive oil, stirring until everything comes together into a shaggy, sticky mass.
- Knead until proud:
- Turn the dough onto a lightly floured surface and work it with your hands for six to eight minutes until it feels smooth, springy, and no longer sticks to your palms.
- Let it rise:
- Place the dough in a greased bowl, cover it with a damp towel or plastic wrap, and leave it in a warm spot for forty five to sixty minutes until it has roughly doubled in size.
- Shape the breadsticks:
- Punch down the risen dough gently, divide it into twelve equal portions, and roll each one into a rope about seven to eight inches long, laying them on a parchment lined baking sheet.
- Second rise:
- Cover the shaped breadsticks loosely and let them puff up for fifteen minutes while you preheat the oven to 400 degrees Fahrenheit.
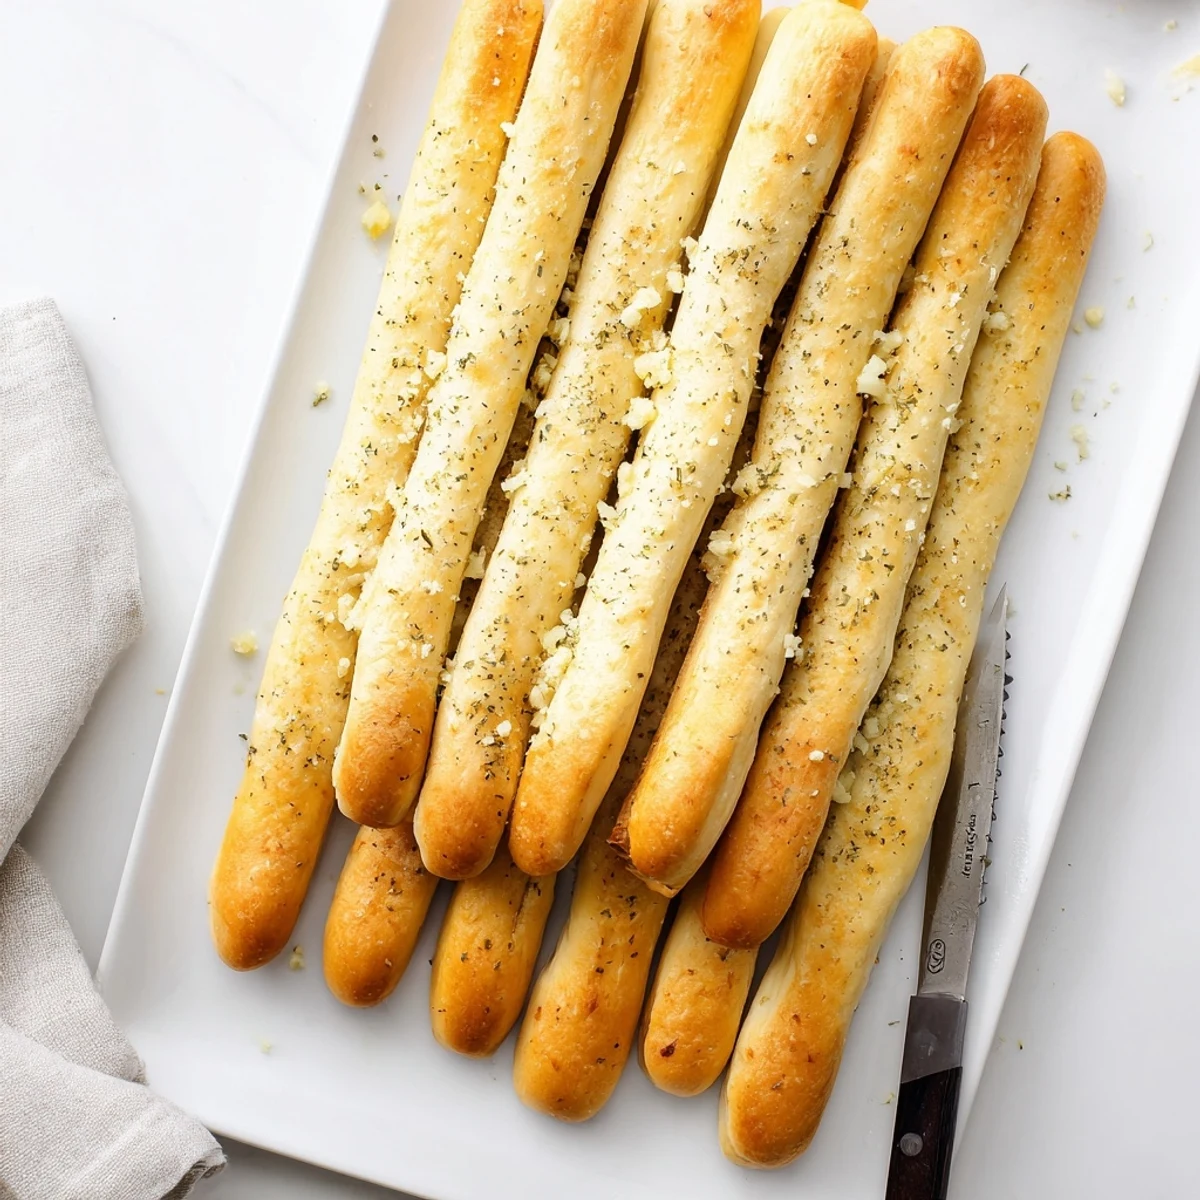
- Bake to golden:
- Slide the tray into the hot oven and bake for twelve to fifteen minutes, watching for that deep golden color on top that tells you they are ready.
- Make the garlic butter:
- While the breadsticks bake, stir together the melted butter, minced garlic, dried parsley, garlic powder, and salt in a small bowl until fragrant and completely blended.
- Brush while hot:
- The moment the breadsticks come out of the oven, brush them generously with the garlic butter mixture so it melts into every surface and seeps into the cracks.
- Serve immediately:
- Transfer to a basket or platter and watch them vanish, because these are best eaten warm when the butter is still glistening.
 Pin It
 There was a night my sister showed up unexpectedly after a long drive home from work and I had a tray of these fresh from the oven. She sat at the kitchen counter eating three in a row without saying a word, and later told me it was the first time she had felt genuinely relaxed all week.
Getting the Dough Right Every Time
Water temperature is the single most important factor that home cooks overlook when working with yeast dough. Too hot and you kill the yeast instantly, too cold and the rise drags on forever, so always test it with your wrist like you would a baby bottle. Humidity also affects how much flour you actually need, so if the dough feels excessively sticky after the first minute of kneading, sprinkle in extra flour one tablespoon at a time.
Making Them Your Own
A sprinkle of freshly grated Parmesan right after the garlic butter goes on transforms these into something wildly addictive that guests will assume came from a professional kitchen. You can also swap the parsley for dried oregano or add a pinch of red pepper flakes to the butter for a subtle heat that builds with each bite.
Storing and Reheating
These breadsticks are at their absolute best within an hour of baking, but life happens and sometimes you need to plan ahead. If you have leftovers, wrap them tightly and reheat in a 350 degree Fahrenheit oven for five minutes to bring back the crisp exterior and soft interior.
- Frozen breadsticks can go straight into a warm oven, no thawing required, for about eight to ten minutes.
- A quick brush of extra garlic butter before reheating brings them back to life almost completely.
- Never microwave them unless you enjoy chewing on a damp sponge.
 Pin It
 Once you make these breadsticks from scratch, the frozen bag in the grocery store aisle will never tempt you again. They are simple, forgiving, and the kind of recipe that makes your kitchen feel like home.
Recipe Questions
- → What makes these breadsticks fluffy?
-
The combination of instant yeast, warm water at 110°F, and proper kneading develops gluten structure, creating interior air pockets that produce light, fluffy breadsticks. The 45-60 minute rise allows dough to double, ensuring maximum fluffiness.
- → Can I prepare dough ahead of time?
-
Absolutely. After the initial rise, punch down dough and refrigerate up to 24 hours in a covered bowl. Bring to room temperature before shaping and baking. The longer chilling actually enhances flavor development.
- → How do I store leftover breadsticks?
-
Store cooled breadsticks in an airtight container at room temperature for 1-2 days. For longer storage, freeze in freezer bags up to 3 months. Reheat in 350°F oven for 5-7 minutes to restore crispness and warmth.
- → Can I add cheese to these breadsticks?
-
Certainly. Sprinkle freshly grated Parmesan, mozzarella, or Asiago over breadsticks immediately after brushing with garlic butter while still hot. The residual heat melts cheese perfectly for extra savory richness.
- → What's the purpose of both fresh garlic and powder?
-
Fresh minced garlic delivers immediate aromatic punch and texture, while garlic powder provides concentrated, even flavor distribution throughout the butter mixture. This dual approach ensures robust garlic presence in every bite.
