 Pin It
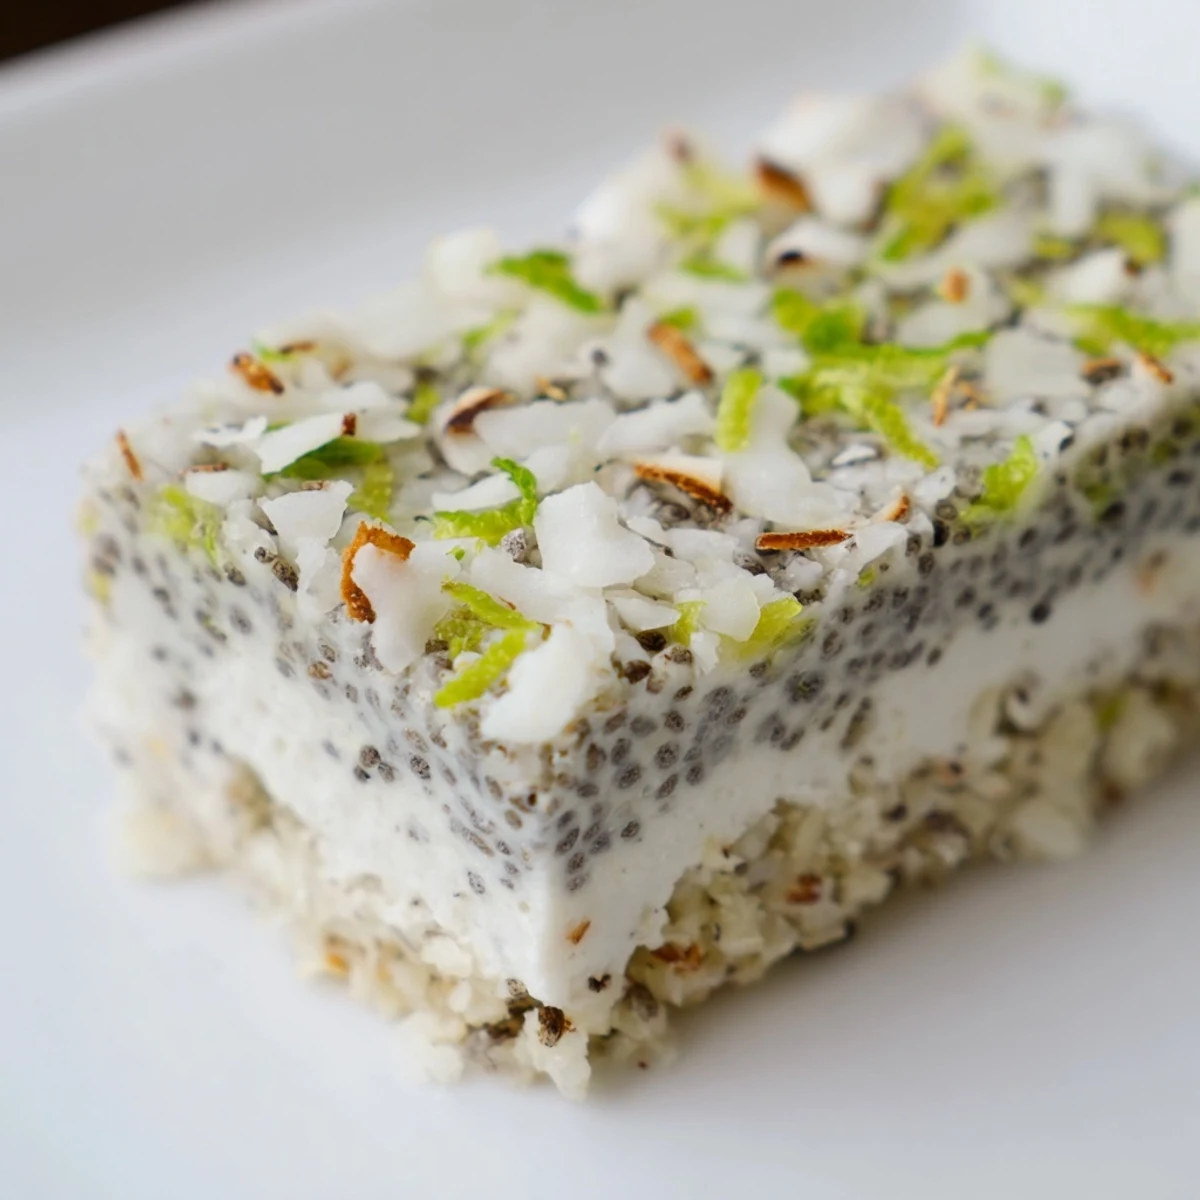
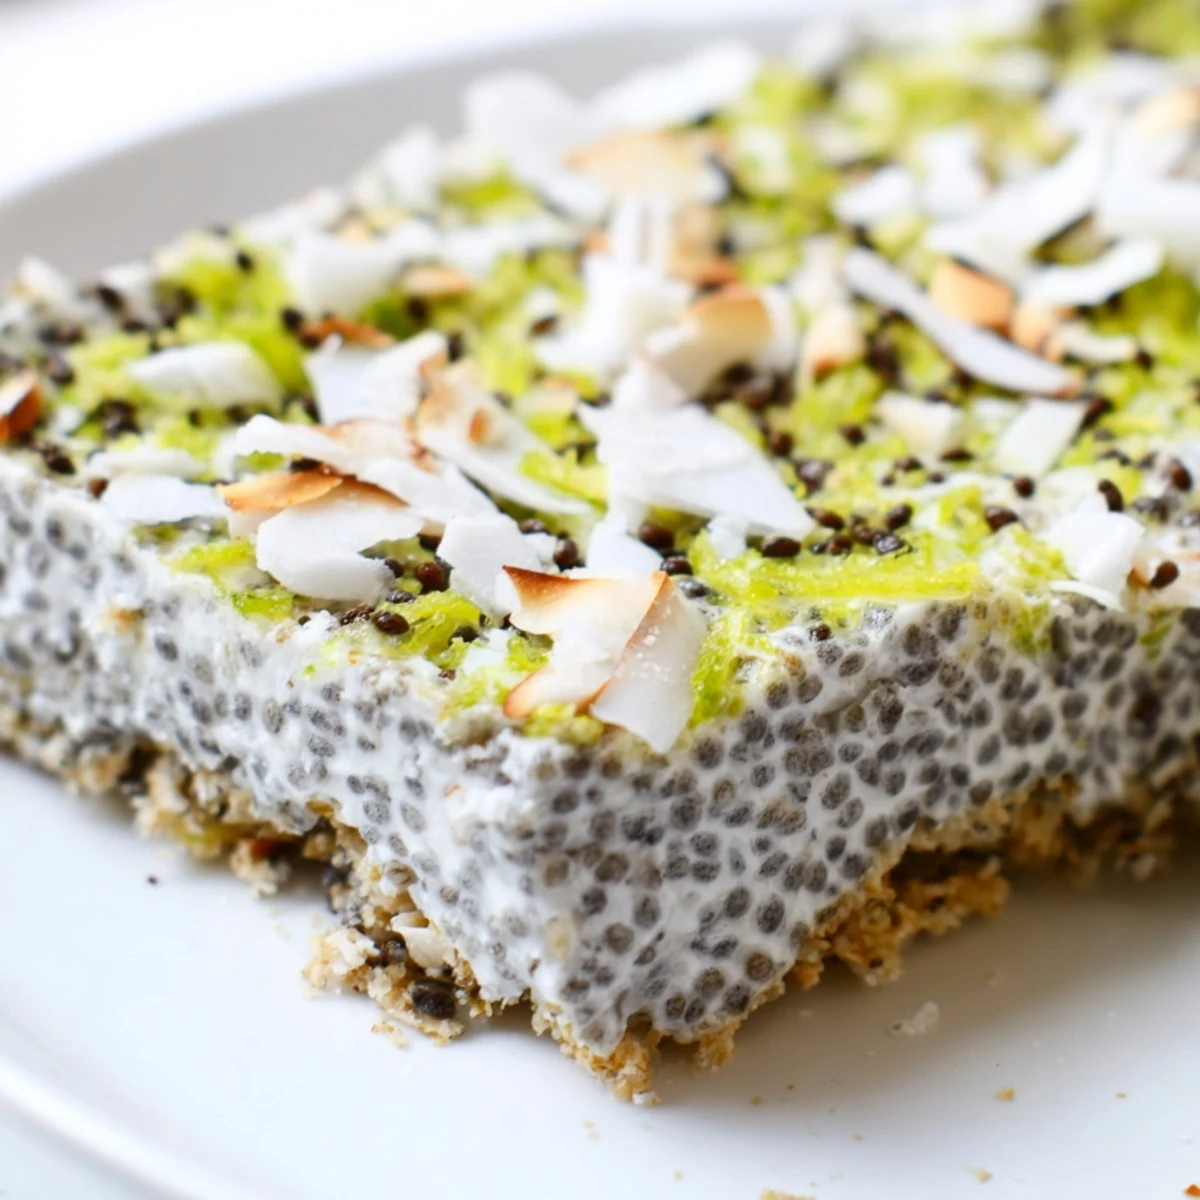
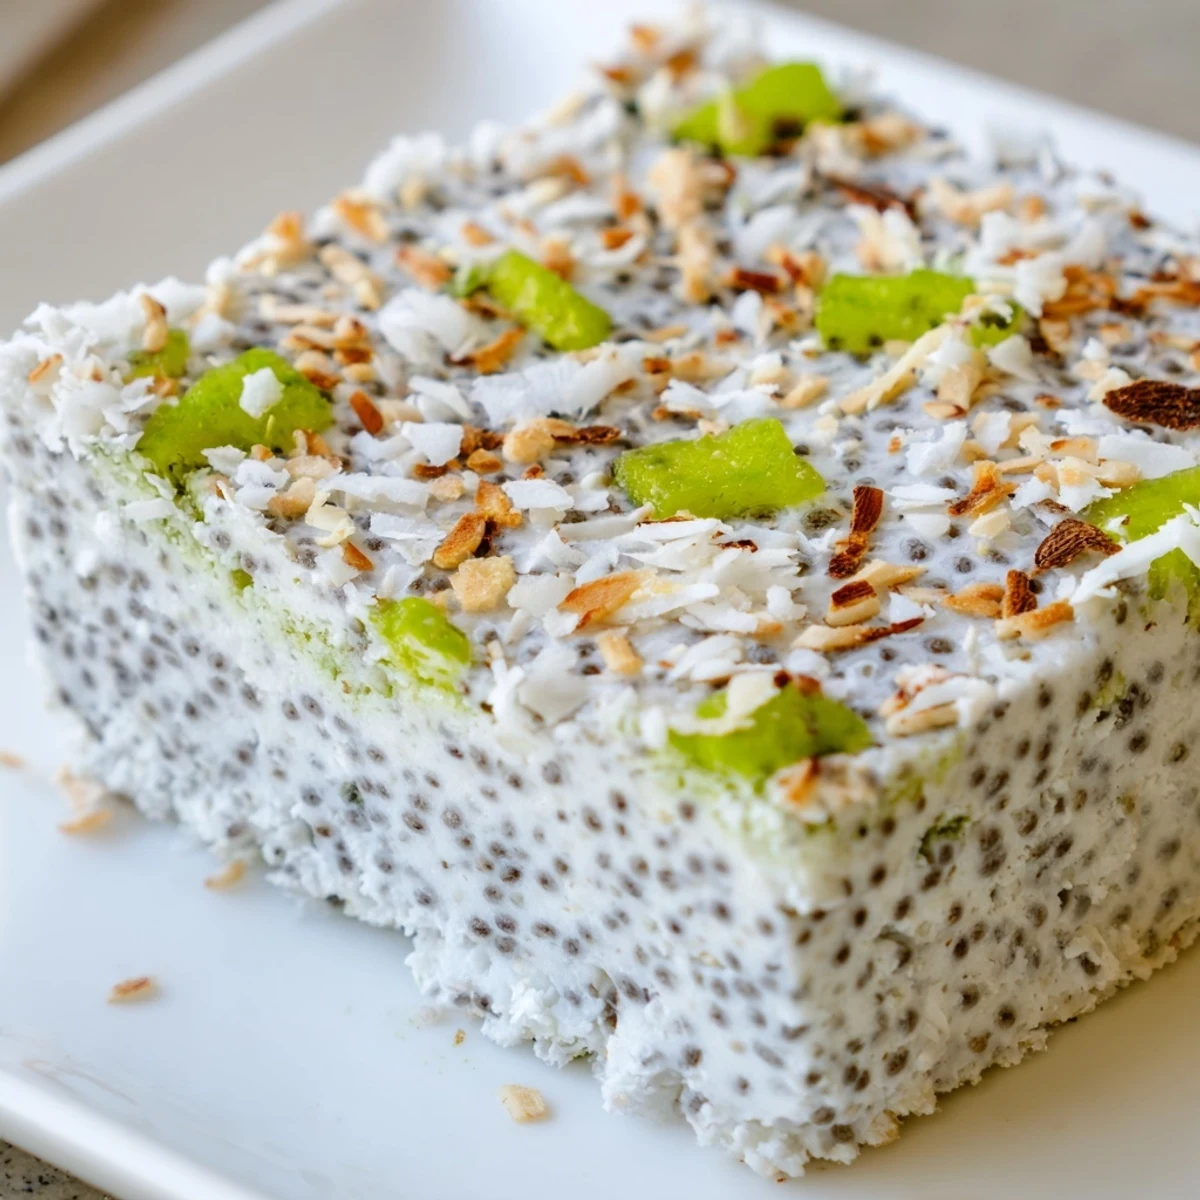
 These refreshing no-bake bars combine a crunchy coconut-almond crust with a silky lime-infused chia pudding layer. The zesty citrus brightness balances perfectly with rich coconut cream, while chia seeds add a satisfying texture and nutritional boost. Simply press the base into your pan, whisk together the creamy filling, and let the refrigerator do the work. Each bar delivers tropical flavors in a convenient handheld format that's ideal for meal prep, afternoon snacks, or light desserts.
My sister called me at 9pm on a Tuesday, desperate for something sweet but healthy to bring to her office potluck the next morning. I stared at my pantry until the coconut and limes caught my eye, and suddenly these bars were born in that happy chaos of midnight baking.
When I first tested these, my roommate kept sneaking bites straight from the pan with a fork, claiming quality control was essential. By the time they were properly set, wed eaten nearly half the batch standing over the kitchen counter.
Ingredients
- 1 cup unsweetened shredded coconut: This forms the backbone of both the crust and that gorgeous toasted topping, so dont be tempted to skip it
- 1 cup almond flour: Creates that buttery shortbread texture while keeping things naturally gluten-free
- 1/2 cup maple syrup divided: The natural sweetness lets lime really shine without any artificial aftertaste
- 1/4 cup coconut oil melted: This magical fat binds everything together and firms up beautifully when chilled
- 1/2 teaspoon fine sea salt: A tiny pinch makes all the bright flavors pop
- 1 cup full-fat canned coconut milk: The richness here is non-negotiable for that luxurious pudding texture
- 1/4 cup chia seeds: These tiny powerhouses transform plain coconut milk into silky pudding while packing in omega-3s
- Zest and juice of 3 limes divided: Theres no substitute for fresh here, and I learned the hard way that bottled juice just tastes sad
- 1 teaspoon vanilla extract: Rounds out all the tart tropical notes with warm sweetness
Instructions
- Prepare your pan like a pro:
- Line an 8-inch square pan with parchment paper, leaving those little wings hanging over the sides because youll thank yourself later when lifting bars out is effortless.
- Build the coconut base:
- Mix one cup shredded coconut with almond flour, quarter cup maple syrup, melted coconut oil, and half teaspoon salt until it holds together when you squeeze a handful.
- Press it down tight:
- Firmly pack the crust mixture into your prepared pan, then slide it into the freezer while you make the pudding layer.
- Whisk up the magic:
- Combine coconut milk, chia seeds, remaining maple syrup, lime zest from two limes, lime juice from two limes, vanilla, and a pinch of salt, whisking thoroughly to break up any clumps.
- Let the chia work:
- Wait 10 minutes for the seeds to start gelatinizing, then give it another vigorous whisk before pouring this silky mixture over your chilled crust.
- Practice patience:
- Cover and refrigerate for at least 4 hours until the pudding layer is completely set and firm to the touch.
- Add the finishing touch:
- Sprinkle toasted coconut and fresh lime zest over the top, then use those parchment wings to lift the whole thing out before slicing into twelve gorgeous bars.
 Pin It
 My mom now requests these for every family gathering instead of her famous key lime pie, which feels like a massive win in the cookbook of life.
Making Them Your Way
Ive made these with oat flour when hosting friends with nut allergies, and honestly the texture was just as delightful. The bars become slightly more cakey but still hold together beautifully.
Storage Secrets
These keep perfectly in the fridge for five days, though in my house they barely survive twenty-four hours. You can also freeze them for up to a month, wrapped individually in parchment paper for easy grabbing.
Serving Suggestions
Serve them slightly chilled for the best texture experience, with a cup of coconut water or peppermint tea to complement all those bright tropical flavors.
- A dollop of coconut yogurt on top transforms them into dessert
- They pair unexpectedly well with fresh berries
- Try crumbled over smoothie bowls for breakfast
 Pin It
 These bars have become my go-to for every occasion because they make people feel taken care of without anyone knowing how little effort they actually required.
Recipe Questions
- → How long do these bars need to chill?
-
The bars require at least 4 hours in the refrigerator to set properly. This allows the chia seeds to gel and create a firm, sliceable texture. For best results, make them the night before serving.
- → Can I make these nut-free?
-
Yes, simply replace the almond flour with oat flour at a 1:1 ratio. This maintains the texture and binding properties while accommodating nut allergies. Ensure your oats are certified gluten-free if needed.
- → How should I store these bars?
-
Store in an airtight container in the refrigerator for up to 5 days. For longer storage, wrap individually and freeze for up to 1 month. Thaw frozen bars in the refrigerator before serving.
- → Can I use fresh coconut milk instead of canned?
-
Canned full-fat coconut milk provides the rich, creamy texture needed for the chia layer. Fresh homemade coconut milk typically lacks the fat content and may result in a thinner, less stable pudding.
- → What can I substitute for maple syrup?
-
Agave syrup works as a direct 1:1 substitute. Honey can be used if you don't require vegan certification. Adjust the amount slightly based on your preferred sweetness level.
- → Why do I need to whisk the chia mixture twice?
-
Chia seeds tend to clump together when first added to liquid. Whisking after 10 minutes breaks up these clumps, ensuring even distribution and a smooth, consistent texture throughout the layer.
