 Pin It
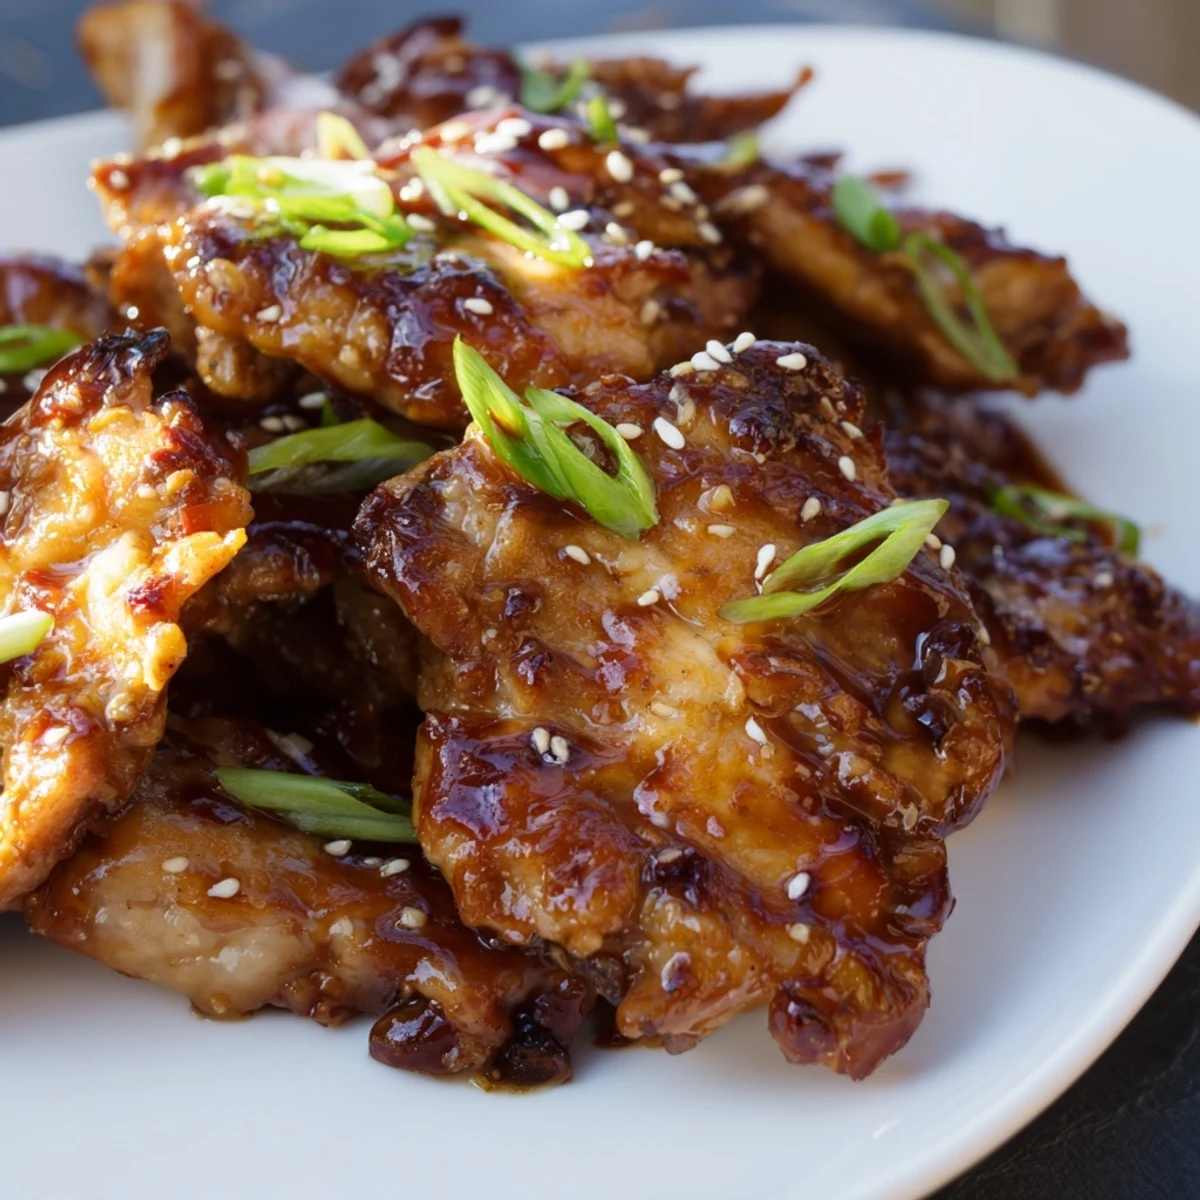
 This Asian-inspired dish features crispy chicken thigh pieces coated in cornstarch and pan-fried until golden, then tossed in a glossy sauce blending soy sauce, brown sugar, hoisin, and aromatics like fresh ginger and garlic. The result is a perfect balance of sweet and savory flavors that coat every bite. Ready in 45 minutes, it serves five people and pairs beautifully with steamed white rice.
The first time I made Mongolian Chicken, my kitchen filled with this incredible aroma of garlic and ginger that had my roommate wandering in from another room asking what smelled so good. I'd been craving that perfect balance of sweet and sticky sauce coating crispy chicken, like the kind from our favorite takeout spot but somehow better. That night we ended up eating standing up at the counter because neither of us could wait to sit down properly. Now whenever I see fresh ginger at the store, I know exactly what's happening for dinner.
Last winter my sister came over for dinner after a brutal week at work, and I made this recipe without telling her what it was. She took one bite and literally stopped talking mid-sentence, eyes widening as she reached for another piece. That's the thing about this dish, it has this way of making regular Tuesday nights feel like a special occasion without any actual fuss. We've since made it our comfort food go-to whenever life feels overwhelming.
Ingredients
- 900 g (2 lbs) boneless skinless chicken thighs: Thighs stay juicier than breasts and hold up better when tossed in sauce, but chicken breast works if that's what you have on hand
- 2 tablespoons cornstarch: This creates the light coating that helps the chicken get those golden crispy edges while staying tender inside
- 1/2 teaspoon salt: Just enough to season the chicken without overpowering the sauce
- 1/4 teaspoon black pepper: Adds a subtle warmth that balances the sweet elements
- 2 tablespoons vegetable oil: High smoke point makes it perfect for getting that nice sear on the chicken
- 120 ml (1/2 cup) low-sodium soy sauce: The savory backbone, using low-sodium lets you control the salt level better
- 100 g (1/2 cup) brown sugar: Creates that gorgeous glossy finish and caramelized depth
- 60 ml (1/4 cup) water: Thins the sauce just enough so it coats everything without being too thick
- 1 tablespoon hoisin sauce: Adds that authentic Chinese restaurant flavor you can't quite replicate otherwise
- 1 tablespoon rice vinegar: Cuts through the sweetness and adds brightness
- 2 teaspoons sesame oil: Toasted sesame oil gives that distinctive nutty finish
- 2 tablespoons fresh ginger grated: Fresh ginger makes all the difference here, ground ginger just doesn't have the same punch
- 4 garlic cloves minced: Don't be shy with the garlic, it mellows beautifully when cooked
- 1 teaspoon red chili flakes: Optional, but I love the gentle heat it brings
- 4 green onions thinly sliced: Fresh pop of color and mild onion flavor that brightens everything
- 2 tablespoons toasted sesame seeds: Adds crunch and looks beautiful sprinkled on top
Instructions
- Get your chicken ready:
- In a large bowl, toss the chicken pieces with cornstarch, salt, and pepper until every piece is lightly coated. This is what creates that irresistible crispy exterior.
- Crisp the chicken:
- Heat the oil in a large skillet or wok over medium-high heat. Cook the chicken in batches, don't overcrowd the pan, until golden brown and crispy on all sides, about 6 to 8 minutes per batch. Set aside on a plate.
- Whisk the sauce:
- In a medium bowl, combine the soy sauce, brown sugar, water, hoisin sauce, rice vinegar, and sesame oil. Whisk until the sugar has completely dissolved.
- Build flavor:
- In the same skillet, add the ginger and garlic. Sauté for about 1 minute until fragrant but not browned.
- Make it shine:
- Pour in the sauce and bring to a simmer over medium heat. Cook for 2 to 3 minutes, stirring constantly, until slightly thickened and glossy.
- Bring it together:
- Add the cooked chicken back into the skillet and toss to coat evenly in the sauce. Add red chili flakes now if you want some heat.
- Finish perfectly:
- Let everything simmer for 2 to 3 more minutes until the sauce clings to the chicken and everything is heated through.
- Serve and enjoy:
- Plate over steamed white rice and garnish generously with green onions and sesame seeds while hot.
 Pin It
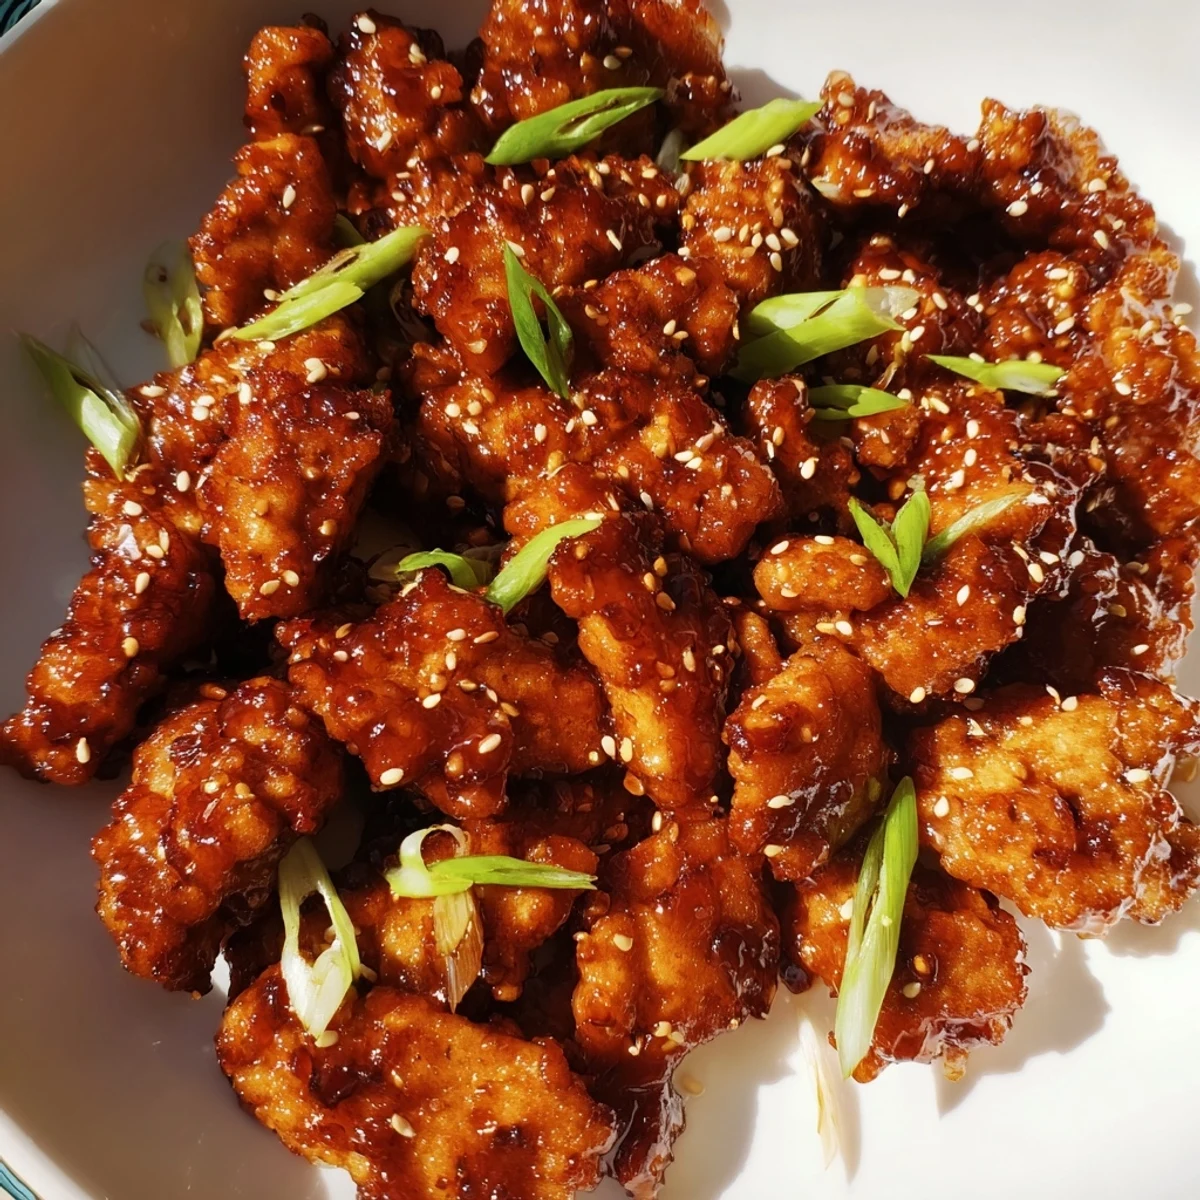
 My friend Sarah swears this dish saved her relationship with her picky eater son. He'd never eaten anything with sauce before, but something about the glossy coating and the way it clung to the rice made him curious enough to try it. Now it's the only way she can get him to eat anything remotely adventurous, and she texts me every time she makes it just to say thanks.
Getting That Perfect Crisp
I learned the hard way that patience with the chicken pays off. Resist the urge to move it around too much while it sears, let it develop that golden crust before flipping. The cornstarch coating is your friend here, creating this delicate crunch that stands up beautifully to the sauce without getting soggy.
Sauce Secrets
The magic happens when the sauce reduces slightly and becomes glossy. Watch it carefully in those last minutes, it transforms from thin to perfectly coating consistency in what feels like seconds. I always keep a tiny bit of water nearby in case it reduces too quickly.
Make It Your Own
This recipe is incredibly forgiving once you understand the basic ratio of sweet to savory. I've made it with whatever vegetables I had in the crisper drawer, added more heat when we wanted something spicy, and even doubled the sauce when serving rice noodles instead of rice.
- Stir in some bell peppers or snap peas during the last minute of cooking for extra color and crunch
- Double the sauce if you love plenty to drizzle over your rice
- Let the sauce simmer a bit longer if you prefer it thicker and more caramelized
 Pin It
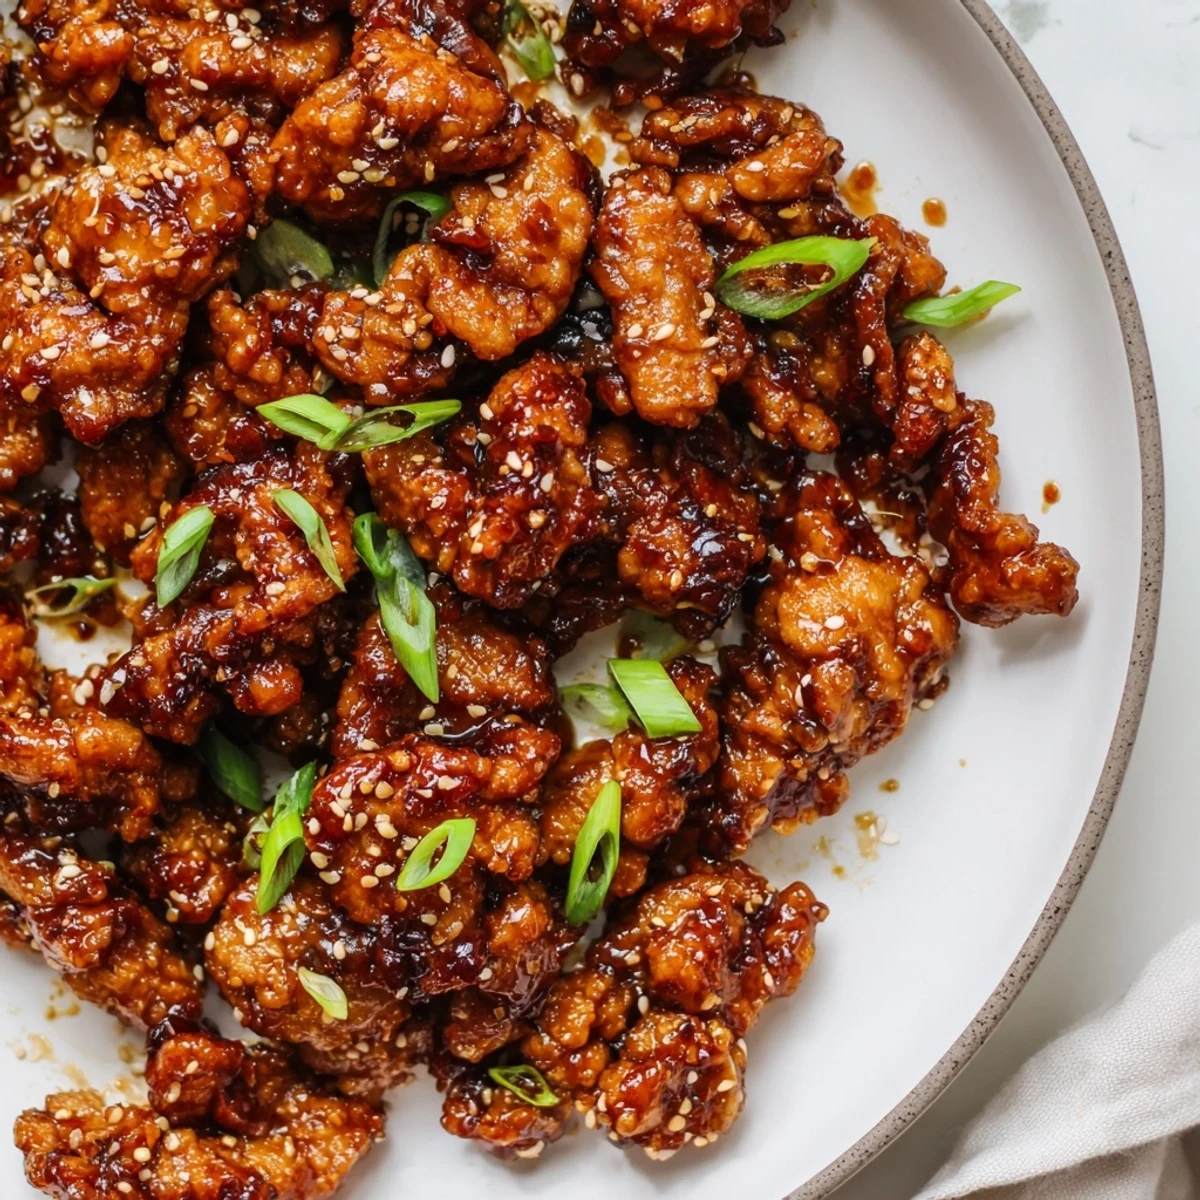
 There's something deeply satisfying about plating this dish and watching everyone dig in. Enjoy every sweet, savory, crispy bite.
Recipe Questions
- → What makes the sauce sweet and savory?
-
The combination of brown sugar and hoisin sauce provides sweetness, while soy sauce and rice vinegar add depth and umami. Fresh ginger and garlic enhance the savory profile.
- → Can I use chicken breasts instead of thighs?
-
Yes, chicken breasts work well. Just be careful not to overcook them as they can dry out faster than thighs. Cut into similar bite-sized pieces for even cooking.
- → How do I get the chicken extra crispy?
-
Double-frying the chicken is the key. After the initial fry, let it rest briefly, then fry again for 2-3 minutes for maximum crunch before adding to the sauce.
- → Is this dish gluten-free?
-
The traditional version contains gluten from soy sauce and hoisin. To make it gluten-free, substitute with tamari or gluten-free soy sauce and gluten-free hoisin.
- → What vegetables can I add?
-
Bell peppers, snap peas, broccoli, or carrots work beautifully. Stir-fry them separately and add during the final toss to maintain their crunch and color.
- → How spicy is this dish?
-
The base version is mild. Add red chili flakes to taste for heat. Start with ½ teaspoon and adjust based on your preference.
