 Pin It
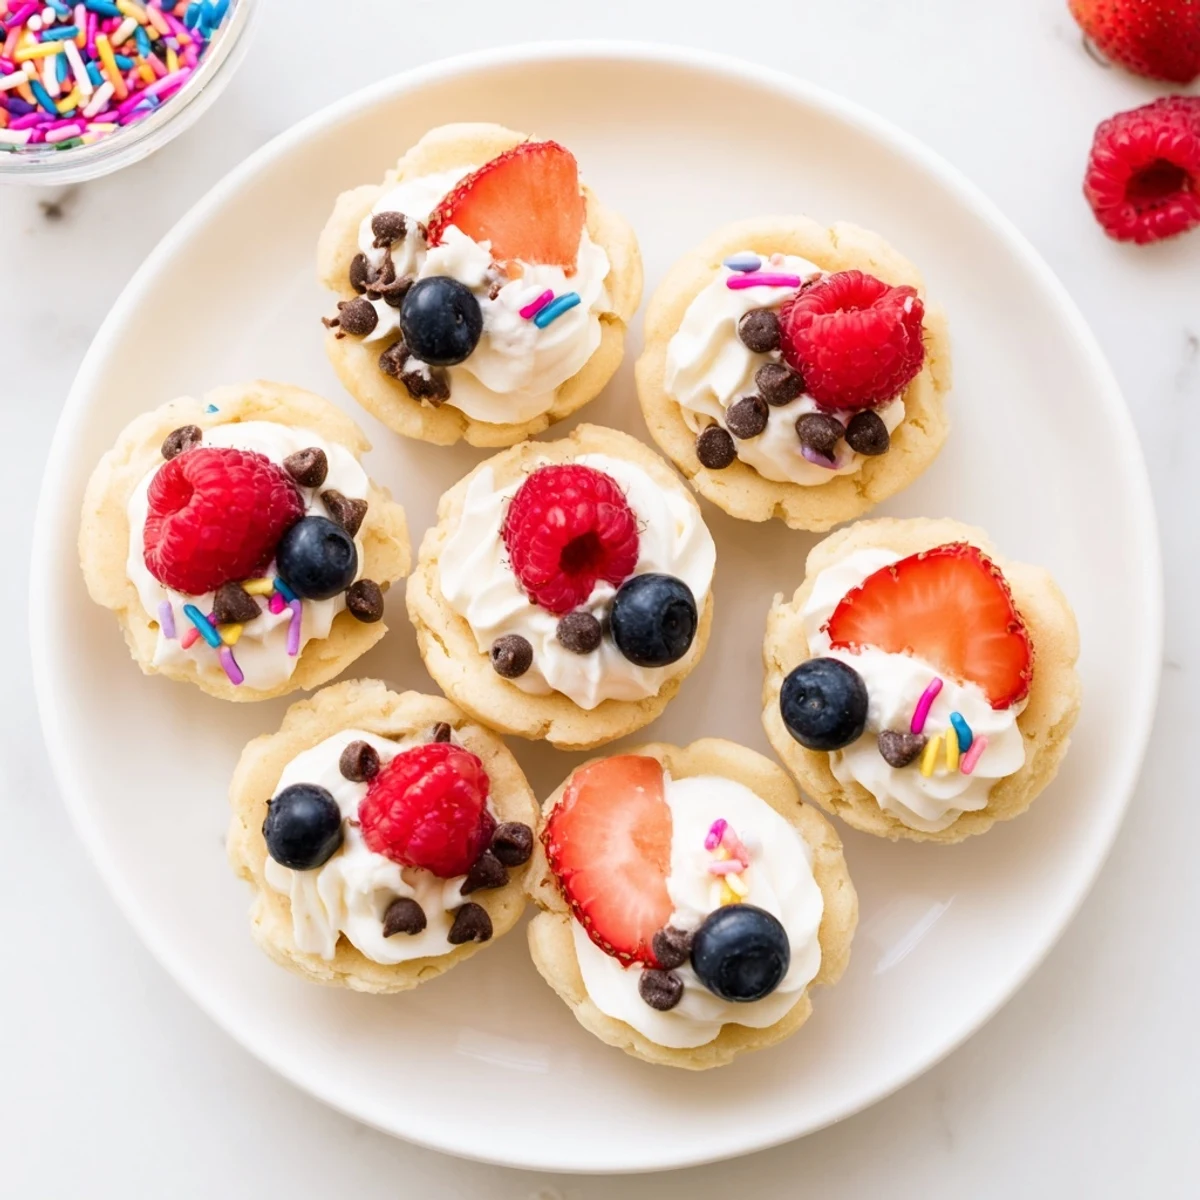
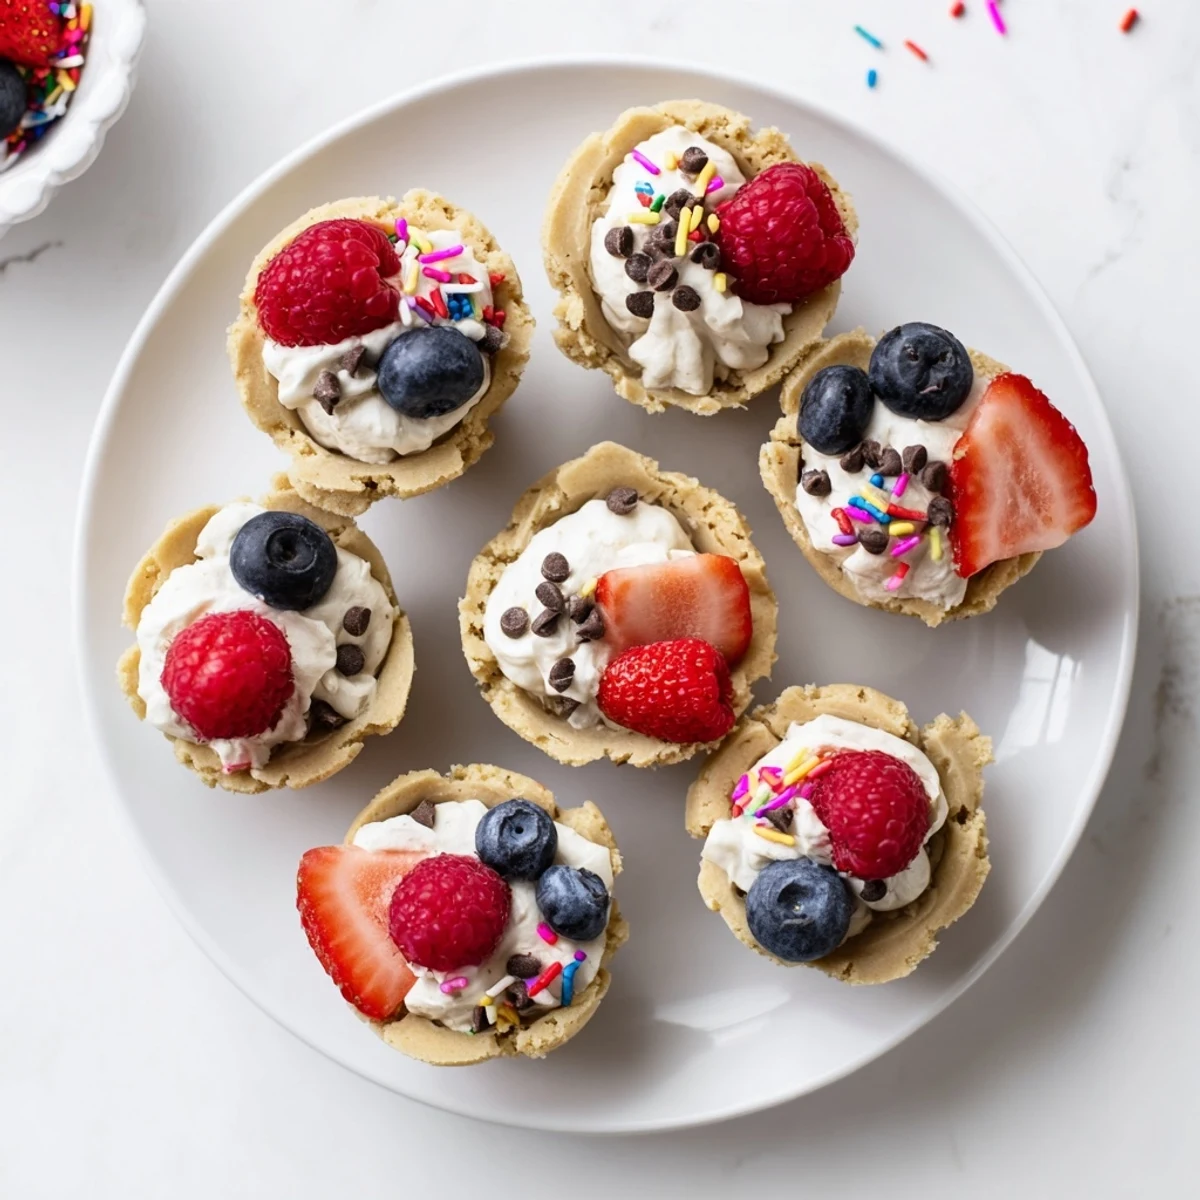
 Create these adorable bite-sized treats by pressing sugar cookie dough into mini muffin tins and baking until golden. The result is a perfect edible cup ready to be filled with freshly whipped vanilla cream, lemon curd, or chocolate ganache. Top with fresh berries, colorful sprinkles, or mini chocolate chips for a stunning presentation that's sure to delight both kids and adults at any gathering.
The kitchen counter was covered in flour when my daughter announced she wanted to help make something fun for her birthday party. We'd been scrolling through Pinterest for weeks, and those adorable cookie cups kept catching her eye. I'll admit, I was skeptical about pressing sugar cookie dough into muffin tins, but watching her tiny hands carefully shape each little cup changed my mind completely.
That birthday party became legendary among the kindergarten set. Kids who normally picked at food were gobbling these down, and the parents kept asking for the recipe. I've since made them for baby showers, office parties, and random Tuesday nights when we need something sweet. There's something about having your own tiny dessert that feels like a little celebration.
Ingredients
- 2 1/4 cups all-purpose flour: The foundation that gives these cups their structure, so don't skip measuring
- 1/2 tsp baking soda: Helps create the perfect rise without spreading too much
- 1/2 tsp salt: Balances the sweetness and brings out the vanilla flavor
- 3/4 cup unsalted butter, softened: Room temperature butter incorporates beautifully for tender cups
- 1 cup granulated sugar: Creates that classic sugar cookie taste we all love
- 1 large egg: Binds everything together while adding richness
- 2 tsp pure vanilla extract: Don't skimp here, quality vanilla makes these sing
- 1 cup heavy cream, chilled: Whips into the most luscious filling imaginable
- 2 tbsp powdered sugar: Just enough sweetness for the whipped cream
- 1/2 tsp vanilla extract: For the cream filling
Instructions
- Get your oven ready:
- Preheat to 350°F and generously grease a 24-cup mini muffin tin with butter or cooking spray
- Whisk the dry team:
- In a medium bowl, combine flour, baking soda, and salt until well blended
- Cream the butter and sugar:
- Beat softened butter and granulated sugar for about 2 minutes until light and fluffy
- Add the wet ingredients:
- Mix in the egg and vanilla extract until everything comes together
- Combine everything:
- Gradually stir in the dry ingredients, mixing just until no flour streaks remain
- Shape the cups:
- Scoop 1 tablespoon dough into each muffin cup and gently press up the sides to form cups
- Bake until golden:
- Bake for 10 to 12 minutes until edges are lightly golden
- Create the cup shape:
- While warm, press the center of each cookie with a spoon to deepen the cup, then cool for 10 minutes
- Make the filling:
- Whip cold heavy cream with powdered sugar and vanilla until stiff peaks form
- Fill and finish:
- Pipe or spoon whipped cream into cooled cups and add your favorite toppings
 Pin It
 My neighbor texted me at midnight after trying these at a block party, demanding the recipe immediately. Her husband had eaten six before anyone could stop him. Now they're our go-to contribution to every neighborhood gathering.
Filling Ideas Beyond Whipped Cream
I've discovered that lemon curd transforms these into something elegant and sophisticated. Chocolate ganache makes them incredibly decadent, while Nutella creates a hazelnut chocolate dream. Even simple fruit preserves work beautifully when you're short on time.
Making Them Ahead
The cookie cups themselves freeze beautifully for up to a month. I often bake a double batch on Sunday and store them in an airtight container. When company calls, I just whip up some fresh cream and fill them. Nobody ever knows they weren't made that day.
Getting Kids Involved
This is one of those rare recipes where children can genuinely help. My nephew loved pressing the dough into the tins, though his cups were definitely more abstract art than perfect circles. Let them add their own toppings and watch their faces light up.
- Set up a toppings station with bowls of sprinkles, chocolate chips, and berries
- Give kids their own small portion of dough to practice shaping
- Embrace the imperfect ones, they taste just as wonderful
 Pin It
 These little cups have become my secret weapon for any celebration. They're simple enough for a Tuesday yet special enough for the most important occasions.
Recipe Questions
- → Can I make the dough ahead of time?
-
Yes, the cookie dough can be prepared up to 2 days in advance and stored refrigerated in an airtight container. Bring to room temperature before pressing into muffin tins for easier handling.
- → What other fillings work well?
-
Beyond whipped cream, try filling with lemon curd, chocolate ganache, cream cheese frosting, pastry cream, or even ice cream just before serving. The neutral cookie base pairs beautifully with almost any sweet filling.
- → How do I prevent the centers from puffing up during baking?
-
Press the dough firmly up the sides of each muffin cup to create a well-defined shape. Immediately after baking while still warm, use the back of a spoon to gently press down the center again if it has risen.
- → Can these be made gluten-free?
-
Yes, substitute the all-purpose flour with a 1-to-1 gluten-free flour blend. The texture may vary slightly, but they will still hold their cup shape beautifully when baked.
- → How should I store filled versus unfilled cups?
-
Store unfilled cups in an airtight container at room temperature for up to 3 days. Fill just before serving for the best texture. Filled cups should be refrigerated and enjoyed within 24 hours.
- → Can I freeze these cookie cups?
-
Unfilled cups freeze exceptionally well for up to 3 months. Thaw at room temperature, then fill. Do not freeze filled cups as the texture of the cream or fruit toppings will deteriorate.
