 Pin It
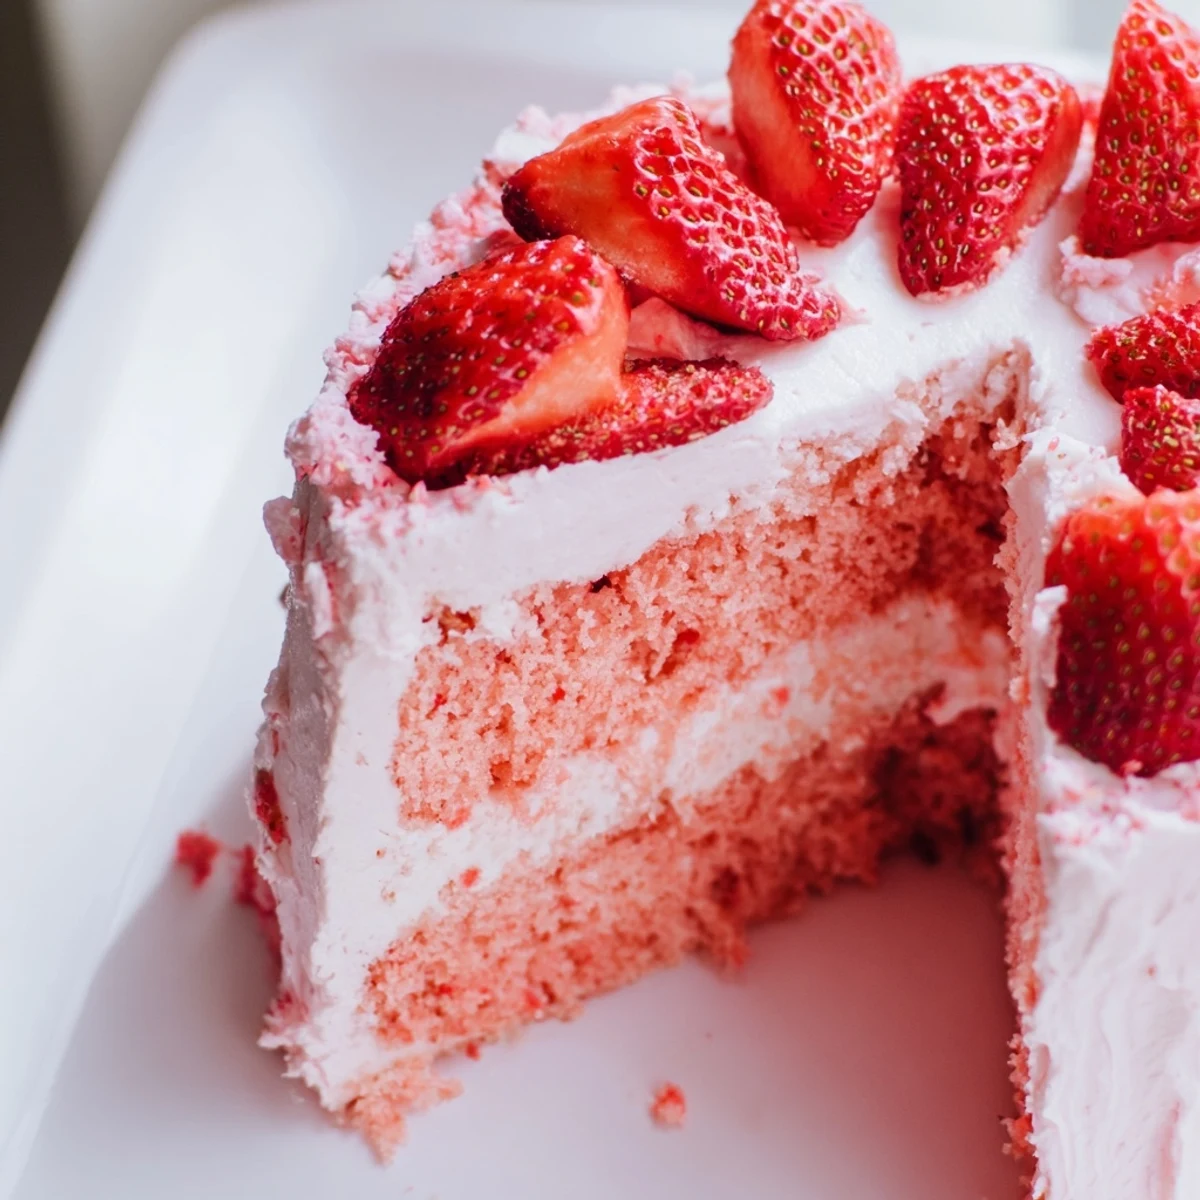
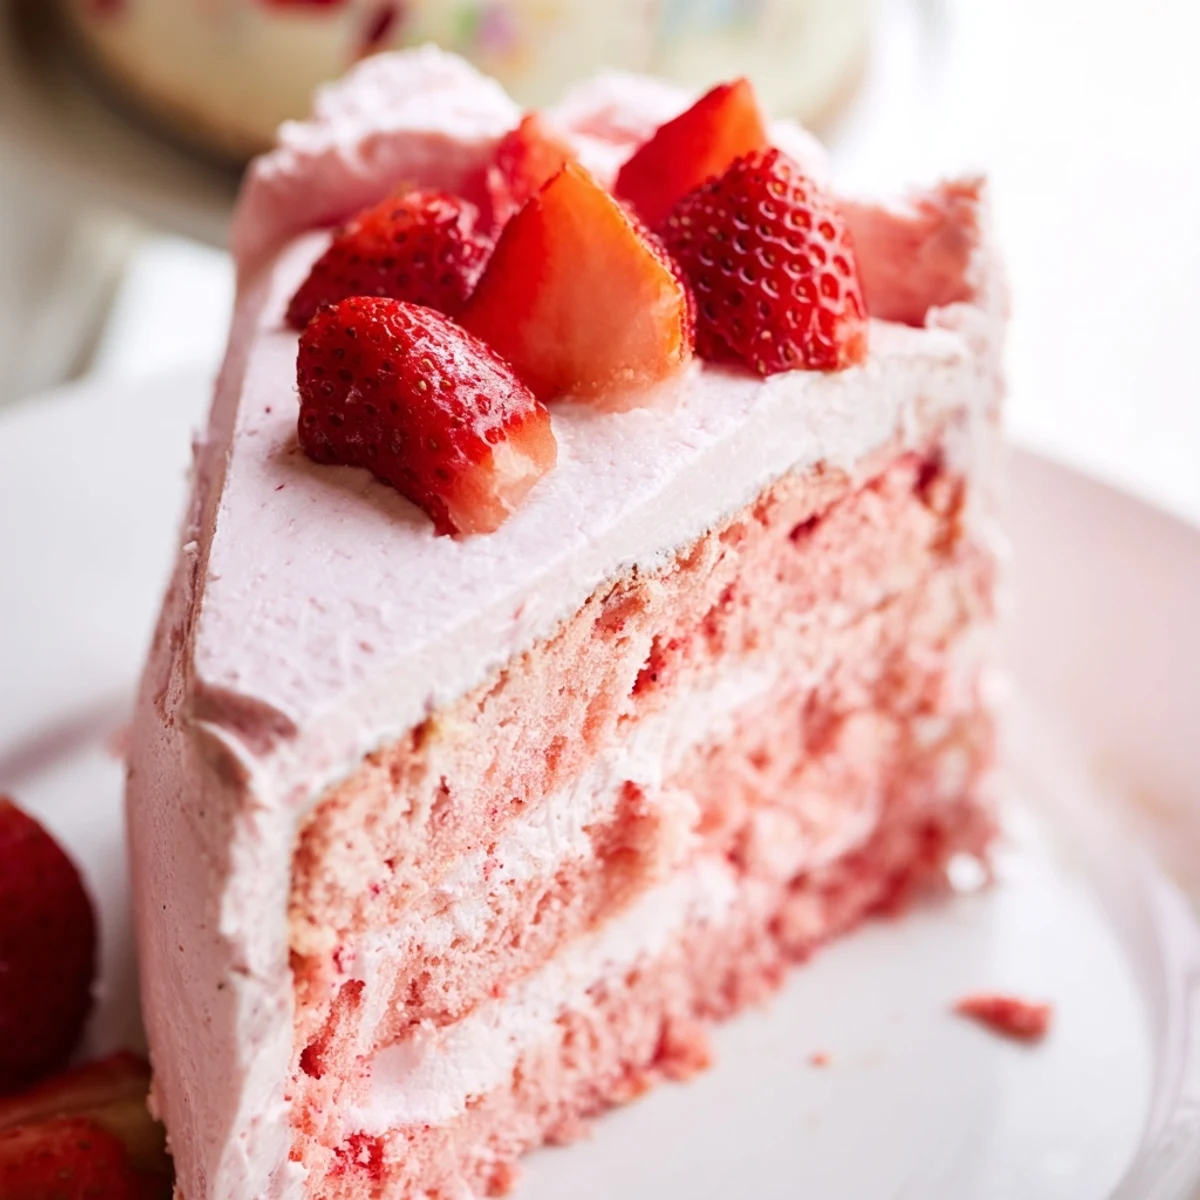
 This stunning strawberry velvet cake features a tender, moist crumb infused with fresh strawberry purée. The cake gets its vibrant pink hue from natural strawberries, with optional food coloring for extra brightness. Layers are generously frosted with a luscious cream cheese and strawberry frosting, creating the perfect balance of sweet and tangy flavors.
Ideal for spring gatherings, birthdays, or any celebration, this dessert serves 12 and takes about one hour from start to finish. The secret ingredient—fresh strawberry purée—appears in both the cake batter and frosting, ensuring authentic berry flavor in every bite.
The first time I attempted a strawberry cake from scratch, I ended up with something that looked more like a sad pink pancake than a celebration dessert. But that kitchen failure taught me everything about what makes a truly tender, velvet-textured cake. Now this recipe has become my go-to for spring birthdays and summer dinner parties.
Last spring, my neighbor asked me to make her daughters graduation cake, and I decided to take a risk with this recipe. Watching the graduates face light up when she saw those fresh strawberries on top made every minute of testing and tweaking worth it. Sometimes the best recipes are the ones you keep coming back to, year after year.
Ingredients
- Cake flour: The lower protein content creates that signature tender crumb you cannot get with all purpose flour
- Unsalted butter: Softened properly so it creams beautifully into the sugar for that light texture
- Vegetable oil: Keeps the cake incredibly moist while butter provides the flavor
- Fresh strawberry purée: The secret ingredient that makes every bite taste like actual strawberries
- Buttermilk: Adds subtle tang and activates the baking soda for extra lift
- Cream cheese: Fully softened is non negotiable for smooth, lump free frosting
- Powdered sugar: Always sift it first to avoid gritty frosting
Instructions
- Prep your pans and purée:
- Grease and line two 8 inch round cake pans with parchment paper. Blend 1 cup hulled fresh strawberries with 1 tablespoon sugar until completely smooth. This tiny step makes all the difference in authentic flavor.
- Whisk the dry ingredients:
- Sift together cake flour, baking powder, baking soda, and salt in a medium bowl. Sifting is annoying but essential for avoiding lumps in your final cake.
- Cream the butter mixture:
- Beat softened butter, vegetable oil, and granulated sugar until light and fluffy, about 3 minutes. The mixture should look pale and aerated, which creates those tender crumbs.
- Add eggs and vanilla:
- Add eggs one at a time, beating thoroughly after each one. Mix in the vanilla extract.
- Combine the wet ingredients:
- Mix in 1/2 cup of the strawberry purée and food coloring if you want that vibrant pink hue.
- Alternate wet and dry:
- Add the dry ingredients and buttermilk alternately, starting and ending with dry. Mix only until combined.
- Bake to perfection:
- Divide batter between prepared pans and bake at 350°F for 28 to 32 minutes. The cake is done when a toothpick comes out clean.
- Make the frosting:
- Beat softened cream cheese and butter until smooth. Gradually add sifted powdered sugar, then mix in vanilla and 1/4 cup strawberry purée.
- Assemble and decorate:
- Layer the cakes with frosting between them, then frost the top and sides. Add fresh strawberry halves and chill 30 minutes before slicing.
 Pin It
 This cake has become such a staple in our house that my daughter actually requested it for her wedding shower. There is something about the combination of fresh berries and cream cheese frosting that feels like pure celebration.
Make Ahead Magic
I bake the cake layers up to two days in advance and wrap them tightly in plastic wrap at room temperature. The frosting can be made a day ahead and stored in the refrigerator, but bring it to room temperature before spreading.
Serving Suggestions
This cake pairs beautifully with a glass of sparkling rosé or a fruity white wine like Riesling. I have also served it with afternoon tea and coffee, and it never fails to impress guests.
Storage and Freezing
Keep the assembled cake covered in the refrigerator for up to 4 days, though it rarely lasts that long in my house. You can freeze unfrosted cake layers for up to 3 months wrapped in plastic and foil.
- Thaw frozen layers overnight at room temperature before frosting
- Always use a serrated knife for clean cuts through the cake
- Let chilled cake sit 15 minutes at room temperature before serving for the best texture
 Pin It
 Every slice of this cake feels like spring on a plate, no matter the season outside your window.
Recipe Questions
- → Can I use frozen strawberries instead of fresh?
-
Yes, frozen strawberries work perfectly for the purée. Thaw them completely before blending, and drain any excess liquid if the mixture seems too watery. The flavor remains excellent, though fresh berries provide the brightest taste.
- → How should I store the finished cake?
-
Keep the cake refrigerated in an airtight container or cake dome. It stays fresh for 3–4 days when properly stored. Bring slices to room temperature for 20 minutes before serving for the best texture and flavor.
- → Can I make this cake ahead of time?
-
Absolutely. Bake the cake layers up to two days in advance, wrap them tightly in plastic, and store at room temperature. Make the frosting separately and assemble the cake on the day of serving. The assembled cake also freezes well for up to one month.
- → Why use both butter and oil in the batter?
-
Butter provides rich flavor while oil ensures exceptional moisture and tenderness. This combination creates a cake that stays fresh longer and maintains a soft, velvety texture without becoming dry or dense.
- → What if I don't have cake flour?
-
You can substitute all-purpose flour by removing 2 tablespoons per cup and sifting well. Alternatively, make your own cake flour by mixing 1 cup all-purpose flour with 2 tablespoons cornstarch for each cup needed.
- → How do I prevent the layers from sticking to the pans?
-
Generously grease the pans with butter or baking spray, then line the bottoms with parchment paper circles. This double insurance ensures easy release every time without damaging the delicate cake layers.
