 Pin It
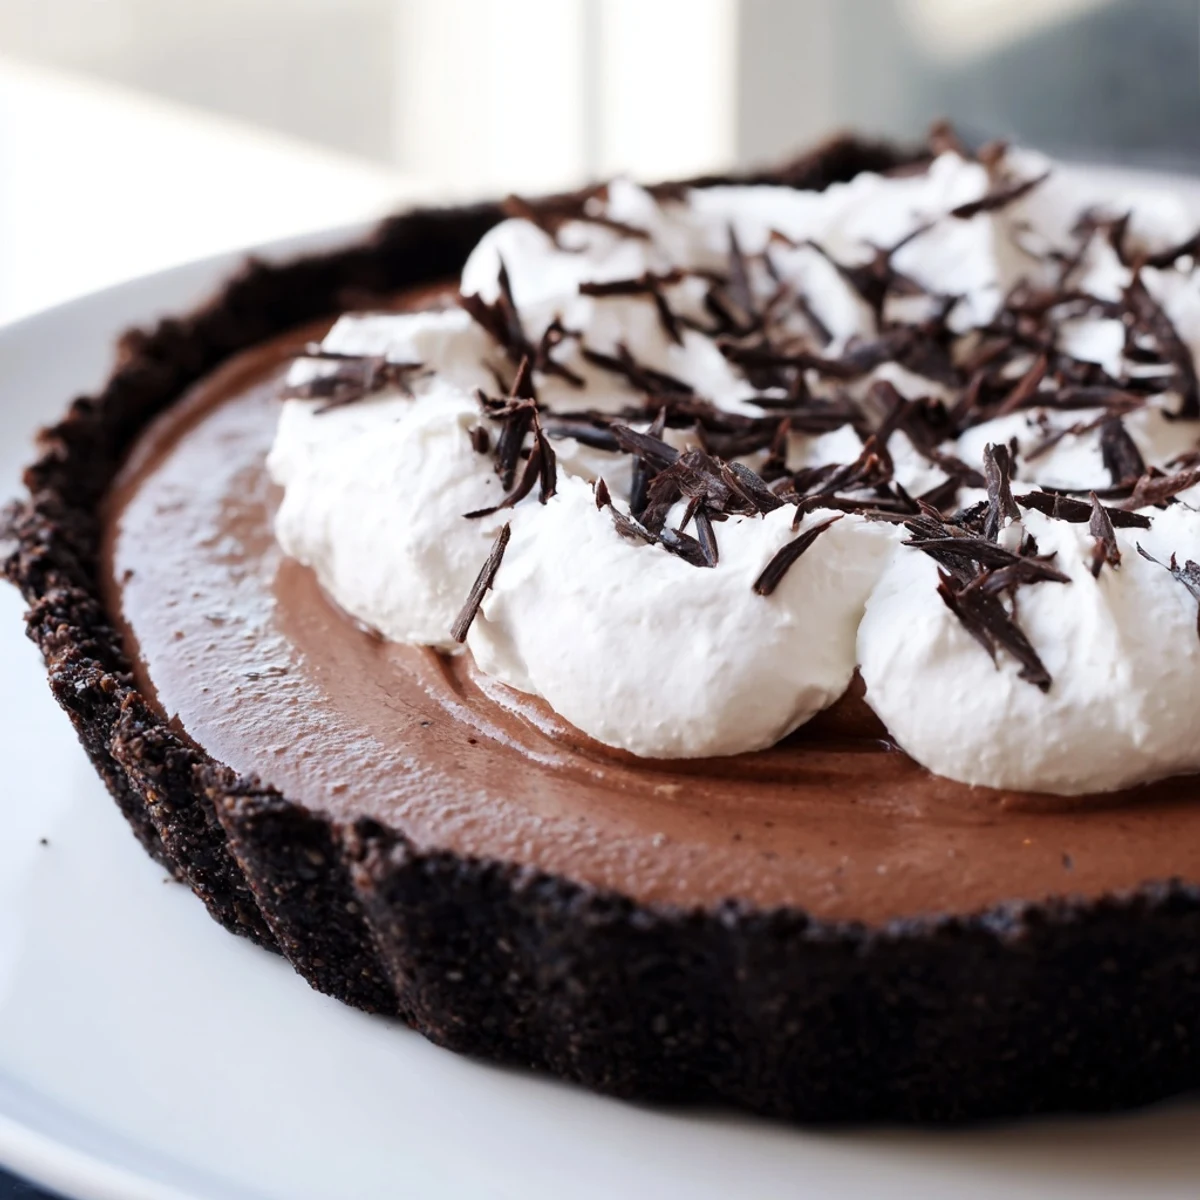
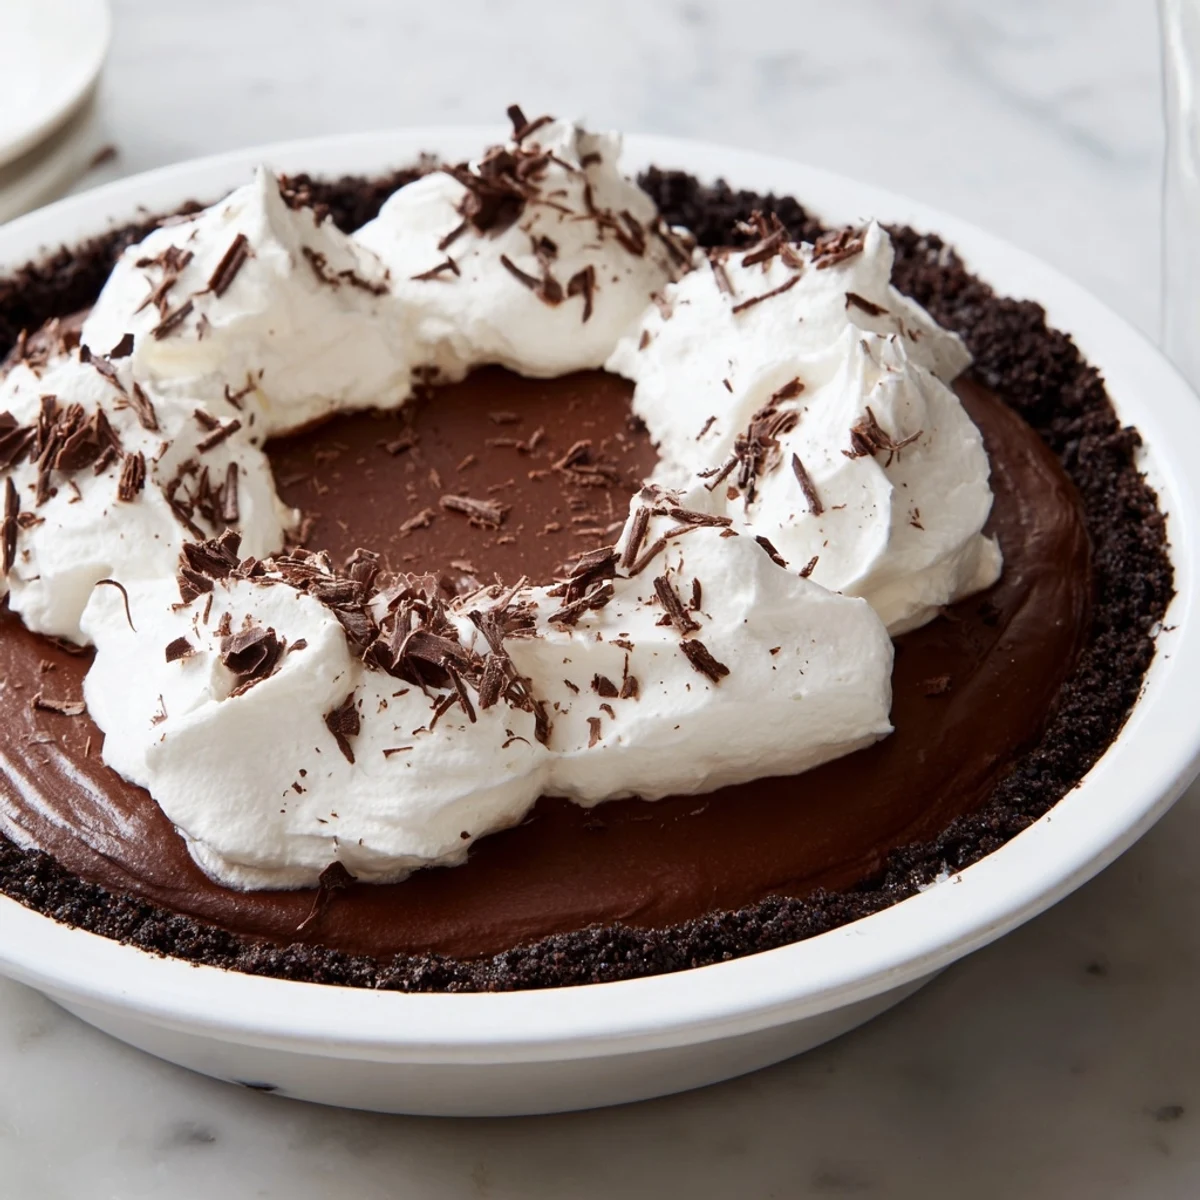
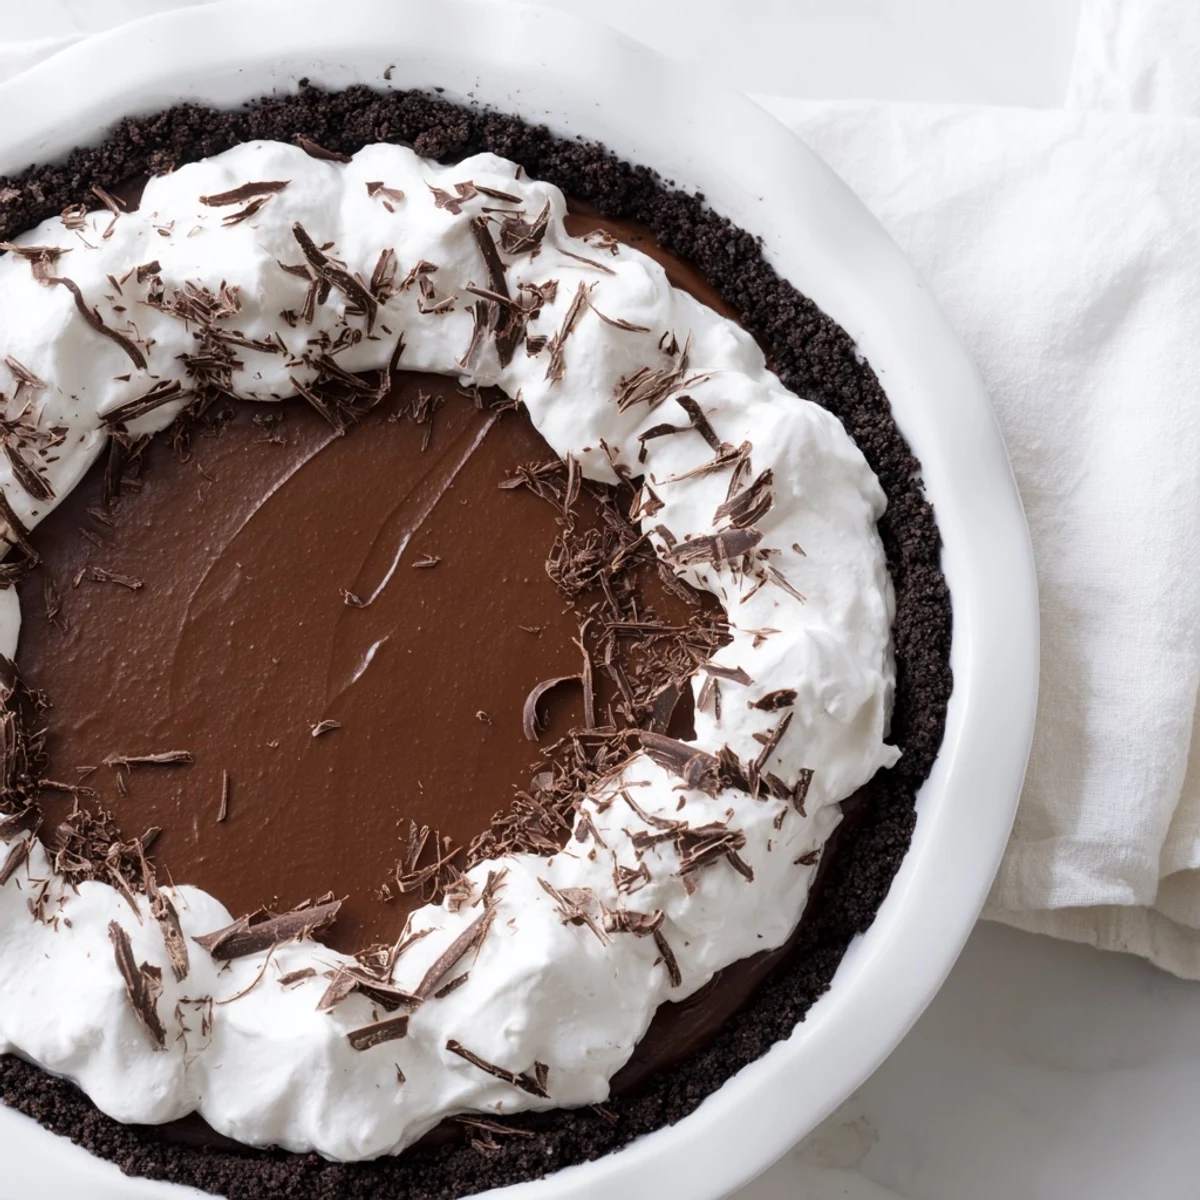
 This pie features a velvety bittersweet chocolate filling folded with butter and eggs, creating a glossy, creamy texture. It rests on a crisp chocolate cookie crust baked to perfection. After chilling for several hours, the pie is topped with softly whipped cream and garnished with dark chocolate shavings, offering a luxurious dessert ideal for special occasions.
The way chocolate silk pie catches light on a fork always makes me think of candlelit dinners that went better than planned. I first attempted this for a Valentine's dinner years ago, working in a tiny apartment kitchen with barely enough counter space for a mixing bowl. The texture was wrong that first time, but the rich chocolate flavor won everyone over anyway. Now I've learned that patience is actually the secret ingredient you cannot skip.
Last winter I made this pie during a snowstorm when my sister was visiting from out of town. We spent the afternoon taking turns whipping the filling, watching it transform from grainy to glossy while drinking coffee and catching up. Something about the rhythmic beating of eggs into chocolate made the conversation flow easier. That evening, eating it by the fireplace while snow piled up outside, I understood why this recipe has lasted through generations of home bakers.
Ingredients
- Chocolate cookie crumbs: The darker and more chocolatey the cookies, the better your foundation will be
- Unsalted butter, melted: Use quality butter since this flavor carries through the entire crust
- Granulated sugar: Just enough to balance the bitterness of dark chocolate cookies
- Bittersweet chocolate: Chop it yourself so the pieces melt evenly and smoothly
- Unsalted butter, room temperature: Absolutely must be soft or your filling will never reach that signature silkiness
- Powdered sugar, sifted: Sifting prevents any grainy texture in your final filling
- Vanilla extract: Pure extract makes a noticeable difference in the background flavor
- Pasteurized eggs: Essential for food safety since the filling does not get baked
- Heavy whipping cream: Cold cream whips up faster and holds its shape longer
- Dark chocolate shavings: Use a vegetable peeler on a chocolate bar for perfect curls
Instructions
- Build the chocolate foundation:
- Press your crumb mixture firmly into the pie dish, using the bottom of a measuring cup to create an even layer that will not crumble when you slice.
- Bake until fragrant:
- Eight to ten minutes is all you need to set the crust, but let it cool completely or the filling will melt right through.
- Melt your chocolate:
- Work gently over barely simmering water, stirring constantly until smooth, then set aside to cool slightly while you prep the butter.
- Make the base silky:
- Beat the butter and powdered sugar until they look pale and airy, which takes about two full minutes of patience.
- Combine and gloss:
- Pour in your melted chocolate with the vanilla, beating until everything is unified and glossy looking.
- The egg transformation:
- Add each egg individually, beating for three to four minutes per egg until the filling literally changes texture before your eyes.
- Fill and wait:
- Spread the filling into your cooled crust, cover it, and let the refrigerator work its magic for at least four hours.
- Finish with cream:
- Whip the cold cream with sugar and vanilla just until soft peaks form, then spread it over your perfectly set pie.
 Pin It
 This pie has become my default bring to dinner parties because people always ask for the recipe. Something about that first bite, the way the silk filling hits your tongue, makes people pause mid conversation. Food that creates a moment of silence around the table is the best kind there is.
Making It Ahead
The beauty of this pie is that it actually improves with a night in the refrigerator. The flavors meld together and the texture becomes even more luxurious. I have made it up to two days in advance, just waiting to add the whipped cream until right before serving.
Getting The Texture Right
The difference between good silk pie and great silk pie comes down to temperature and beating time. Warm ingredients will cause your filling to separate, while rushing the egg beating leaves the texture slightly grainy. I set a timer for each egg addition now because those three minutes feel longer than they actually are.
Serving Suggestions
A sharp knife dipped in hot water between slices creates the cleanest cuts through this rich pie. I like to serve it with fresh raspberries on the side because the tart fruit cuts through all that chocolate intensity. Small slices go a long way, so this eight serving pie can easily stretch to ten portions.
- Let the pie sit at room temperature for ten minutes before slicing
- Use a serrated knife for the cleanest presentation
- Store any leftovers covered in the refrigerator for up to three days
 Pin It
 There is something deeply satisfying about serving a dessert that looks this impressive and tastes even better than it looks. Every slice should feel like a small celebration.
Recipe Questions
- → What type of chocolate works best for the filling?
-
Bittersweet or semisweet chocolate provides the rich, balanced flavor essential for the smooth silk filling.
- → Can I prepare the crust in advance?
-
Yes, bake the chocolate cookie crumb crust ahead of time and keep it stored at room temperature until ready to fill.
- → Why is chilling important for this pie?
-
Chilling allows the silky filling to set firmly, ensuring a smooth, sliceable texture and enhancing flavor melding.
- → How do I achieve the glossy texture of the filling?
-
Beating the eggs thoroughly with the chocolate-butter mixture develops a silky, glossy finish essential to the filling's appeal.
- → What can I use to garnish the top?
-
Lightly whipped cream with powdered sugar and vanilla, topped with dark chocolate shavings, adds elegance and texture.
- → Are pasteurized eggs necessary?
-
Yes, since the filling isn't baked, pasteurized eggs help ensure food safety without sacrificing texture.
