 Pin It
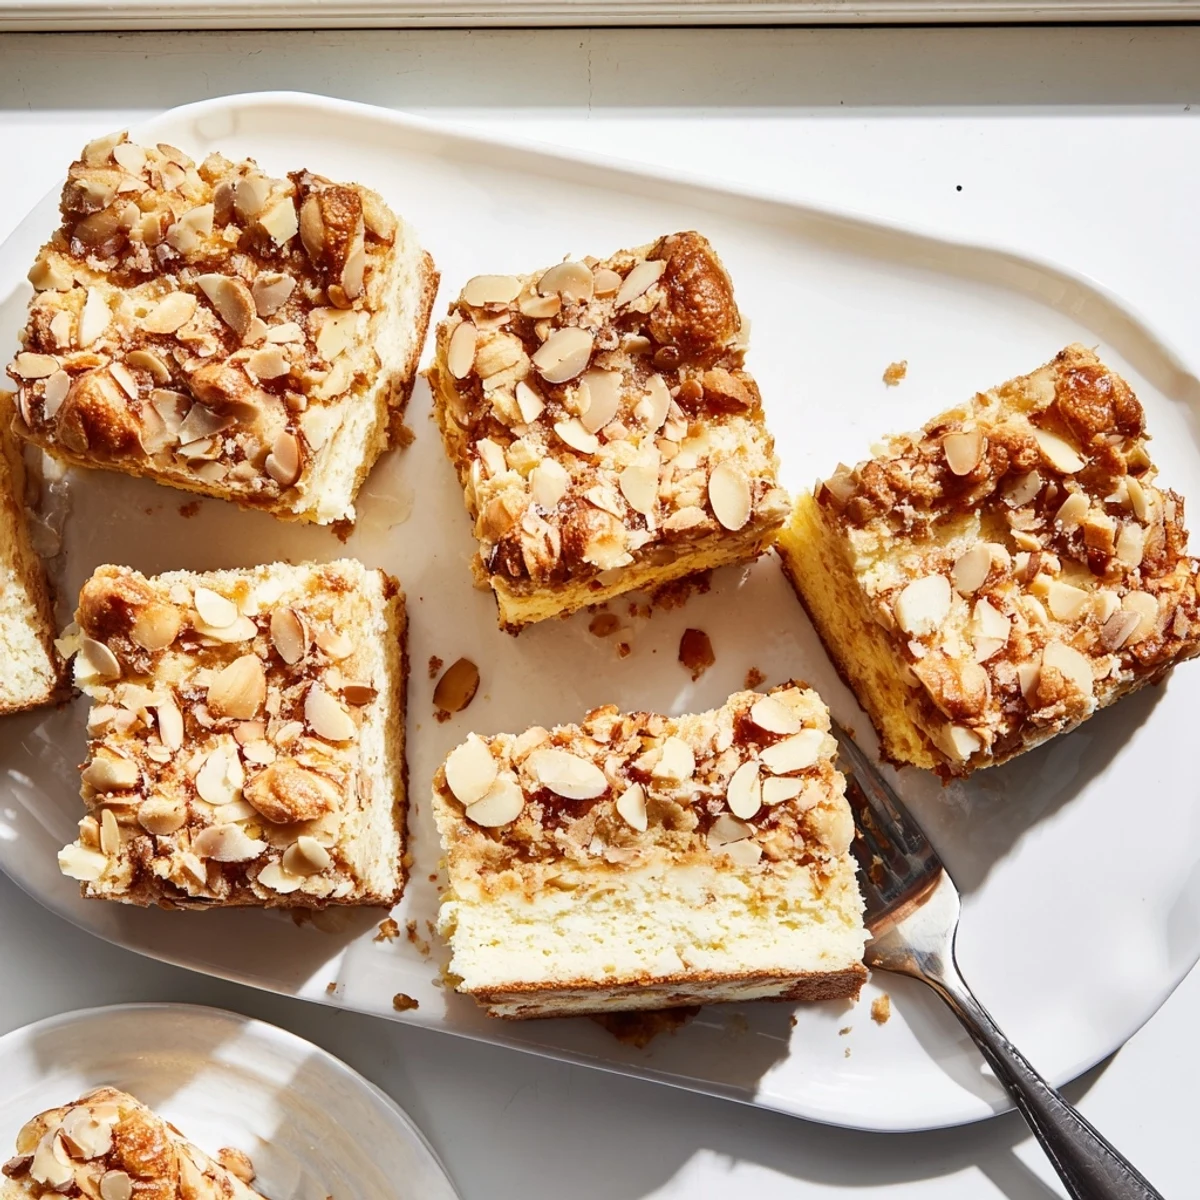
 These delicate ricotta-based squares feature an incredibly light and airy texture, thanks to the combination of whipped ricotta cheese and eggs. The golden almond topping adds a satisfying crunch that perfectly complements the fluffy base. Simple enough for everyday treats yet elegant enough for entertaining, these squares come together quickly and yield beautiful results every time.
The smell of toasted almonds always takes me back to my grandmother's kitchen, where she'd make these light-as-air treats on Sunday afternoons. I remember standing on a stool, watching her fold the ricotta into the batter with such gentle care, explaining that patience was the secret ingredient. These squares became my go-to comfort dessert during college finals week, when something sweet but not too heavy felt like exactly what I needed.
Last summer, I brought a batch to a neighborhood potluck, and within five minutes, three different neighbors had asked for the recipe. What struck me was how even the people who swore they didn't like ricotta went back for seconds. Theres something magical about how the creamy base contrasts with that buttery almond topping that makes these squares disappear faster than you expect.
Ingredients
- Whole milk ricotta: Full fat makes all the difference here for that luxurious texture I learned this after trying low fat once and never making that mistake again
- Room temperature eggs: They incorporate so much better into the ricotta mixture preventing any curdling or separation
- All purpose flour: Just enough to give structure without weighing down these delicate squares
- Sliced almonds: Get them fresh from the bulk bin where you can smell the nuttiness and they toast up beautifully
- Cinnamon: Even though its optional the warmth it adds makes these squares feel extra special and homey
Instructions
- Prepare your pan with care:
- Line your 8x8 inch pan with parchment paper letting the edges hang over like a little sling this makes lifting out the cooled squares absolutely effortless and saves you from sticky cleanup disasters
- Whisk the wet ingredients:
- In a large bowl combine the ricotta sugar eggs milk oil and vanilla until the mixture is completely smooth taking your time to really break up any ricotta lumps for the silkiest texture possible
- Sift the dry ingredients:
- In a separate bowl whisk together the flour baking powder and salt ensuring theyre well distributed so you dont end up with pockets of baking powder in your finished squares
- Gentle folding technique:
- Gradually fold the dry mixture into the ricotta base using a spatula and light hand strokes just until you no longer see streaks of flour overmixing at this stage will make your squares tough instead of tender
- Create the almond crunch:
- Mix the sliced almonds sugar melted butter and cinnamon in a small bowl until every almond is coated in that sweet buttery mixture then scatter it evenly across the batter pressing lightly so it adheres
- Bake to golden perfection:
- Bake for 30 to 35 minutes until the top is beautifully golden and a toothpick comes out clean but remember that residual heat will continue cooking them slightly as they cool
- The hardest part:
- Let these cool completely in the pan before slicing I know its tempting but patience rewards you with clean cuts and the perfect texture that sets properly
 Pin It
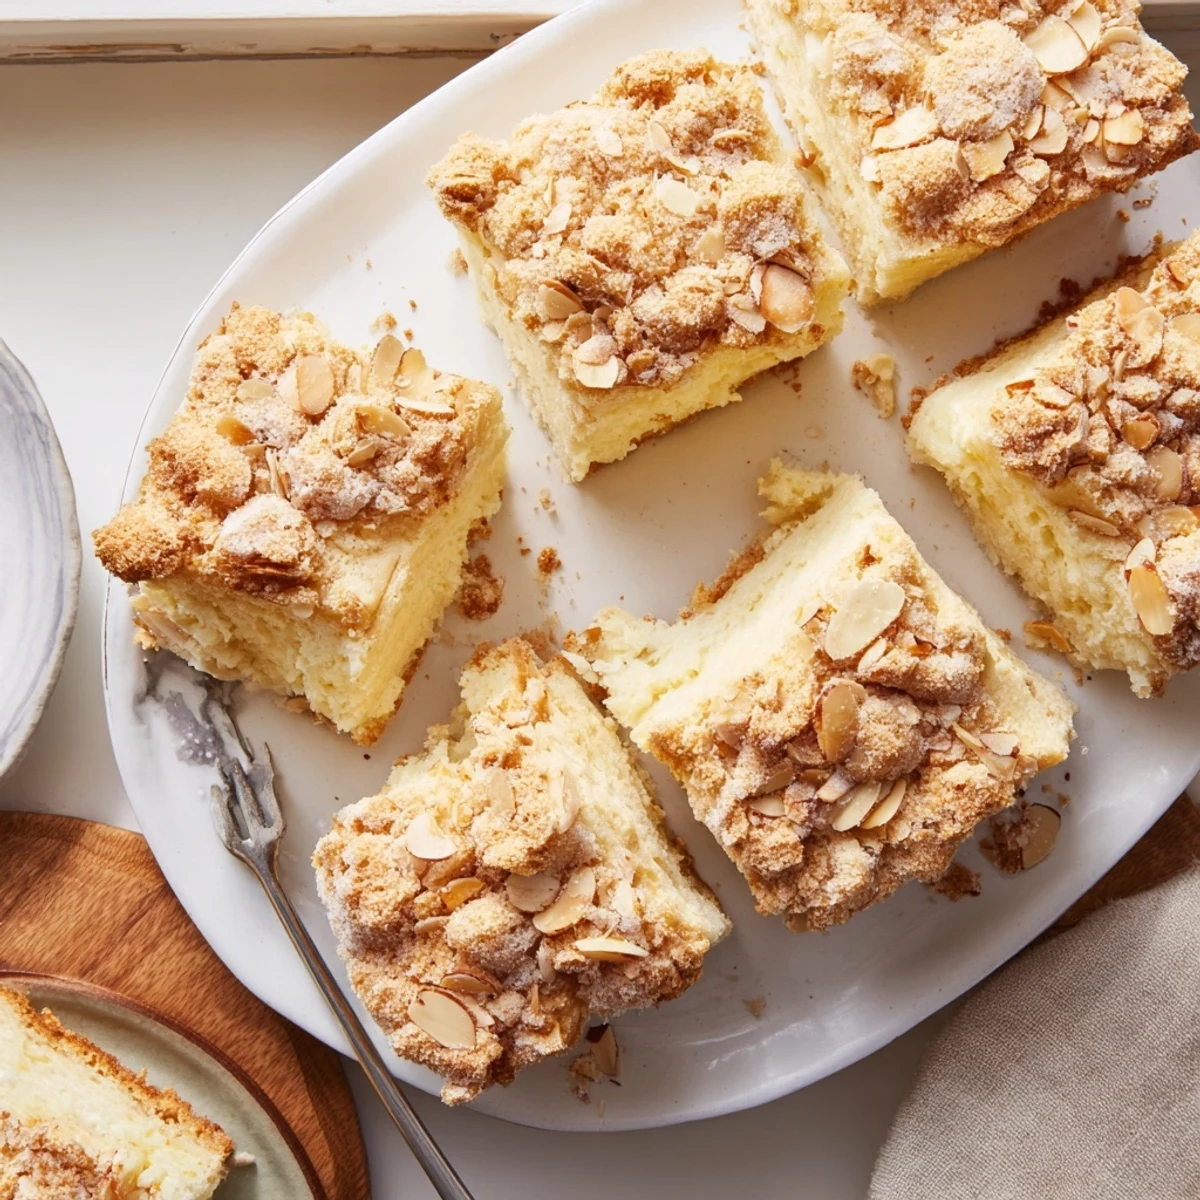
 My friend Sarah who claims she cannot bake to save her life made these for her book club last month and sent me a photo at midnight saying she ate three squares straight from the pan. Sometimes the simplest recipes become the ones we return to again and again because they never let us down.
Making Them Your Own
I've discovered that adding citrus zest transforms these into something completely different, perfect for spring gatherings or when you need brightness in your dessert. A teaspoon of lemon zest makes them feel lighter while orange zest gives them a cozy warmth that pairs beautifully with coffee.
Storage Solutions
These squares actually taste better on day two when the flavors have had time to meld together. Store them in an airtight container at room temperature for up to three days though in my house they rarely last past day one.
Serving Suggestions
A dusting of powdered sugar right before serving makes them look bakery beautiful and hides any imperfections in the almond topping. For something elegant, serve with fresh berries that have been macerated with a little sugar they create their own sauce that pairs perfectly.
- Warm them slightly in the microwave for 15 seconds before serving
- A dollop of mascarpone cream takes them over the top
- They pair beautifully with a cup of Earl Grey tea
 Pin It
 These ricotta squares have become my signature dessert because they never fail to impress and somehow feel fancy without requiring any special skills. Theres joy in sharing something that makes people close their eyes and smile after that first bite.
Recipe Questions
- → What makes these squares so light and fluffy?
-
The whipped ricotta cheese combined with eggs creates an airy texture, while the precise balance of flour and baking powder ensures the squares rise beautifully without becoming dense.
- → Can I prepare these ahead of time?
-
Yes! These squares actually improve after cooling completely. You can make them up to 24 hours in advance—store tightly covered at room temperature or refrigerate for longer freshness.
- → What can I use instead of almonds?
-
Swap sliced almonds for chopped pecans, walnuts, or even hazelnuts. For a nut-free version, try rolled oats or sunflower seeds for similar crunch.
- → How do I know when they're done baking?
-
The tops should be golden brown, and a toothpick inserted into the center should come out clean or with just a few moist crumbs. The edges will start pulling away from the pan slightly.
- → Can I freeze these squares?
-
Absolutely! Wrap individual squares tightly in plastic wrap and freeze for up to 3 months. Thaw at room temperature for 2 hours before serving.
- → What's the best way to cut clean squares?
-
Let them cool completely in the pan, then refrigerate for 30 minutes before slicing. Use a sharp knife wiped clean between cuts for perfect edges.
