 Pin It
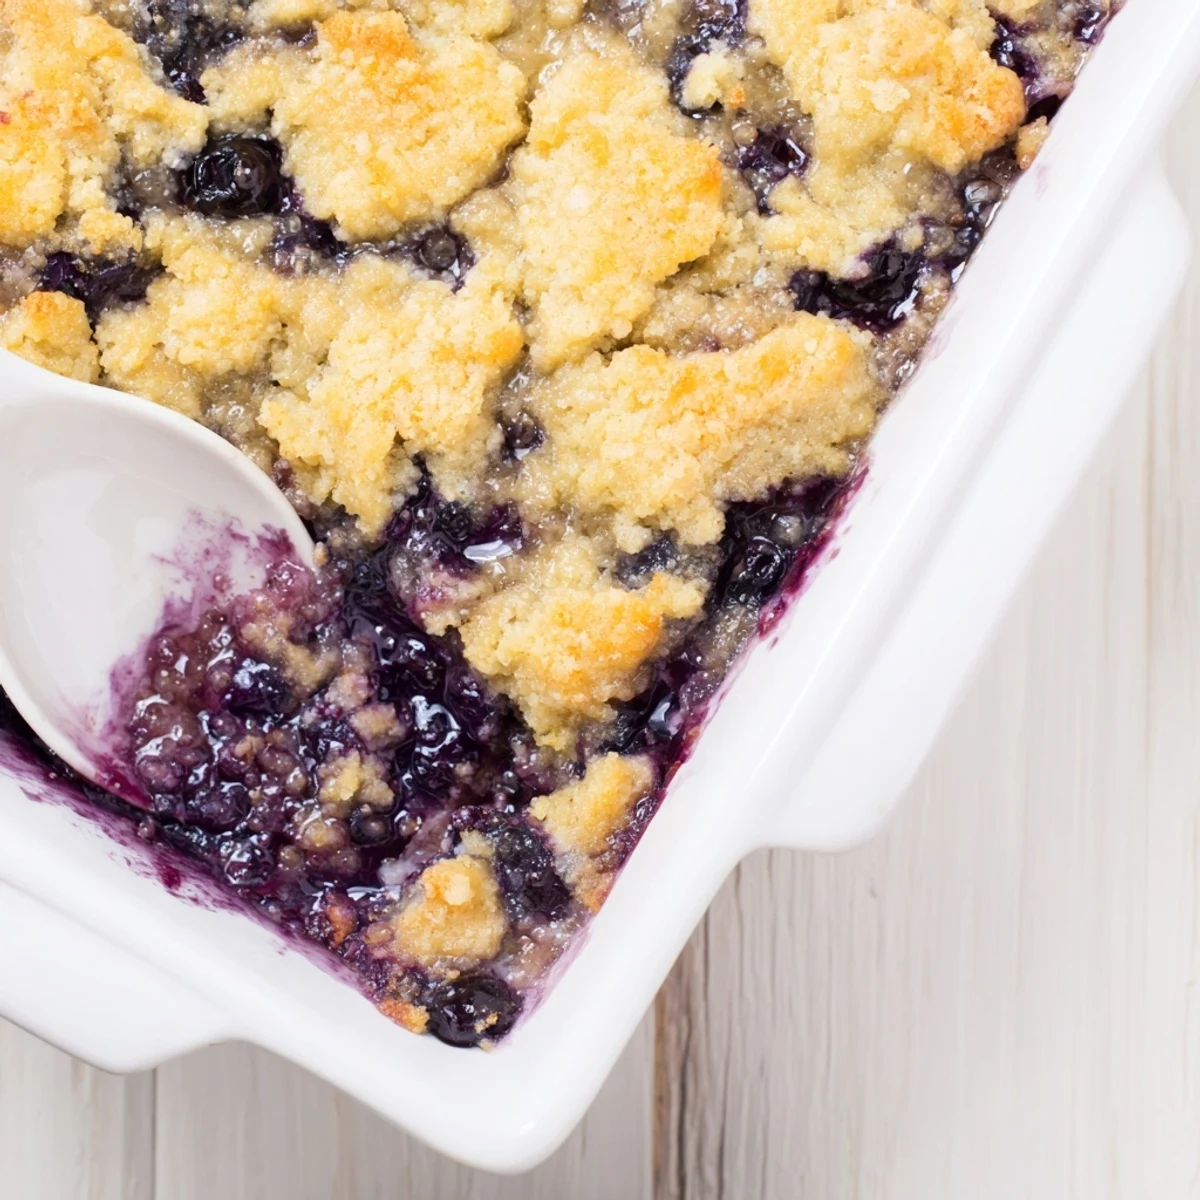
 This comforting blueberry cobbler transforms frozen berries into a luscious, bubbling dessert topped with golden moist biscuits. The simple method requires no thawing—just toss the frozen fruit with sugar and cornstarch, drop spoonfuls of thick batter over the surface, and bake until the topping turns golden brown while the fruit bubbles beneath. Serve warm with vanilla ice cream for the ultimate homey treat that tastes like summer any time of year.
The first time I made this blueberry cobbler, it was a Tuesday night impulse decision born from a forgotten bag of frozen berries buried in my freezer depths. I had zero expectations, but when that golden topping emerged from the oven, bubbling with purple juices, my entire apartment smelled like a cozy farmhouse kitchen. Now it is my go-to dessert for those moments when you need something warm and comforting but cannot be bothered with anything fussy or complicated.
Last winter, my neighbor came over complaining about the gray slush outside, and I pulled this cobbler fresh from the oven. We ate it standing at the counter with vanilla ice cream melting into every bite, and she forgot all about the weather. That is the kind of dessert this is, simple and unpretentious but somehow exactly what you need.
Ingredients
- 5 cups frozen blueberries: Do not thaw them first, they bake up perfectly juicy and release just the right amount of liquid as they cook
- 3/4 cup granulated sugar: This amount hits the sweet spot between highlighting the berries natural tartness and making it feel like dessert
- 2 tablespoons cornstarch: The magic thickener that transforms those berry juices into a luscious, spoonable sauce instead of a watery mess
- 1 tablespoon lemon juice: Brightens all that sweetness and makes the blueberry flavor sing
- 1/2 teaspoon ground cinnamon: Optional but highly recommended, it adds that warm spice note that pairs so beautifully with blueberries
- Pinch of salt: A tiny pinch balances the sugar and enhances all the flavors
- 1 1/2 cups all-purpose flour: The foundation of the biscuit topping, giving it structure without being too heavy
- 1/2 cup granulated sugar: Sweetens the topping just enough to create that beautiful golden brown crust
- 1 1/2 teaspoons baking powder: Ensures the topping rises and becomes tender, not dense or doughy
- 1/2 teaspoon baking soda: Works with the baking powder for extra lift and lightness
- 1/4 teaspoon salt: Keeps the topping from tasting flat and brings out the vanilla notes
- 1/2 cup unsalted butter, melted: Melted butter creates a incredibly moist, tender crumb that stays soft even after cooling
- 2/3 cup whole milk: Adds richness and helps create that biscuit texture we all love
- 1 teaspoon vanilla extract: Do not skip this, it rounds out everything and makes the kitchen smell amazing while baking
Instructions
- Get your oven ready:
- Preheat your oven to 375°F and grab a 9x9-inch baking dish, giving it a quick grease with butter or cooking spray so nothing sticks later.
- Prep the berry filling:
- In a large bowl, toss those frozen blueberries straight from the freezer with sugar, cornstarch, lemon juice, cinnamon if you are using it, and that pinch of salt. Dump everything into your prepared baking dish and spread it into an even layer.
- Mix the dry topping ingredients:
- In another bowl, whisk together the flour, sugar, baking powder, baking soda, and salt until they are well combined and no clumps remain.
- Make the biscuit batter:
- Pour in the melted butter, milk, and vanilla extract, then stir until just combined. The batter will be thick and that is exactly right, so do not overmix or your topping might turn out tough.
- Top the berries:
- Drop spoonfuls of batter all over the blueberry mixture, covering most of the surface but leaving some gaps. You want those berry juices to bubble up through the cracks and create that gorgeous purple stained effect.
- Bake until golden:
- Slide it into the oven for 40 to 45 minutes. You are looking for a golden brown topping that is set and firm, with the berry filling actively bubbling up around the edges.
- Let it rest before serving:
- Walk away for at least 15 minutes because the filling needs time to set up. Cutting into it too soon will give you soupy servings instead of that perfect spoonable consistency.
 Pin It
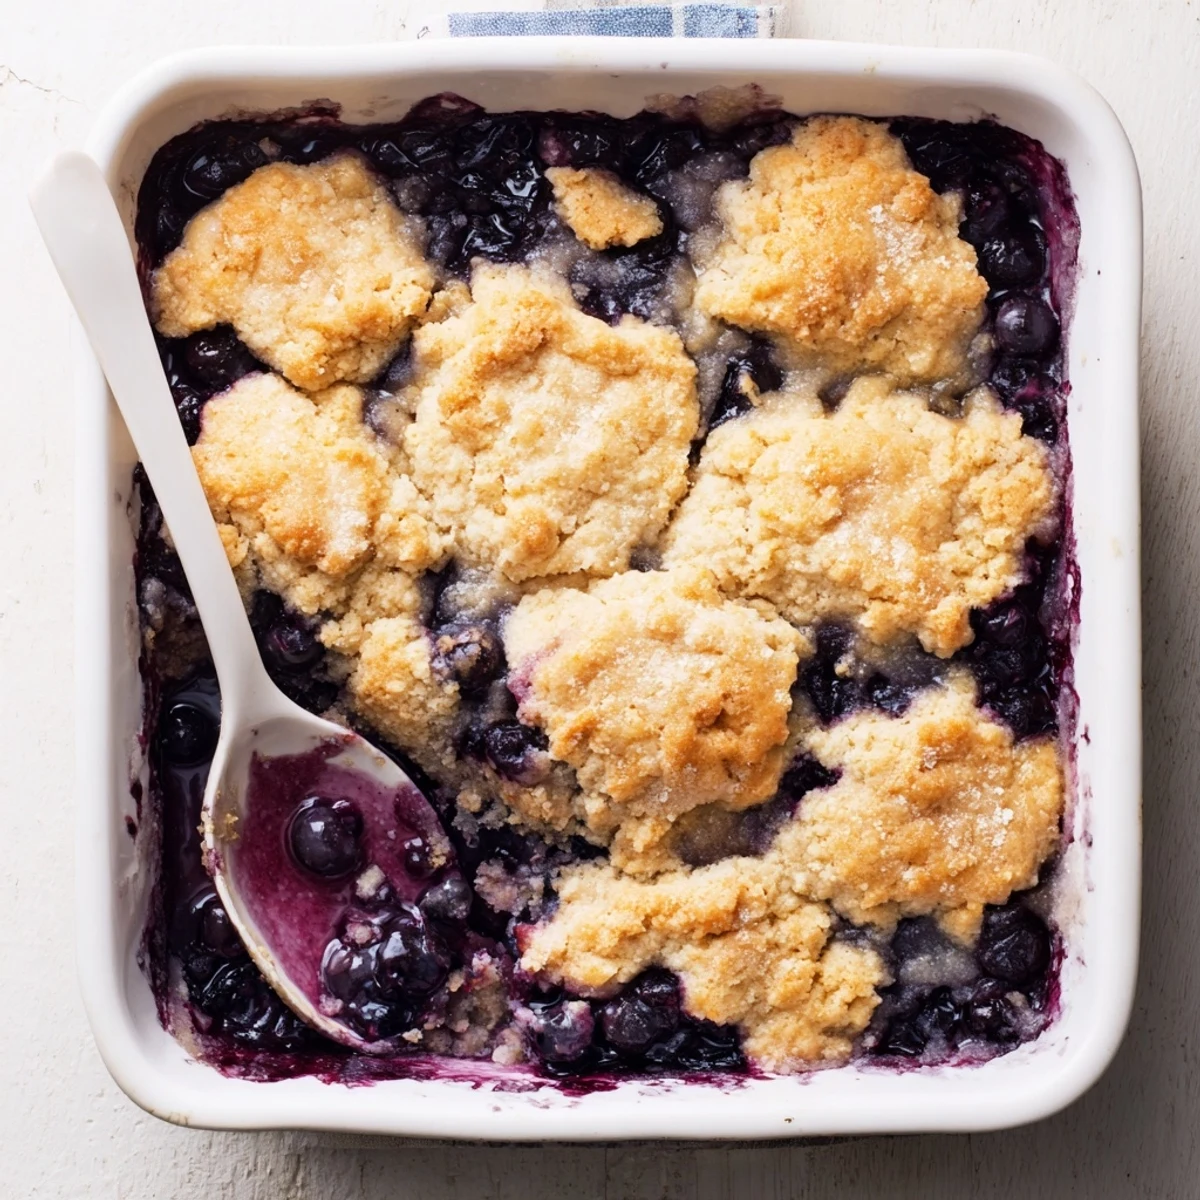
 This recipe has saved me countless times when unexpected guests show up or when I am craving something sweet but refuse to make a special grocery trip. There is something so satisfying about turning a forgotten freezer staple into a dessert that makes people close their eyes and hum with happiness.
Make Ahead Magic
You can assemble the entire cobbler up to eight hours before baking and keep it covered in the refrigerator. The berries might release more liquid as they sit, but the cornstarch handles that beautifully. Just add a couple minutes to the baking time since you are starting with cold filling.
Serving Suggestions
While vanilla ice cream is the classic choice and honestly perfect, I have also served this with a dollop of Greek yogurt for breakfast like it is totally acceptable to eat dessert before noon. A drizzle of heavy cream or a scoop of vanilla frozen yogurt work just as well if that is what you have on hand.
Storage And Reheating
Leftovers keep well covered at room temperature for two days, though the topping will soften as it sits. After that, move it to the refrigerator where it will last another three to four days. The microwave works for quick reheating, but a warm oven brings back that fresh baked texture better.
- Sprinkle coarse sugar on the topping before baking for extra crunch and sparkle
- Try mixing half blueberries with frozen raspberries or blackberries for a mixed berry version
- Check your cobbler at 35 minutes since oven temperatures vary and you do not want to overbake
 Pin It
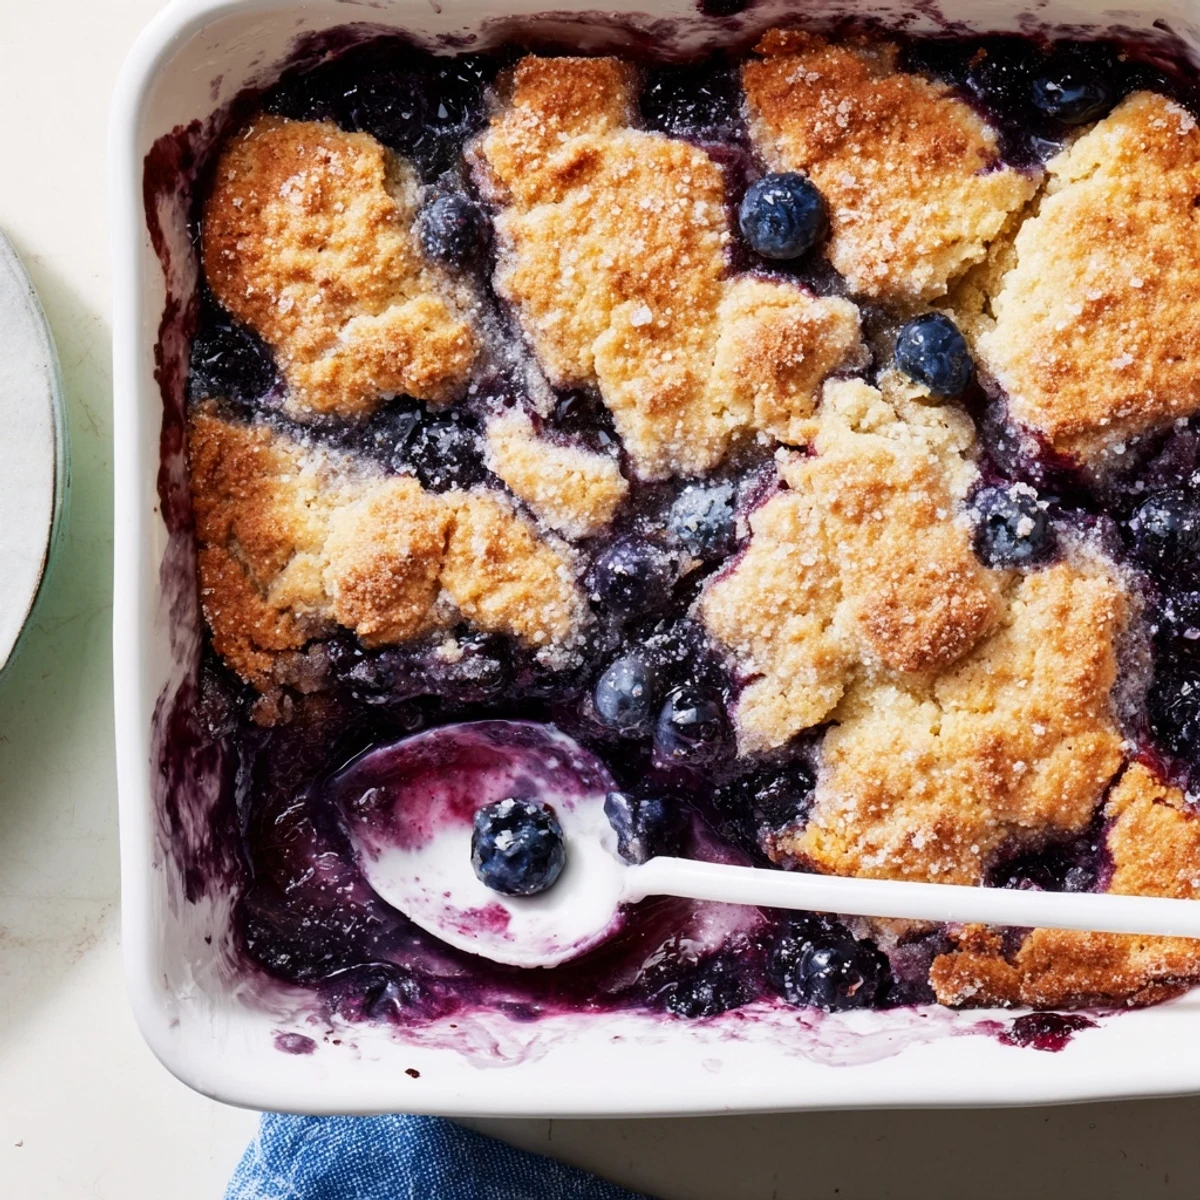
 Serve this warm and watch how something so simple can bring everyone to the table, lingering over dessert until every last spoonful is gone. That is what homemade baking is all about.
Recipe Questions
- → Do I need to thaw frozen blueberries before making cobbler?
-
No, you should not thaw the frozen blueberries. Use them directly from the freezer to prevent excess moisture that could make the topping soggy. The baking process will naturally release the berry juices creating that perfect bubbly fruit layer beneath the golden crust.
- → How do I know when the cobbler is done baking?
-
The cobbler is ready when the topping is golden brown and cooked through, typically 40-45 minutes at 375°F. You should see the berry filling bubbling up through gaps in the topping. Insert a toothpick into the biscuit portion—it should come out clean without any wet batter clinging to it.
- → Can I use fresh blueberries instead of frozen?
-
Yes, fresh blueberries work wonderfully in this cobbler. You may need slightly less cornstarch since fresh berries release less liquid than frozen ones. Use about 1.5 tablespoons instead of 2, and reduce the baking time by 5-10 minutes since fresh berries cook faster than their frozen counterparts.
- → Why is my cobbler topping dough so thick?
-
The thick batter is intentional for cobbler toppings. Unlike cake batter which is thin and smooth, cobbler dough should be scoopable and dense. This texture allows it to hold its shape on top of the fruit while baking, creating those irresistible golden-brown peaks and valleys that crisp up beautifully in the oven.
- → Can I make this cobbler dairy-free?
-
Absolutely. Substitute the whole milk with any plant-based milk like almond, oat, or coconut milk. Replace the unsalted butter with vegan butter sticks or coconut oil. The texture and flavor remain delicious with these simple swaps, making this dessert accessible for dairy-free guests while maintaining its comforting appeal.
- → How should I store leftover blueberry cobbler?
-
Cover the baking dish tightly with foil or transfer portions to an airtight container. Refrigerate for up to 4 days. The topping will soften slightly but retains its flavor beautifully. Reheat individual portions in the microwave for 30-45 seconds or warm the entire dish at 350°F for 15 minutes until heated through.
