 Pin It
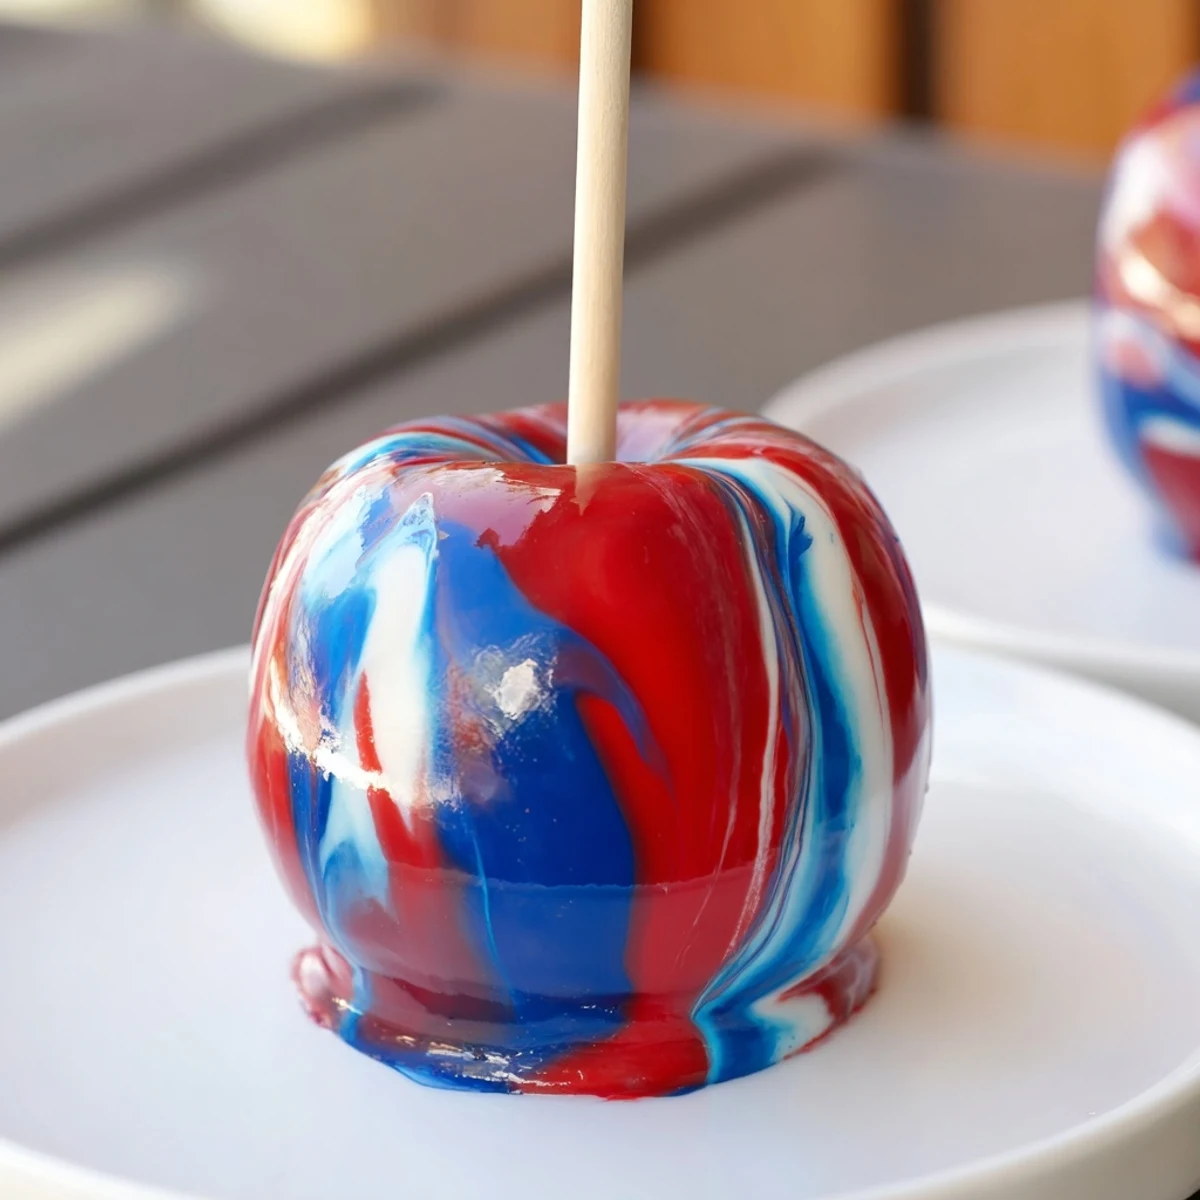
 Discover how to create marbled candy apples featuring crisp, fresh apples dipped in a glossy, swirled candy coating. By combining sugar, corn syrup, and food colorings, this method produces a vibrant, multi-colored marbled finish that adds a whimsical touch to any celebration. The mixture is cooked to the hard crack stage, then lightly swirled with red, blue, and white gel colors to create distinct streaks before dipping each apple. Allow to cool until the candy shell hardens to achieve a perfect glossy finish. Ideal for parties, holiday treats, or dessert displays.
The first time I attempted marbled candy apples, I stood over my stove with three bottles of food coloring, wondering if this would be a disaster or something magical. My kitchen smelled like warm sugar, and I remember holding my breath as I swirled those colors together—afraid to mix too much, but terrified the effect wouldn't show up. When that first apple came out with galaxies of red, blue, and white rippling across the surface, my daughter actually gasped. Now they are the most requested treat at every gathering we host.
Last autumn, I brought a batch to a Halloween potluck and watched them vanish in record time while people debated how I created such swirling perfection. Someone actually asked if I had purchased them from a specialty bakery, which I took as the highest compliment. There is something deeply satisfying about serving food that makes people stop and stare before they even take a bite.
Ingredients
- 8 medium apples: Granny Smith or Fuji work beautifully because their tartness balances the sweet candy coating and their smooth surface showcases the marbling
- 8 wooden sticks: Sturdy skewers or popsicle sticks that will not wobble when you are dipping hot candy
- 2 cups granulated sugar: The foundation of your candy shell, so use fresh sugar for the clearest, most glossy results
- 3/4 cup water: Just enough to dissolve the sugar and help the syrup flow smoothly during coating
- 1/2 cup light corn syrup: Prevents crystallization and keeps your candy shell glossy rather than grainy
- 1/2 tsp vanilla extract: Optional, but adds a lovely depth that cuts through the pure sweetness
- Gel food coloring in red, blue, and white: Gel colors are essential for vibrant, distinct marbling without thinning your hot syrup
Instructions
- Prepare your station:
- Line a large baking sheet with parchment paper or a silicone mat, then insert wooden sticks firmly into the stem end of each washed and thoroughly dried apple—any moisture will prevent the candy from adhering properly.
- Make the candy base:
- Combine sugar, water, and corn syrup in a heavy-bottomed saucepan, stirring over medium heat until the sugar completely dissolves and the mixture becomes clear.
- Reach the perfect temperature:
- Increase heat to high and bring to a boil without stirring—cook until your candy thermometer reads exactly 300°F, the hard crack stage, then remove from heat immediately to prevent burning.
- Create the marble magic:
- Add vanilla if using, then quickly drop in several drops each of red, blue, and white gel food coloring, swirling gently with a wooden skewer just until you see distinct streaks rather than fully mixed colors.
- Dip and swirl:
- Holding an apple by its stick, dip it into the hot candy syrup while turning to coat evenly and capture those gorgeous marbled patterns, letting excess drip for just a moment before placing on your prepared sheet.
- Work efficiently:
- Repeat with remaining apples, giving the syrup a brief swirl between dips to keep the marbling fresh and vibrant throughout the batch.
- Set completely:
- Let the apples cool undisturbed for about 15 minutes until the candy shell hardens completely and makes that satisfying crisp sound when tapped.
 Pin It
 My neighbor texted me the day after I first shared these, asking if I had a professional candy-making background because the shells were impossibly smooth. I had to laugh and explain that the only secret was patience and a good thermometer. Those moments when someone assumes store-bought quality are the ones that keep me coming back to the kitchen.
Getting The Most Stunning Marble Patterns
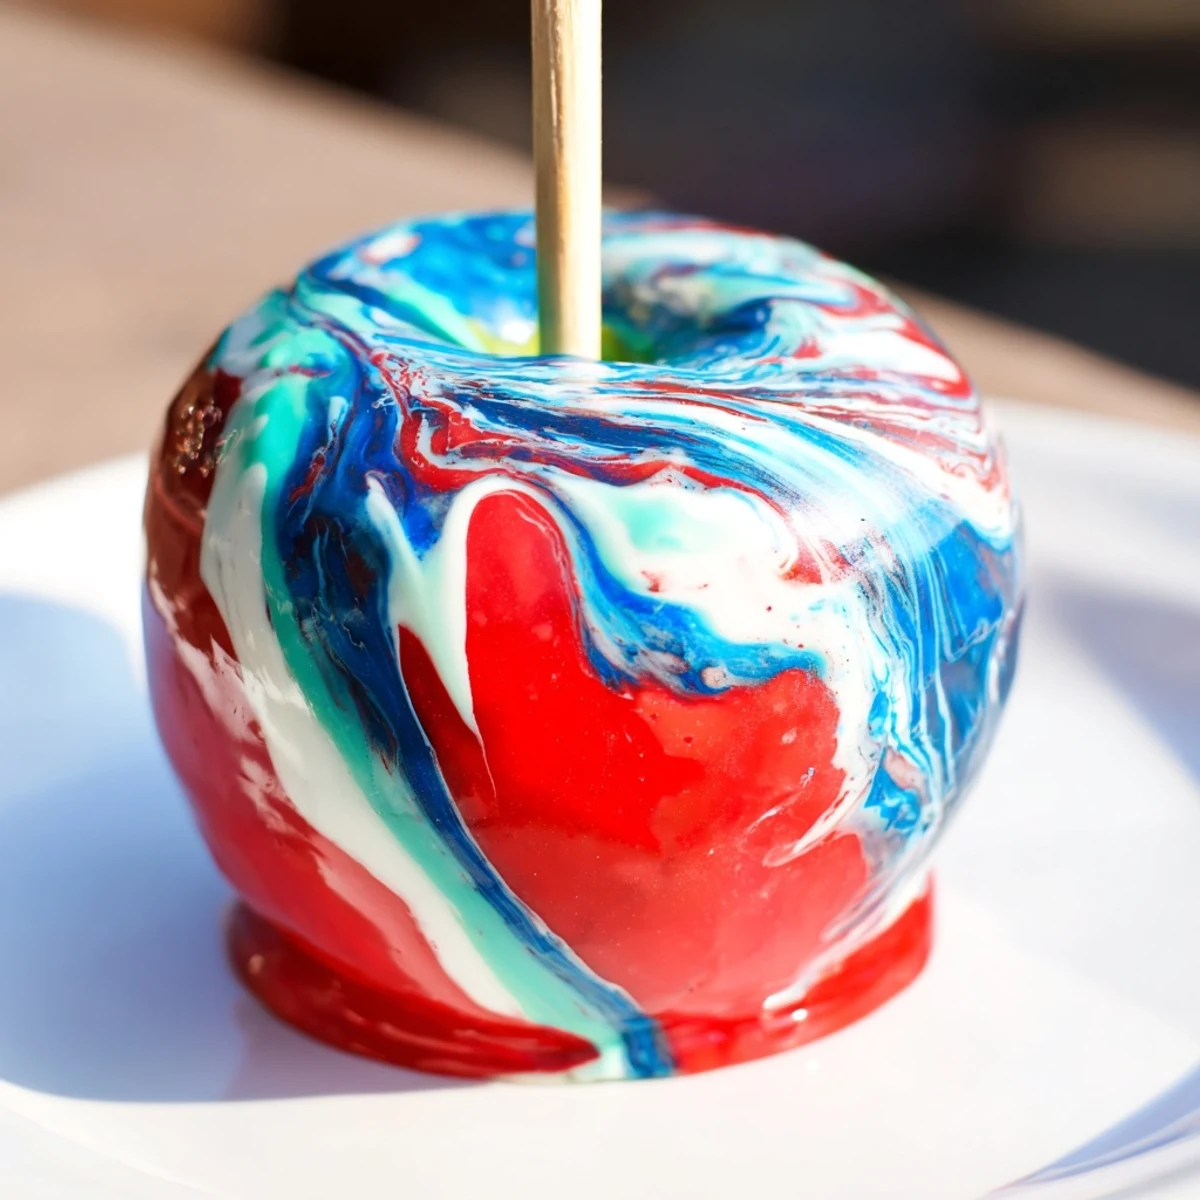
The beauty of marbling lies in restraint—swirl too much and you will end up with muddy purple instead of distinct ribbons of color. I have found that dragging the skewer through the hot syrup just three or four times creates the most dramatic effect. Let the colors streak and fold naturally rather than trying to force a specific pattern.
Rescuing Thickening Syrup
If you are working slowly and notice the syrup becoming too thick to coat smoothly, gently return it to low heat for just thirty seconds. Watch carefully—candy can go from perfect to burned in an instant. The syrup should coat the back of a spoon without running off but still flow freely enough to create even layers.
Serving And Storage
These apples are best enjoyed within 24 hours, as the moisture from the fruit eventually starts to soften the candy shell. Store them at room temperature, wrapped individually in clear cellophane bags if you are gifting them. The condensation from refrigeration will ruin that gorgeous glossy finish you worked so hard to achieve.
- Set up a dipping station with parchment ready before you even start cooking the sugar
- Work in a warm, dry kitchen—humidity can make the candy shell sticky instead of crisp
- If you want to experiment, try neon colors for a modern twist or gold and silver for an elegant holiday look
 Pin It
 There is something almost meditative about watching sugar transform into glass, and these marbled apples never fail to make me feel like an artist in my own kitchen. I hope they bring that same sparkle to your table and plenty of smiles to the people who get to enjoy them.
Recipe Questions
- → What type of apples work best for this marbled candy coating?
-
Firm, medium-sized apples like Granny Smith or Fuji provide the best crunch and hold the candy coating well without becoming soggy.
- → How do I achieve the marbled effect with the candy coating?
-
After cooking the syrup, add drops of red, blue, and white gel food coloring and swirl gently with a skewer without fully mixing to create visible marbled streaks.
- → What is the ideal temperature to cook the candy syrup to?
-
Cook the syrup to 300°F (150°C), the hard crack stage, to ensure a crispy, hard candy shell once cooled.
- → Can I store the coated apples, and for how long?
-
Yes, store at room temperature for up to 24 hours to maintain crispness and candy shell integrity.
- → Are there any tips for preventing the syrup from thickening too fast during coating?
-
If the syrup thickens before all apples are dipped, gently rewarm it over low heat to regain proper consistency.
