 Pin It
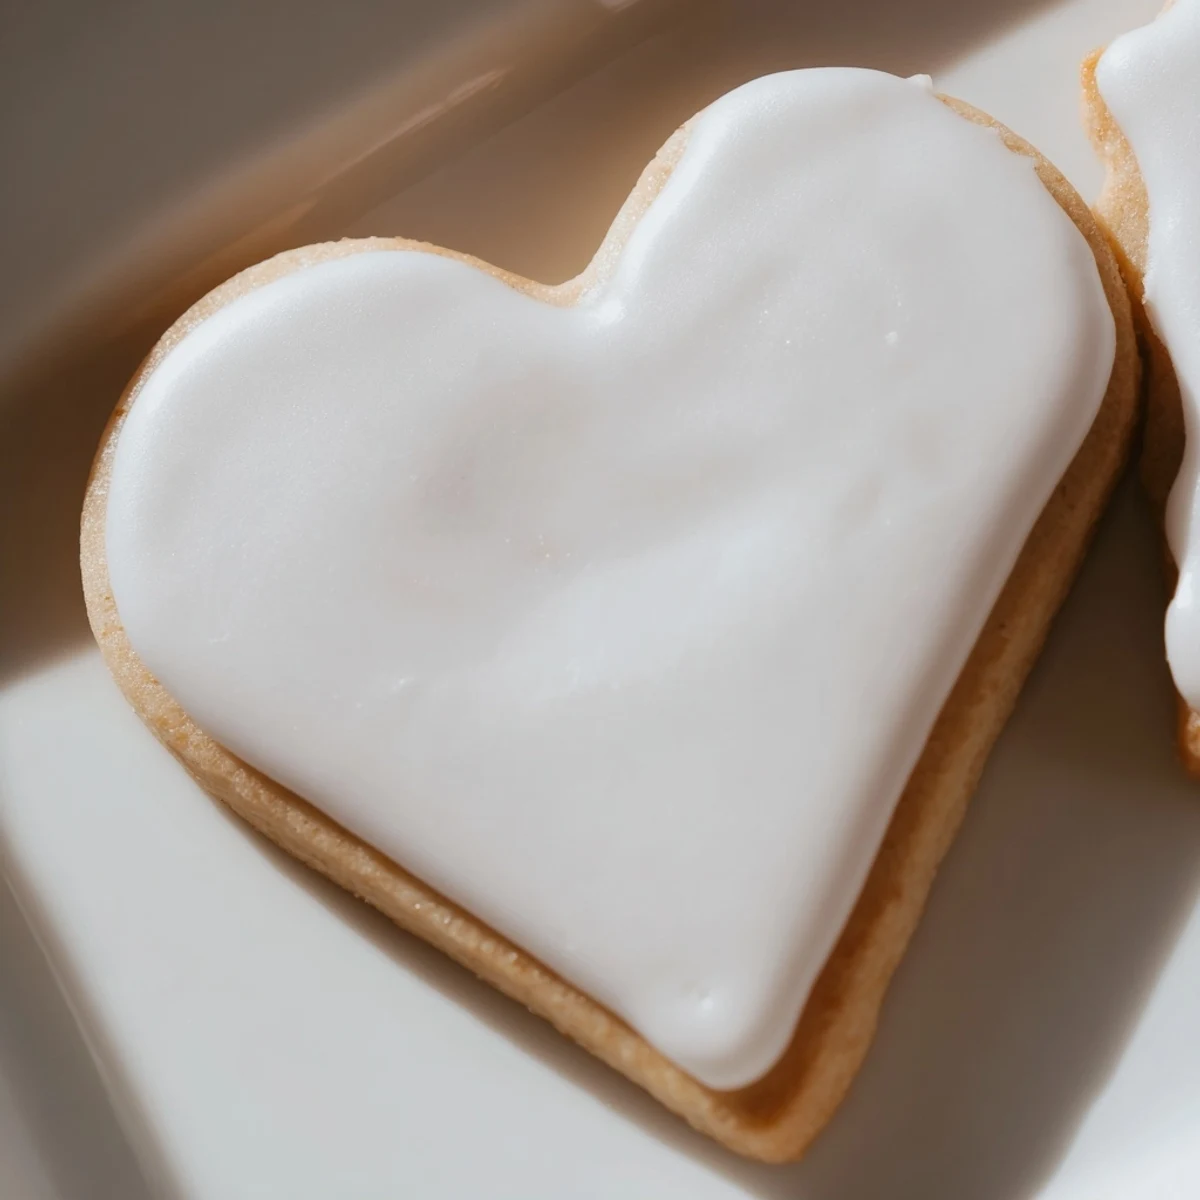
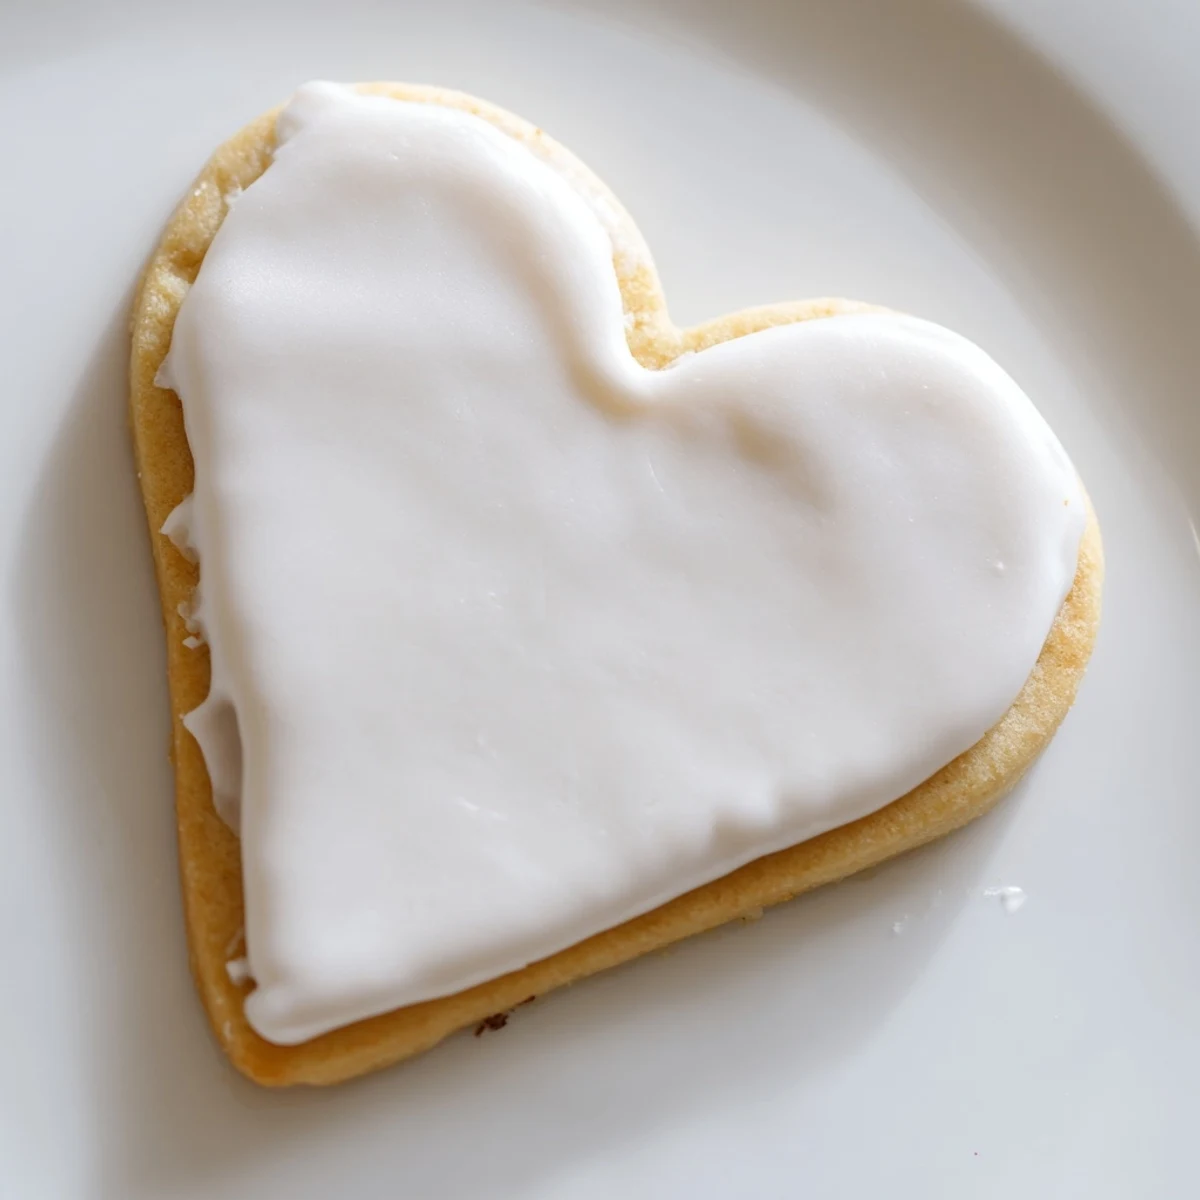
 Create classic buttery heart-shaped cookies cut with a cookie cutter and adorned with stunning royal icing. This medium-difficulty dessert combines a smooth dough chilled for tenderness with a crisp, glossy icing topping. Yields approximately 24 cookies perfect for Valentine's Day, holidays, or gift-giving.
The kitchen windows were frosting over last February when I first perfected these heart-shaped sugar cookies. Outside, snow fell in fat, lazy flakes while inside, my countertop disappeared under a dusting of flour and a parade of red and pink royal icing bowls. The buttery vanilla scent filled every corner of the house, drawing my family in one by one with curious smiles.
Last Valentines Day, my daughter and I made these cookies together for her class party. She was so focused, her tongue poking out slightly as she carefully piped wobbly pink borders around each heart. When a neighbor dropped by unexpectedly, we sent her home with a small box of our creations, still slightly warm and fragrant with vanilla.
Ingredients
- Unsalted Butter: Make sure its properly softened but not melty, as I once rushed this step and ended up with cookies that spread too much and lost their crisp edges.
- Meringue Powder: This secret weapon gives royal icing its signature hardening quality without raw eggs, something I discovered after years of frustrating icing experiences.
- Pure Vanilla Extract: The real stuff makes all the difference, lending a warm depth that artificial vanilla simply cant replicate.
- All-Purpose Flour: Ive found measuring by weight rather than volume ensures consistent results every single time.
Instructions
- Prepare the dough:
- Whisk your dry ingredients first, creating a little cloud of flour above the bowl that reminds me of winter mornings. In a separate bowl, cream the butter and sugar until its light and genuinely fluffy, about 2-3 minutes.
- Add the wet ingredients:
- Beat in that golden egg and vanilla until the mixture looks smooth and silky. The vanilla scent will start to bloom now, giving you that first hint of cookie magic.
- Combine and chill:
- Gradually add your flour mixture, watching the transformation from wet to perfect dough consistency. Wrap the divided dough discs tightly in plastic and let them rest in the refrigerator for at least an hour, though overnight works beautifully too.
- Roll and cut:
- On a lightly floured surface, roll the dough to 1/4-inch thickness, pressing firmly but gently. The cool dough should feel smooth beneath your rolling pin, not sticky or crumbly.
- Bake to perfection:
- Place your heart shapes on parchment-lined baking sheets and slide them into a preheated 350°F oven. Keep a watchful eye around the 8-minute mark for that barely-golden edge that signals theyre done.
- Mix the royal icing:
- Combine powdered sugar and meringue powder in a clean, grease-free bowl before adding warm water. Beat slowly at first to avoid a sugar storm, then increase speed until the icing forms stiff, glossy peaks.
- Decorate with love:
- Once cookies are completely cool, pipe borders and flood with royal icing in whatever colors make you happy. I find the steady back-and-forth motion of flooding the cookies to be unexpectedly meditative.
 Pin It
 On my parents anniversary last spring, I packaged a dozen of these heart cookies in a vintage tin and delivered them across town. My father, who rarely shows emotion, took one bite and quietly mentioned that my grandmother used to make similar cookies when he was a child, a story Id never heard before.
Getting the Perfect Heart Shape
I used to struggle with cookies that puffed up too much and lost their defined edges until I discovered that cutting the shapes and then placing the entire parchment-lined tray in the freezer for 5 minutes before baking makes all the difference. The cold dough sets faster in the oven before it has a chance to spread, preserving those perfect heart contours.
Royal Icing Consistency Tips
The first time I tried royal icing, it was either too runny or concrete-hard with nothing in between. Now I know the secret is adding water literally a few drops at a time, testing by lifting my spoon and counting how long it takes for the drizzle to disappear back into the icing. For outlining, I want a 15-second icing, while flooding needs an 8-second consistency.
Make-Ahead and Storage Options
One December, I learned these cookies actually taste better on day two, as the flavors have time to develop and meld together. The dough can be refrigerated for up to three days or frozen for a month, which saved me when unexpected guests arrived and I needed something special quickly.
- If freezing decorated cookies, place them in a single layer until the icing is completely set, then stack between layers of parchment in an airtight container.
- Royal icing can be made 24 hours ahead and stored covered with a damp cloth and plastic wrap to prevent crusting.
- For gift-giving, these cookies hold their beauty for at least a week when properly stored away from humidity.
 Pin It
 There's something magical about watching someone's face light up when they receive a cookie made with care. These hearts carry more than sweetness, they carry moments of connection.
Recipe Questions
- → How far in advance can I bake these cookies?
-
Bake cookies up to 3-4 days ahead and store in an airtight container at room temperature. Decorate with royal icing the day before serving for best results.
- → What's the best way to achieve crisp edges?
-
Bake at 350°F for 8-10 minutes until edges just begin to turn golden. Don't overbake, as they continue to firm as they cool on the wire rack.
- → How do I get royal icing to the right consistency?
-
Add water gradually, a few drops at a time. For flooding, aim for a thin consistency that spreads smoothly. For piping, maintain stiff peaks that hold their shape.
- → Can I make the dough ahead of time?
-
Yes, prepare the dough up to 2 days in advance. Wrap discs in plastic wrap and refrigerate. Let dough soften slightly before rolling for easier handling.
- → What's the best way to color the royal icing?
-
Use gel food coloring rather than liquid, as it won't thin the icing. Add color drop by drop with a toothpick, stirring thoroughly until evenly distributed.
- → How do I prevent cookies from spreading during baking?
-
Chill the dough for at least 1 hour and use chilled baking sheets. Space cookies 1 inch apart. Cold dough holds its shape better in the oven.
