 Pin It
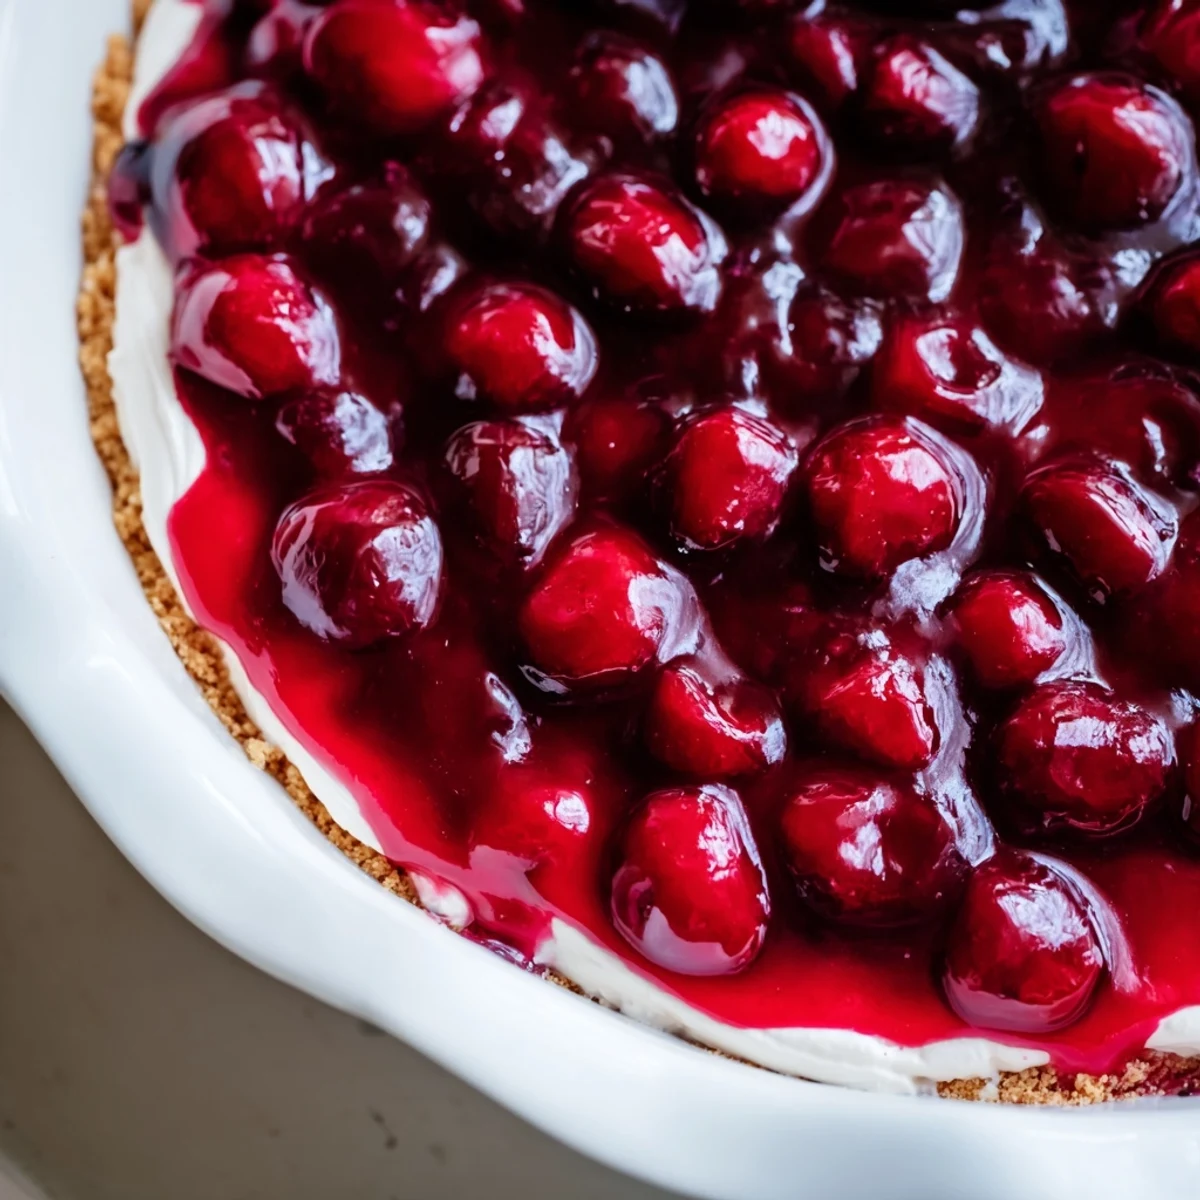
 This Classic Cherry Delight layers a buttery graham cracker base with smooth cream cheese filling and luscious cherry topping. The no-bake method makes it perfect for warm days or when you need an impressive dessert without heating up the kitchen. Ready in just 20 minutes of active prep time, it sets in the refrigerator for at least two hours until firm and sliceable.
The combination of textures creates a delightful experience—crunchy crust, creamy filling, and juicy fruit. Each bite balances sweet cherries with tangy cream cheese, while the graham crackers provide essential structure and nutty flavor. The 9x13-inch pan yields eight generous servings, making it ideal for potlucks, holidays, or family gatherings.
The summer I turned twelve, my neighbor Mrs. Higgins brought over this cherry layered dessert after my mom had surgery. I remember being skeptical about the bright red filling against all that white creamy goodness, but one spoonful changed everything. That night, I ate three squares while watching sitcoms at the kitchen counter. Now whenever cherries come back in season, I'm instantly transported back to that humid June evening with the screen door banging shut.
Last July, I made six of these for my daughter's birthday party because she wanted something red and impressive but refused to touch anything with actual fruit pieces. All the moms asked for the recipe while the kids demolished every last crumb. I found one dish pushed to the back of the fridge the next morning and ate it cold for breakfast while everyone else slept.
Ingredients
- Graham cracker crumbs: Freshly crushed give you the best texture, but the store bought ones work perfectly fine when you are rushing
- Unsalted butter: Melt it completely and let it cool slightly so it binds everything together without making the crust soggy
- Granulated sugar: Just enough to sweeten the crust without overpowering the creamy layers above
- Cream cheese: Absolutely must be softened to room temperature or you will fight lumps forever
- Powdered sugar: Sift it if you have the patience, but I usually just whisk it in vigorously
- Vanilla extract: Pure vanilla makes such a difference here, dont waste your money on the imitation stuff
- Whipped topping: Homemade whipped cream is lovely, but the frozen stuff actually holds up better in this particular dessert
- Cherry pie filling: The classic canned version creates that perfect glossy layer we all remember from childhood potlucks
Instructions
- Build the foundation:
- Mix graham cracker crumbs, melted butter, and granulated sugar until every piece is coated and the mixture holds together when squeezed. Press it firmly into your baking dish using the bottom of a measuring cup for an even layer that will not crumble when you slice later.
- Make the clouds:
- Beat that softened cream cheese until it is completely smooth with zero lumps remaining. Add powdered sugar and vanilla, mixing until combined, then fold in the whipped topping gently until everything is uniform.
- Layer it up:
- Spread the cream cheese mixture over your crust, taking care to cover the edges completely so every bite has that perfect ratio. Spoon the cherry filling over the top and spread it as gently as possible so you do not pull up any of the white layer beneath.
- The hardest part:
- Cover the dish and refrigerate for at least two hours, though honestly four is better if you can plan ahead. The chilling time lets everything set properly so you get those clean layers when you cut into it.
 Pin It
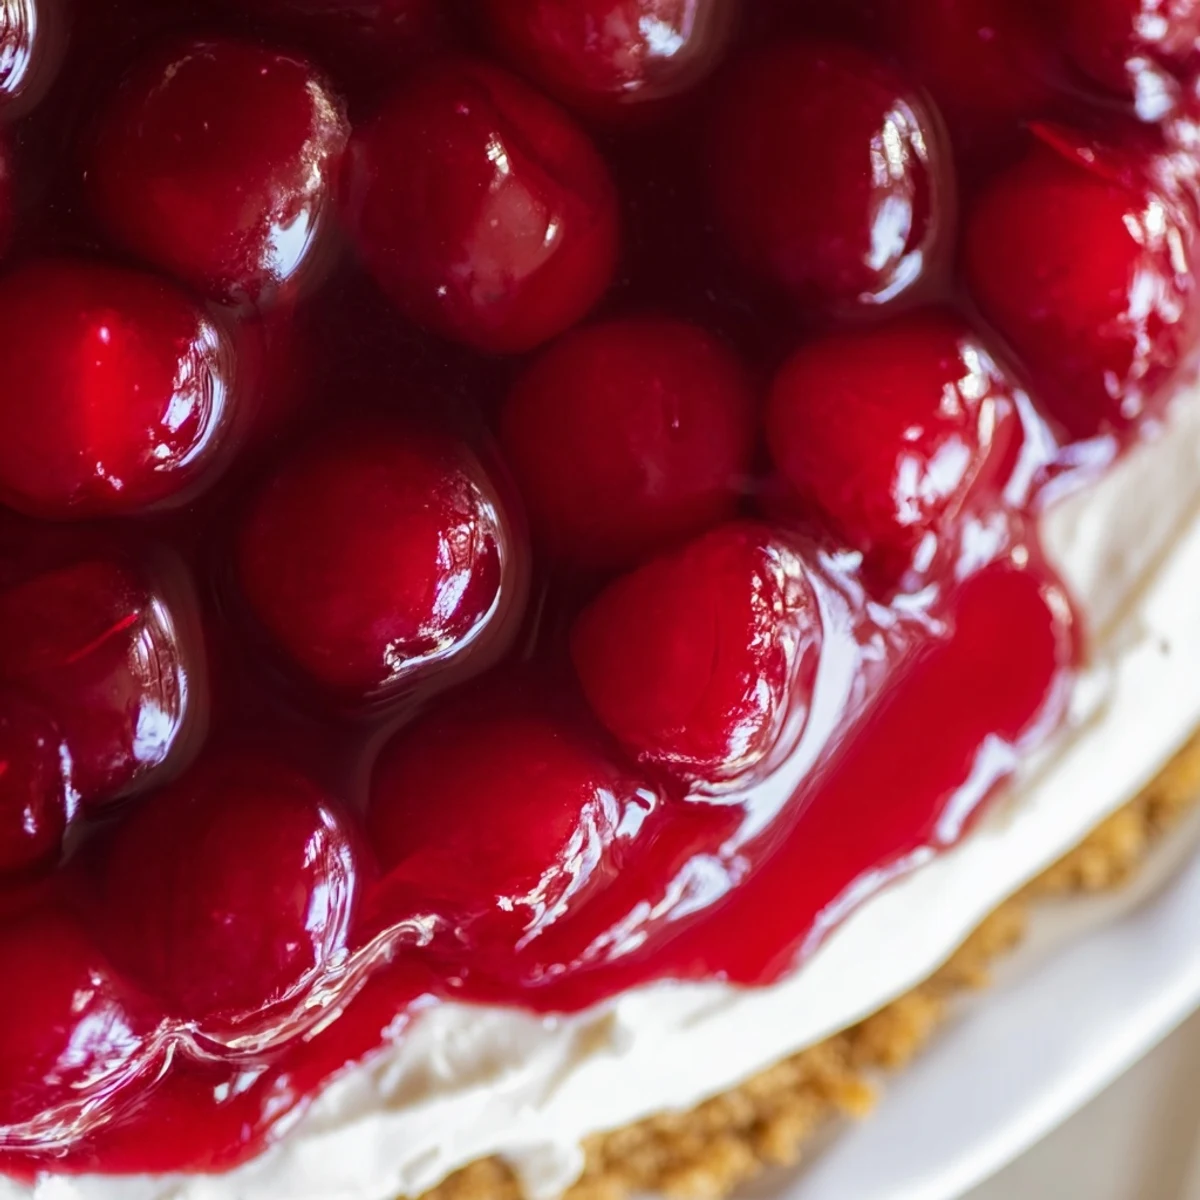
 My grandmother started making this for every holiday gathering once she discovered how much we loved it. She would line the edge of the dish with extra graham cracker crumbs because she knew those were my favorite part. Now whenever I see that pattern of red on white on tan, I can practically hear her laughter from the kitchen doorway.
Make It Your Own
I have experimented with every fruit filling in the grocery store aisle. Blueberry works beautifully, and strawberry gives you this gorgeous pink layer that looks stunning at baby showers or Valentine's Day. The lemon curd version I tried last spring was unexpectedly sophisticated, though my husband still votes for the classic cherry every single time.
Serving Suggestions
This dessert needs to stay cold until the moment you serve it, so plan accordingly. I keep it in the fridge until literally five minutes before dessert time, then transfer it to a pretty serving platter. A few fresh cherries on top make it look like you tried much harder than you actually did.
Storage and Make Ahead Tips
The beautiful thing about this recipe is how well it handles being made ahead of time. You can prepare it up to two days in advance, though the crust will soften slightly after day two.
- Cover tightly with plastic wrap, pressing it directly against the surface to prevent any weird fridge flavors
- Let it sit at room temperature for ten minutes before serving so it is not rock hard
- This actually freezes surprisingly well for up to a month if you need to get ahead for a big event
 Pin It
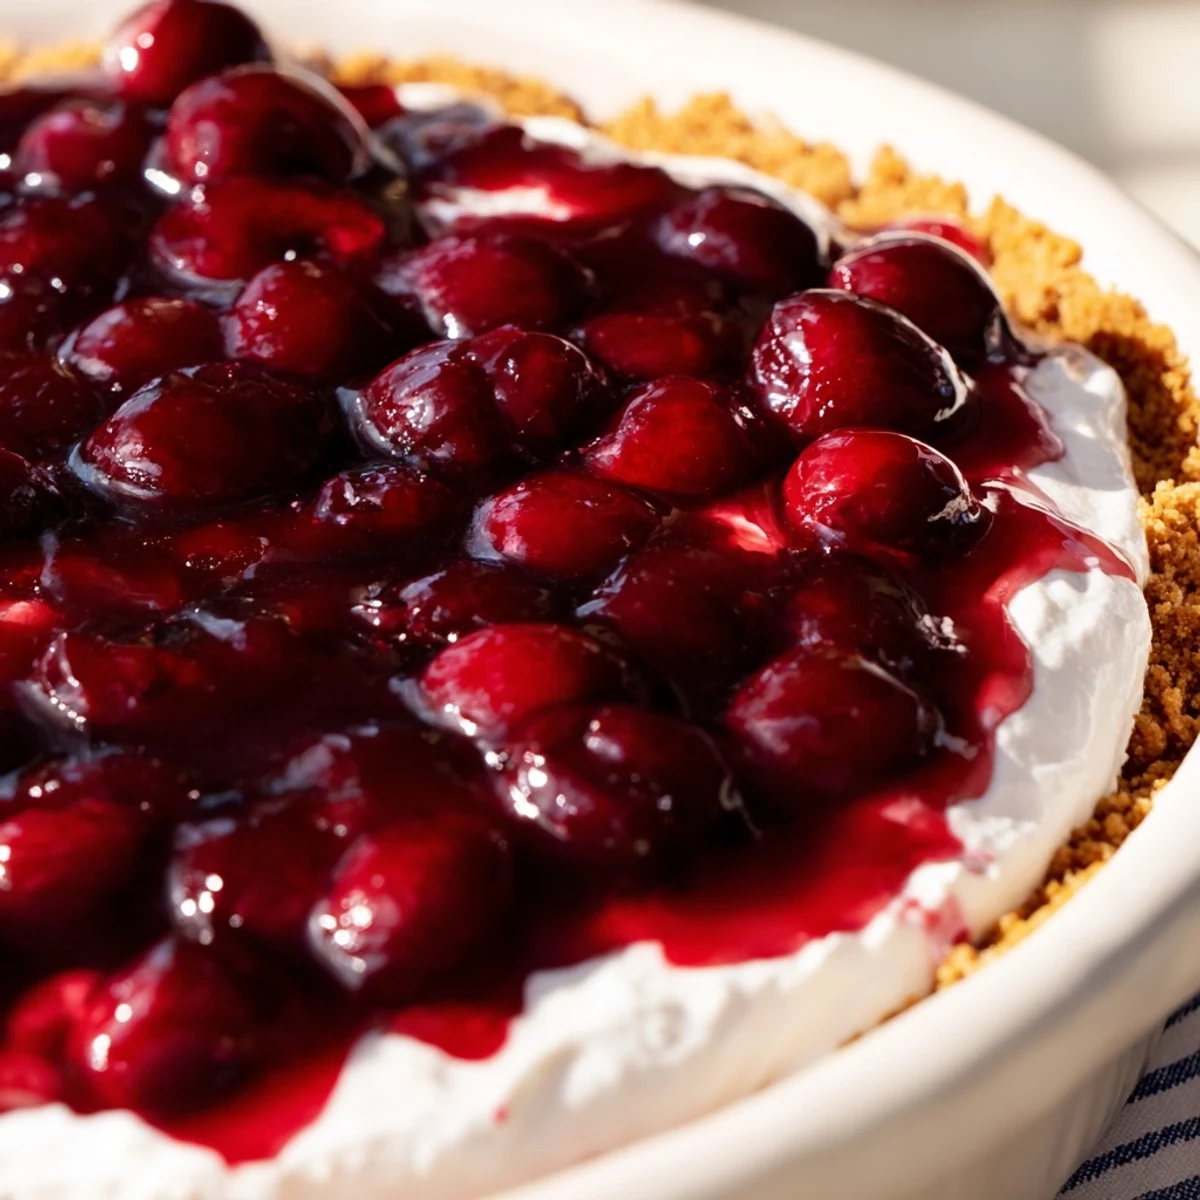
 There is something deeply satisfying about serving a dessert that looks this impressive but required zero actual cooking. Whether you are feeding a crowd or just treating yourself on a random Tuesday, this cherry delight never fails to make everyone smile.
Recipe Questions
- → How long does Cherry Delight need to chill?
-
Refrigerate for at least 2 hours before serving to allow the layers to set properly. The cream cheese filling firms up during chilling, making clean slices possible. You can make it up to 24 hours in advance—the flavors meld beautifully overnight.
- → Can I use fresh cherries instead of pie filling?
-
Fresh cherries work well but require cooking down with sugar and cornstarch to create a thick, spreadable consistency. Simmer pitted cherries with 1/4 cup sugar and 1 tablespoon cornstarch until thickened, about 10-15 minutes. Cool completely before layering.
- → What's the best way to get clean slices?
-
Chill thoroughly—at least 2 hours, but overnight is better. Use a sharp knife dipped in hot water, wiping clean between cuts. For perfectly uniform squares, you can lift the entire dessert out of the pan using parchment paper overhangs before slicing.
- → Can I make this gluten-free?
-
Substitute gluten-free graham-style crackers or crushed gluten-free vanilla cookies for the crust. Ensure all other ingredients, especially whipped topping, are certified gluten-free. The texture remains nearly identical to the traditional version.
- → How should I store leftovers?
-
Cover tightly with plastic wrap or aluminum foil and refrigerate for up to 4 days. The graham cracker crust may soften slightly over time but remains delicious. Avoid freezing—the texture of the cream cheese layer and cherries becomes grainy and watery when thawed.
