 Pin It
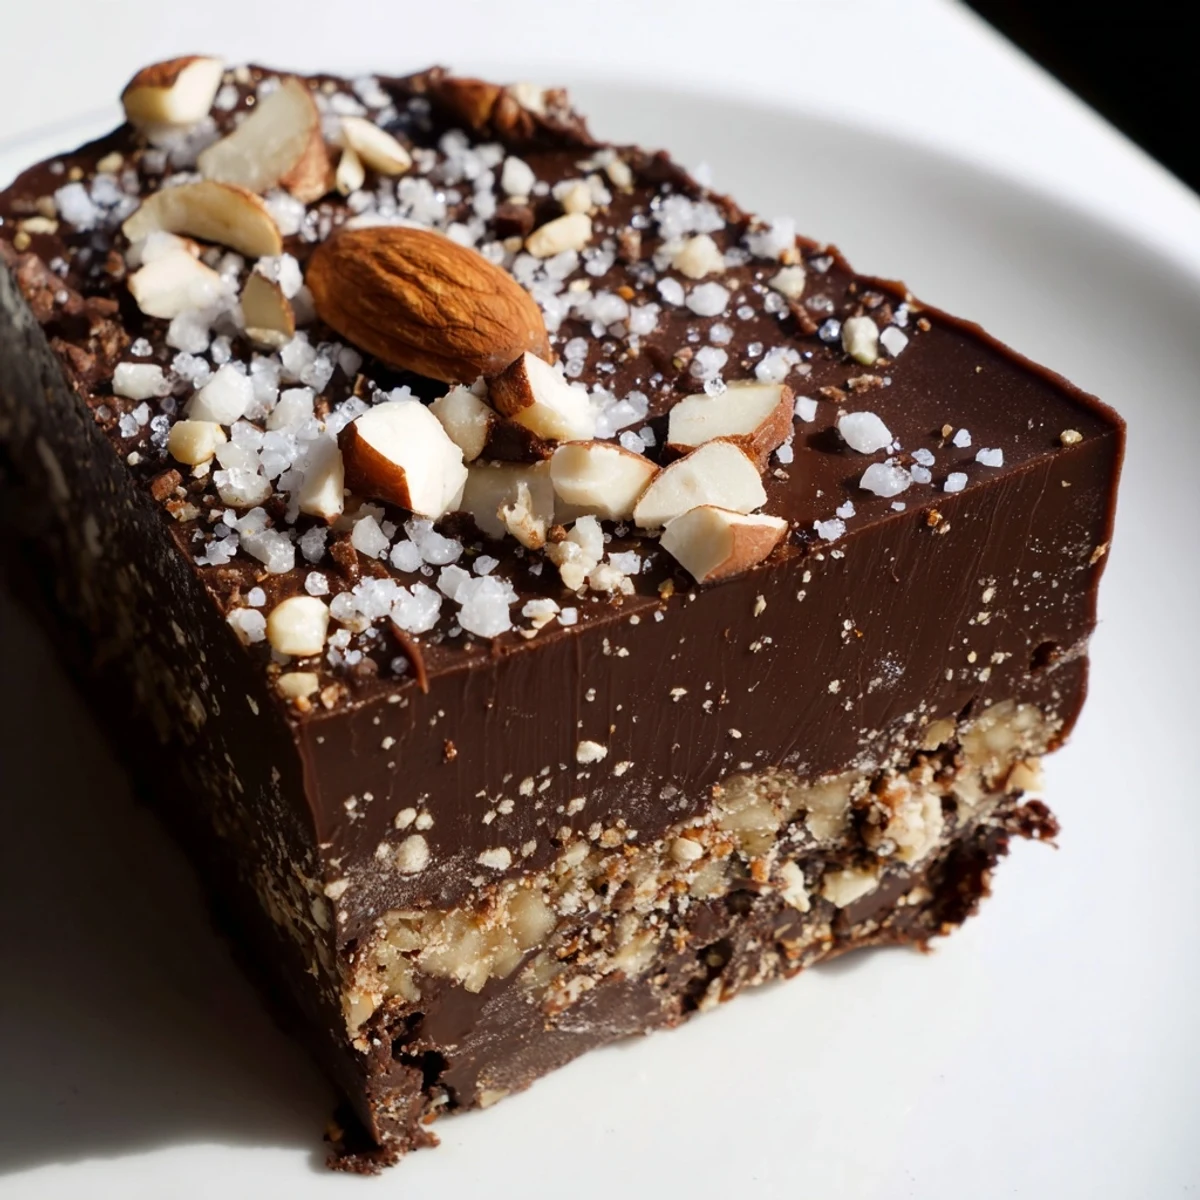
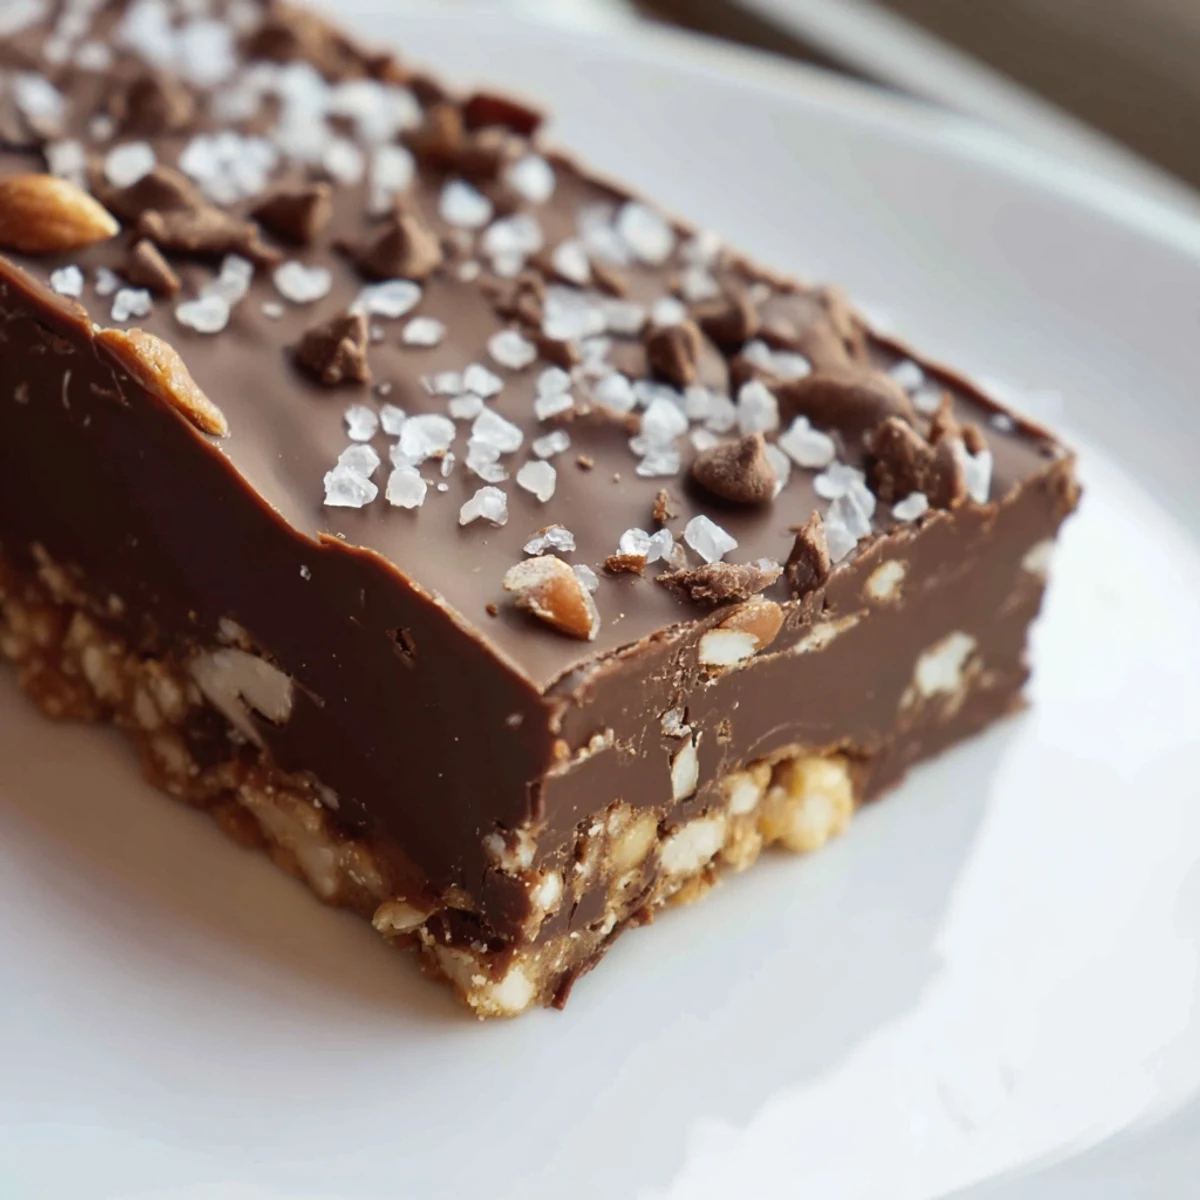
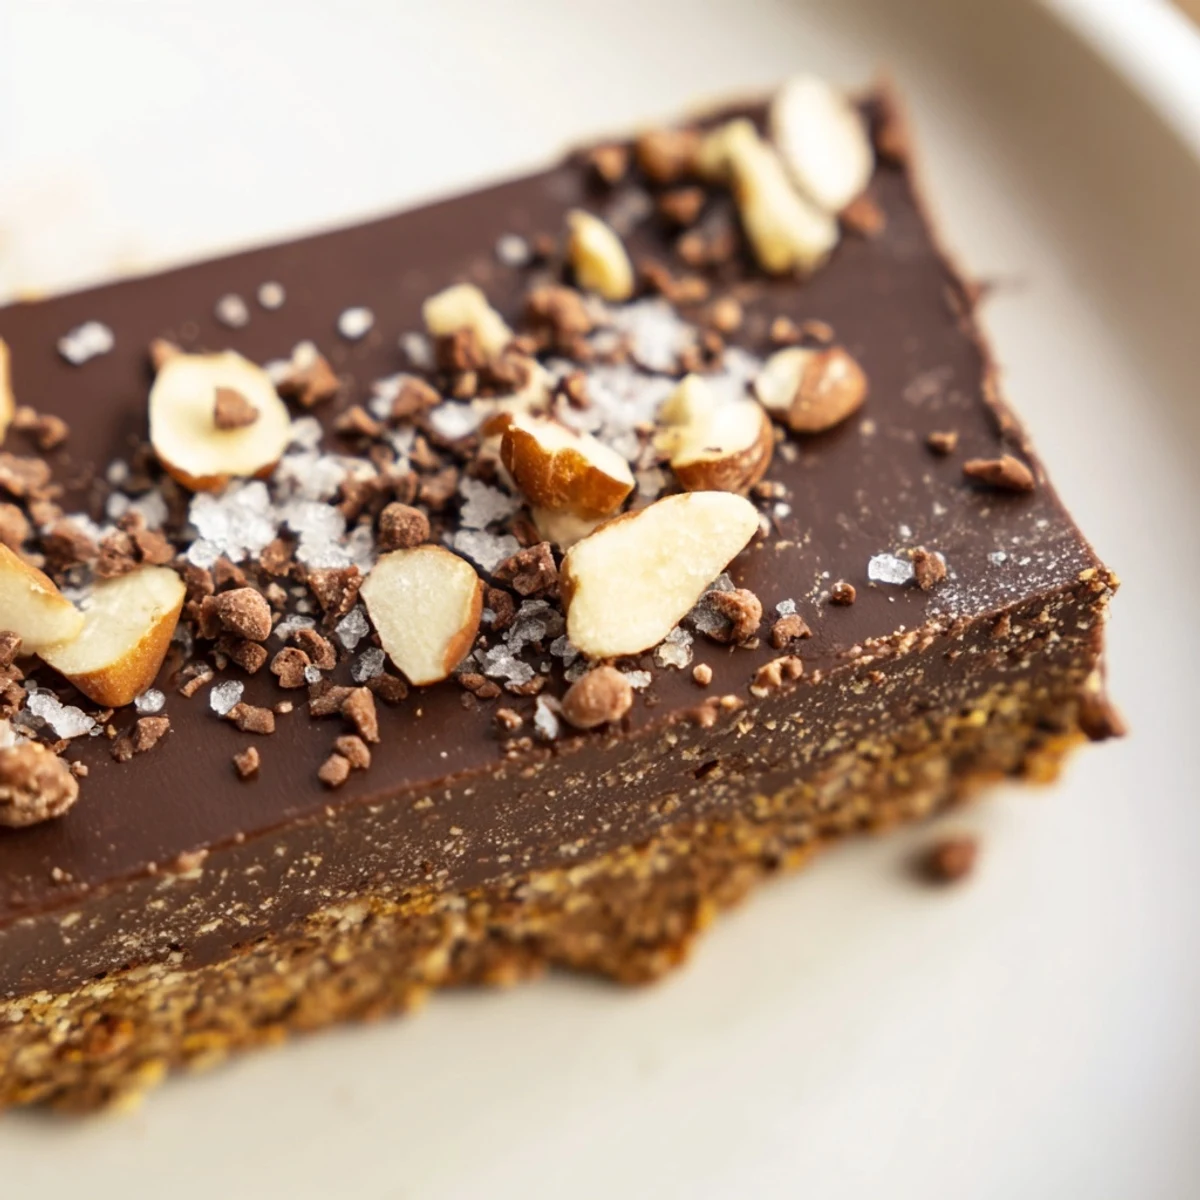
 This luscious bar combines a buttery biscuit base with a rich, silky chocolate layer. No baking required, it’s chilled to set into perfect squares. Optional nuts and chocolate chips add texture and flavor, while vanilla and a pinch of salt enhance the sweetness. Serve chilled or at room temperature for a satisfying sweet treat that’s quick to prepare and delightful to share.
There's something about chocolate that stops time in the kitchen. One rainy afternoon, I was hunting through the pantry for something quick to make, and I found a dusty box of digestive biscuits next to some decent chocolate. Within minutes, I'd melted the chocolate, pressed down the buttery crumb base, and realized I was holding something special—no oven required, just layers of pure comfort that would be ready before dinner.
I brought these to a potluck once, wrapped in parchment, and watched them disappear within minutes while people debated whether they were store-bought or homemade. The secret, I realized, isn't complicated techniques—it's the quality of the chocolate and knowing exactly when to pull them from the fridge, when they're still just slightly soft but perfectly set.
Ingredients
- Digestive biscuits or graham crackers, crushed (200 g): These form the sturdy backbone of the bars, and crushing them by hand in a bag is oddly therapeutic.
- Unsalted butter, melted (100 g): Use good butter—it's your binder and your flavor foundation.
- Granulated sugar (2 tbsp): Just enough sweetness to balance the biscuit's subtle grain.
- Semisweet or milk chocolate, chopped (250 g): Chopping it yourself means faster, more even melting than chocolate chips.
- Heavy cream (100 ml): This transforms chocolate into silk; don't skip it or use something lighter.
- Vanilla extract (1 tsp): A small but mighty detail that rounds out the chocolate's flavor.
- Chopped nuts, chocolate chips, and sea salt (optional): These are your finishing flourish, the moment you make the bars your own.
Instructions
- Line and prep the pan:
- Cut a square of parchment paper and press it into your baking pan, leaving edges hanging over the sides—this is your future handle for lifting the whole thing out cleanly.
- Build the buttery base:
- Combine the crushed biscuits, melted butter, and sugar in a bowl until it resembles damp sand, then press it down firmly into the pan with the bottom of a measuring cup. This 10-minute chill firms it up so the chocolate layer won't sink in.
- Melt the chocolate gently:
- Whether you use a double boiler or microwave in 30-second bursts, the goal is smooth, glossy chocolate without any seized or grainy texture. Stir in the vanilla at the very end.
- Layer and top:
- Pour the chocolate over the chilled base and spread it even with a spatula, then scatter your chosen toppings while it's still warm enough to set them in place.
- Chill until firm:
- One hour in the refrigerator transforms everything into clean, cuttable bars; overnight is even better if you have the patience.
- Cut and serve:
- Use a sharp, hot knife (wipe it clean between cuts) to slice through the bars without cracking the chocolate layer.
 Pin It
 I made these for my neighbor who'd just moved in, and she came back three days later asking if I'd teach her. We stood in my kitchen at 6 a.m., still in our pajamas, pressing down the base together while she told me about her late grandmother's chocolate obsession. Food has a way of opening doors like that.
Chocolate Selection Matters More Than You Think
The chocolate you choose is the entire personality of this dessert. I started with whatever chocolate was on sale and wondered why my bars tasted flat until I switched to a brand I actually enjoyed eating straight from the wrapper. The difference isn't subtle—it's the difference between a pleasant treat and something you'll crave. If you lean toward dark, go rich; if you want sweeter, milk chocolate won't let you down.
Make It Your Own
The optional toppings aren't really optional if you ask me—they're where personality happens. One week I used toasted hazelnuts and fleur de sel, the next I pressed in crushed pretzels for salt and crunch. I've even layered a thin ribbon of peanut butter between the base and chocolate, and that version became the one people asked for by name.
Storage and Serving Wisdom
These bars live happily in the refrigerator for up to five days in an airtight container, though they'll soften slightly at room temperature—which is actually delicious if you like them a touch more indulgent. Cold straight from the fridge gives you that snappy chocolate crack when you bite down, while room temperature tastes creamier and less austere.
- Store them layered between parchment so they don't stick together.
- Cut them the day before serving if you're bringing them somewhere, so the chocolate has time to fully set.
- If your kitchen is very warm, keep them chilled until the last moment before eating.
 Pin It
 These bars remind me that the simplest recipes often bring the most joy. There's honesty in chocolate and butter and nothing else.
Recipe Questions
- → Can I use dark chocolate instead?
-
Yes, dark chocolate works well for a richer, more intense flavor in the bar.
- → How long should the bars chill?
-
Chill for at least one hour so the chocolate layer sets firmly over the biscuit base.
- → Can I substitute the nuts?
-
Absolutely. You can omit nuts or replace them with toasted seeds for a nut-free alternative.
- → Is melting the chocolate best done with a double boiler?
-
Using a double boiler ensures gentle melting and smooth texture, but microwave intervals also work well.
- → What is the best way to serve these bars?
-
Serve chilled or at room temperature for the best texture and flavor balance.
