 Pin It
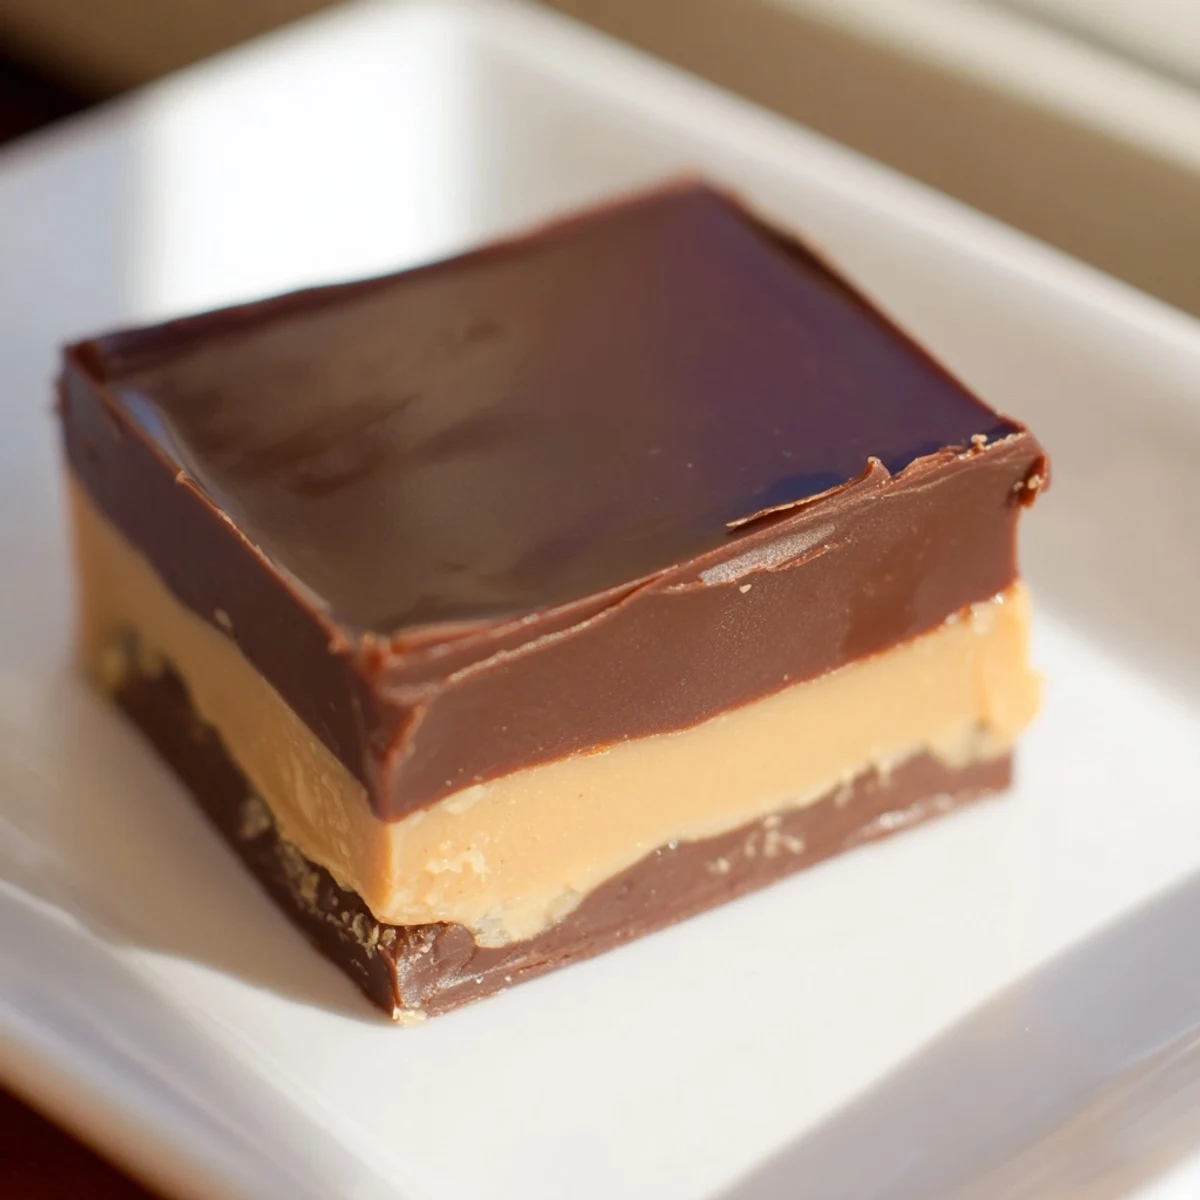
 This luscious dessert blends velvety semisweet chocolate with creamy peanut butter in layered form. The process involves melting chocolate with sweetened condensed milk, spreading and chilling it before adding a sweet peanut butter mixture. After layering again with chocolate, it chills until firm, resulting in a rich, satisfying treat with a smooth texture and balanced nutty flavor. This easy-to-make delight is perfect for sharing or gifting, with options for added crunch or dairy-free substitutions.
The snow was falling sideways when I decided we needed something fiercely sweet and comforting. I raided the pantry and found chocolate chips and a jar of peanut butter looking back at me like they were waiting for this exact moment. Two hours later, my kitchen smelled like a chocolate factory, and I watched through the window as the world turned white while we sat there with fudge melting on our tongues.
Last December, my neighbor stopped by to return a borrowed book and left with half the pan. She texted me that evening saying it disappeared before her husband even got home from work. Now every time there is a birthday in the neighborhood, I get a hopeful text asking if that chocolate peanut butter stuff might be making an appearance.
Ingredients
- Semisweet chocolate chips: The slight bitterness balances the sweet peanut butter layer perfectly. Do not use milk chocolate or the fudge becomes cloying.
- Sweetened condensed milk: This is what makes the texture impossibly smooth and creamy. Eagle Brand works beautifully but any quality brand yields good results.
- Unsalted butter: Use real butter here. The fat content matters for that melt in your mouth quality you want from fudge.
- Vanilla extract: Use pure vanilla, not imitation. The warm notes bridge the gap between chocolate and peanut butter flavors.
- Creamy peanut butter: Jif or Skippy give the most consistent results because they are already smooth and emulsified. Natural peanut butters can separate.
- Powdered sugar: This stabilizes the peanut butter layer so it sets up properly. Sift it first to avoid any gritty texture.
Instructions
- Prep your pan like you mean it:
- Crumple the parchment paper first so it fits corners better, then press it firmly into your square pan. The overhang is your best friend later when you need to lift the whole thing out.
- Melt your chocolate base gently:
- Keep the heat low and stir constantly. The condensed milk can scorch easily and once it burns, there is no saving it. You want it smooth and glossy, never grainy.
- Layer half the chocolate first:
- Pour exactly half of your melted chocolate mixture into the lined pan and spread it evenly. This brief chill time is what keeps your layers distinct instead of swirled together.
- Whip up the peanut butter layer:
- Mix everything until completely smooth. Any pockets of powdered sugar will show up as white specks in your finished fudge, so take your time here.
- Spread peanut butter carefully:
- Drop dollops across the chilled chocolate then gently spread. If the chocolate has softened too much, pop it back in the fridge for five more minutes.
- Finish with the remaining chocolate:
- Pour the rest of your chocolate mixture on top and spread it to the edges. Work gently so you do not pull up the peanut butter layer underneath.
- Let patience win:
- Refrigerate for at least two hours. Rushing this step means soft fudge that squishes when you cut it instead of holding those clean sharp edges.
- Cut like a pro:
- Use a sharp knife and run it under hot water between cuts. This simple trick gives you those beautiful clean squares instead of jagged messy pieces.
 Pin It
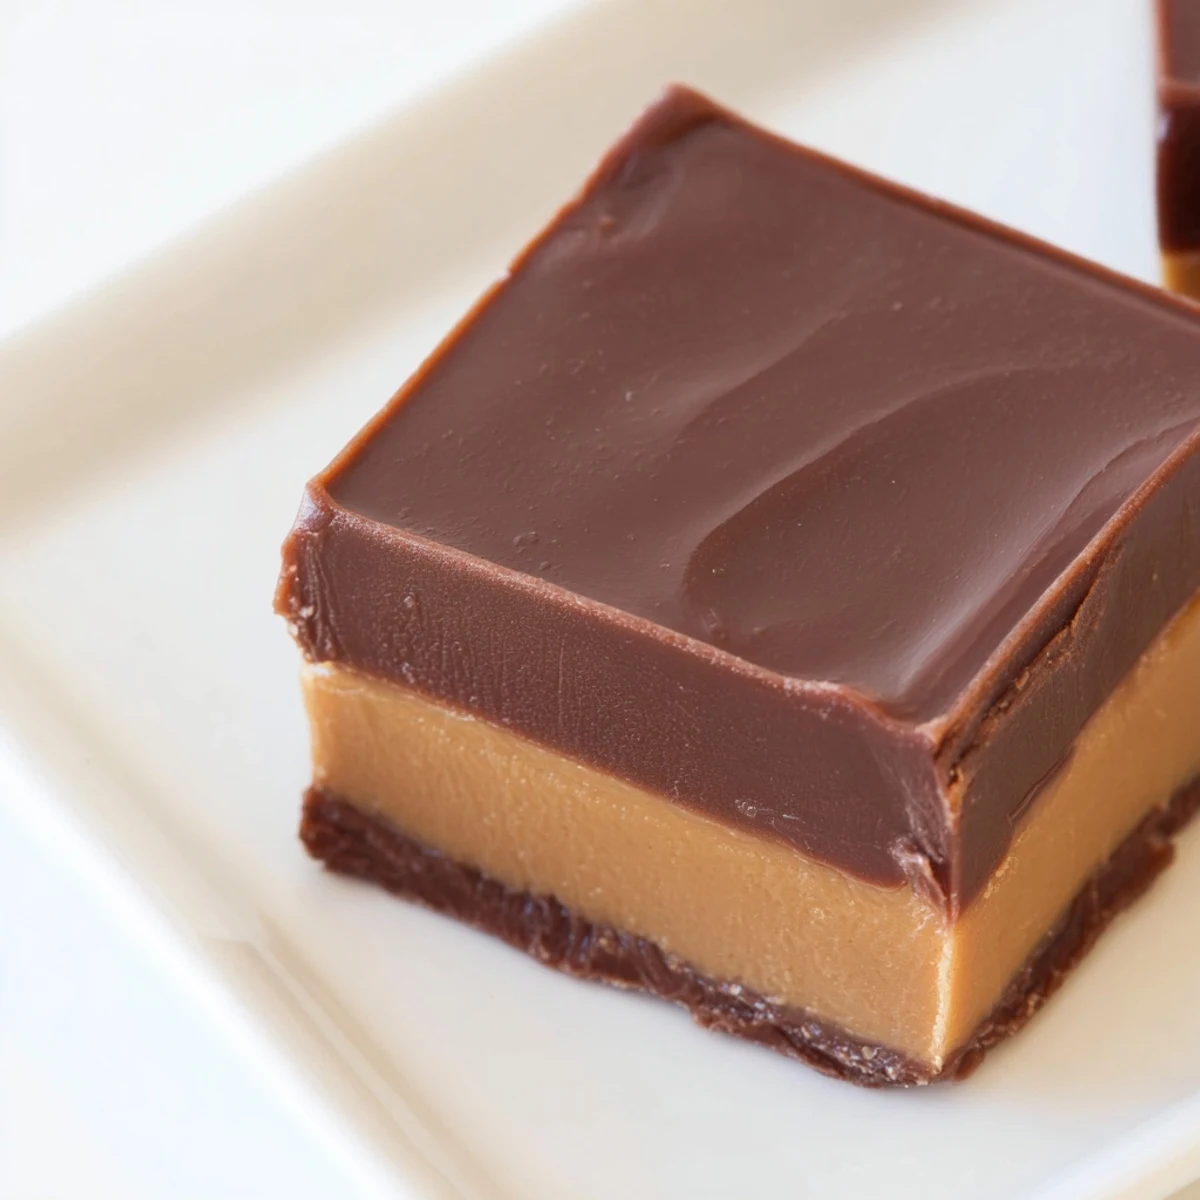
 My mother insisted that good fudge should make your teeth hurt just a little. This recipe became the exception to that rule, with its velvety texture that lets you keep eating piece after piece while wondering where the whole pan went.
Getting The Perfect Texture
The trickiest part is knowing when your chocolate is fully melted. Pull it off the heat while there are still a few visible chips, then keep stirring off the heat. The residual heat will finish the job without risking that burnt sugar taste that ruins everything.
Making It Your Own
Sometimes I sprinkle sea salt over the top before the final chill. The salt hits your tongue first and somehow makes both the chocolate and peanut butter taste more intense. A handful of mini chocolate chips pressed into the surface adds a nice texture contrast too.
Gifting And Storing
Cut the fudge while it is still slightly chilled, then let the pieces come to room temperature before packaging. Cold fudge sweats in gift bags and nobody wants wet chocolate. Layer the squares between parchment paper in an airtight container.
- Wrap individual pieces in wax paper tied with baker's twine for an instant thoughtful gift
- This fudge freezes beautifully for up to three months if you need to get ahead of holiday baking
- Add a crushed peanut butter cup on top of each piece just before serving for an extra indulgent touch
 Pin It
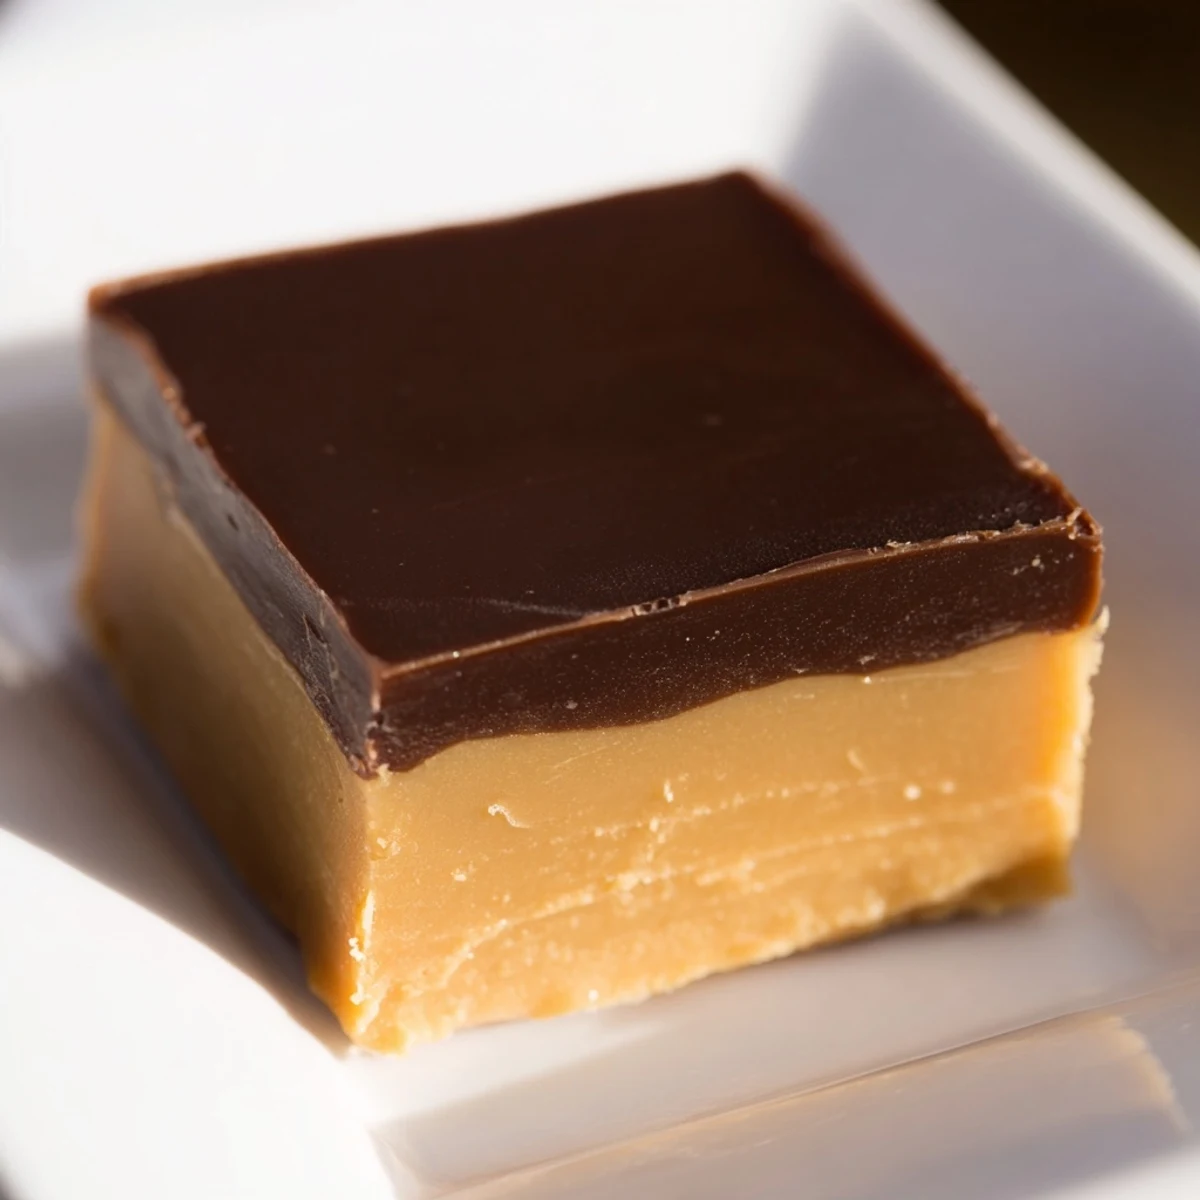
 There is something deeply satisfying about a recipe that turns simple pantry ingredients into something that looks and tastes like it came from a fancy confectionery. This fudge has become my go to for those moments when only something rich and chocolatey will do.
Recipe Questions
- → What is the best way to melt the chocolate smoothly?
-
Gently melt semisweet chocolate chips with sweetened condensed milk and butter over low heat, stirring constantly to achieve a smooth consistency without burning.
- → Can I use crunchy peanut butter instead of creamy?
-
Yes, using crunchy peanut butter will add texture and a slight crunch to the final layers, enhancing the overall bite.
- → How long should the layers chill between steps?
-
Chill the first chocolate layer for 10 to 15 minutes until slightly set before adding the peanut butter mixture, ensuring clean, distinct layers.
- → Is there a way to make this dairy-free?
-
Substitute vegan chocolate chips and sweetened condensed coconut milk to keep the creamy texture while avoiding dairy ingredients.
- → How long can this chocolate peanut butter treat be stored?
-
Store the finished pieces in an airtight container in the refrigerator for up to one week to maintain freshness and texture.
- → Can chopped peanuts be added for extra crunch?
-
Sprinkling chopped peanuts on top before chilling adds a pleasant crunch and complements the creamy layers beautifully.
