 Pin It
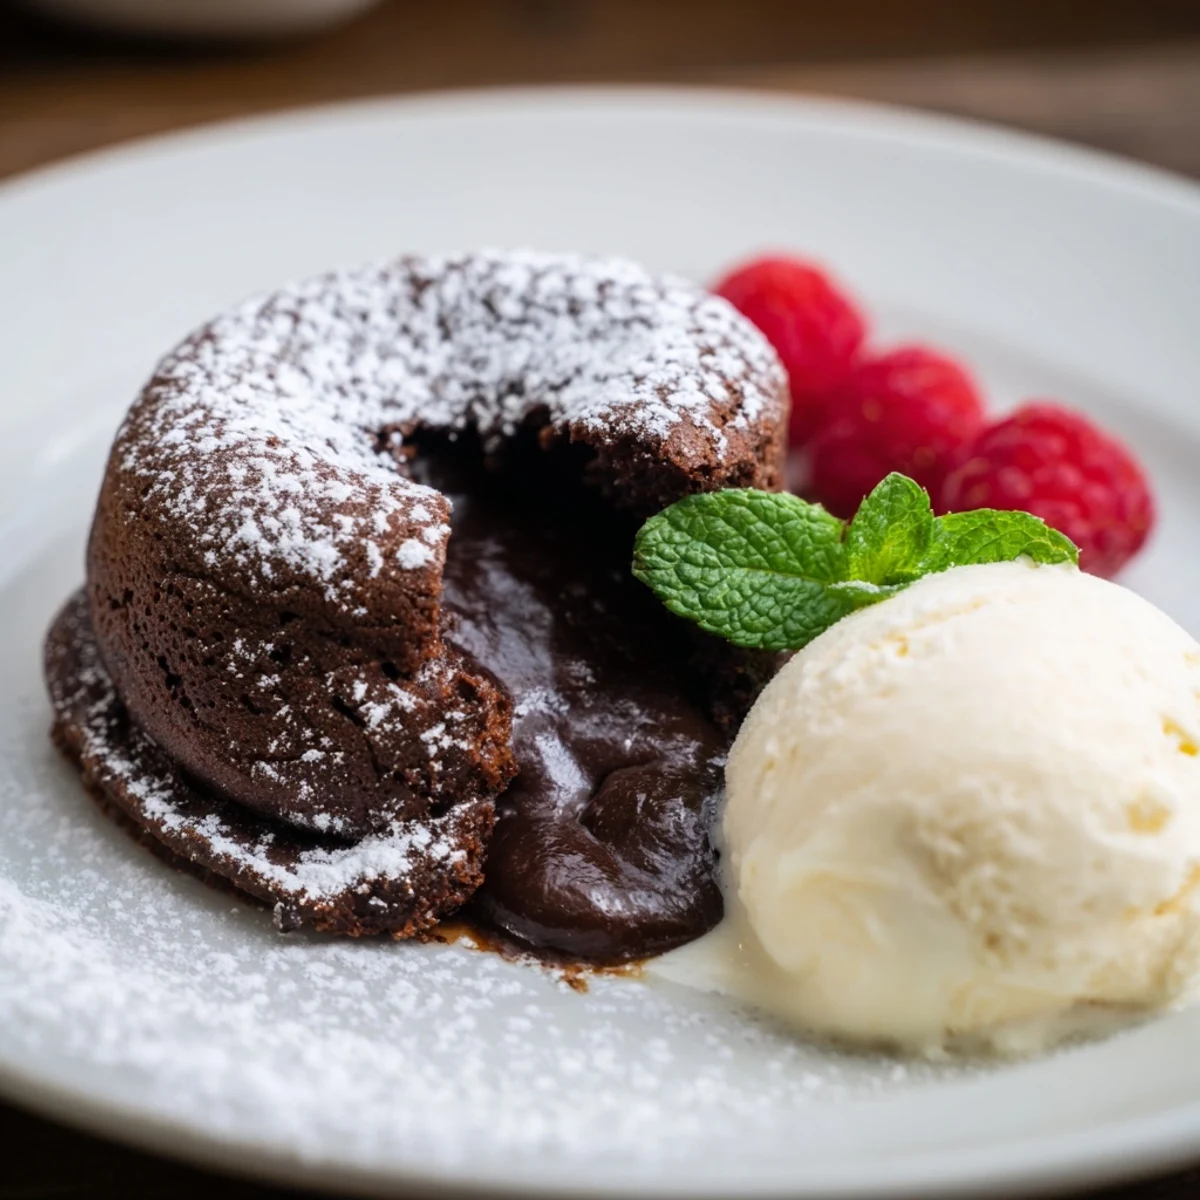
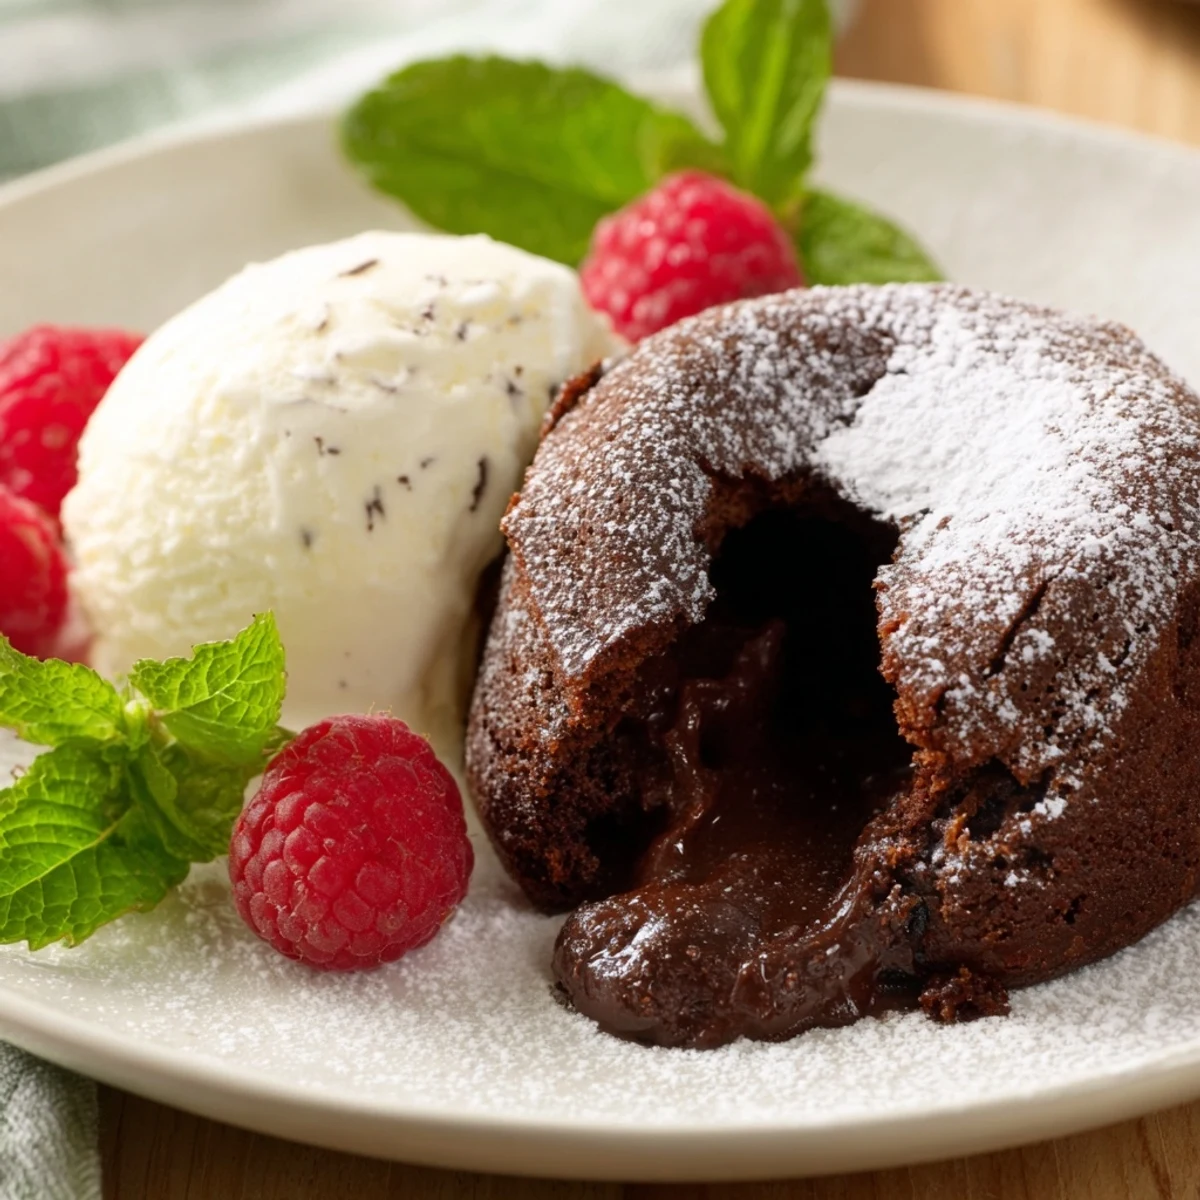
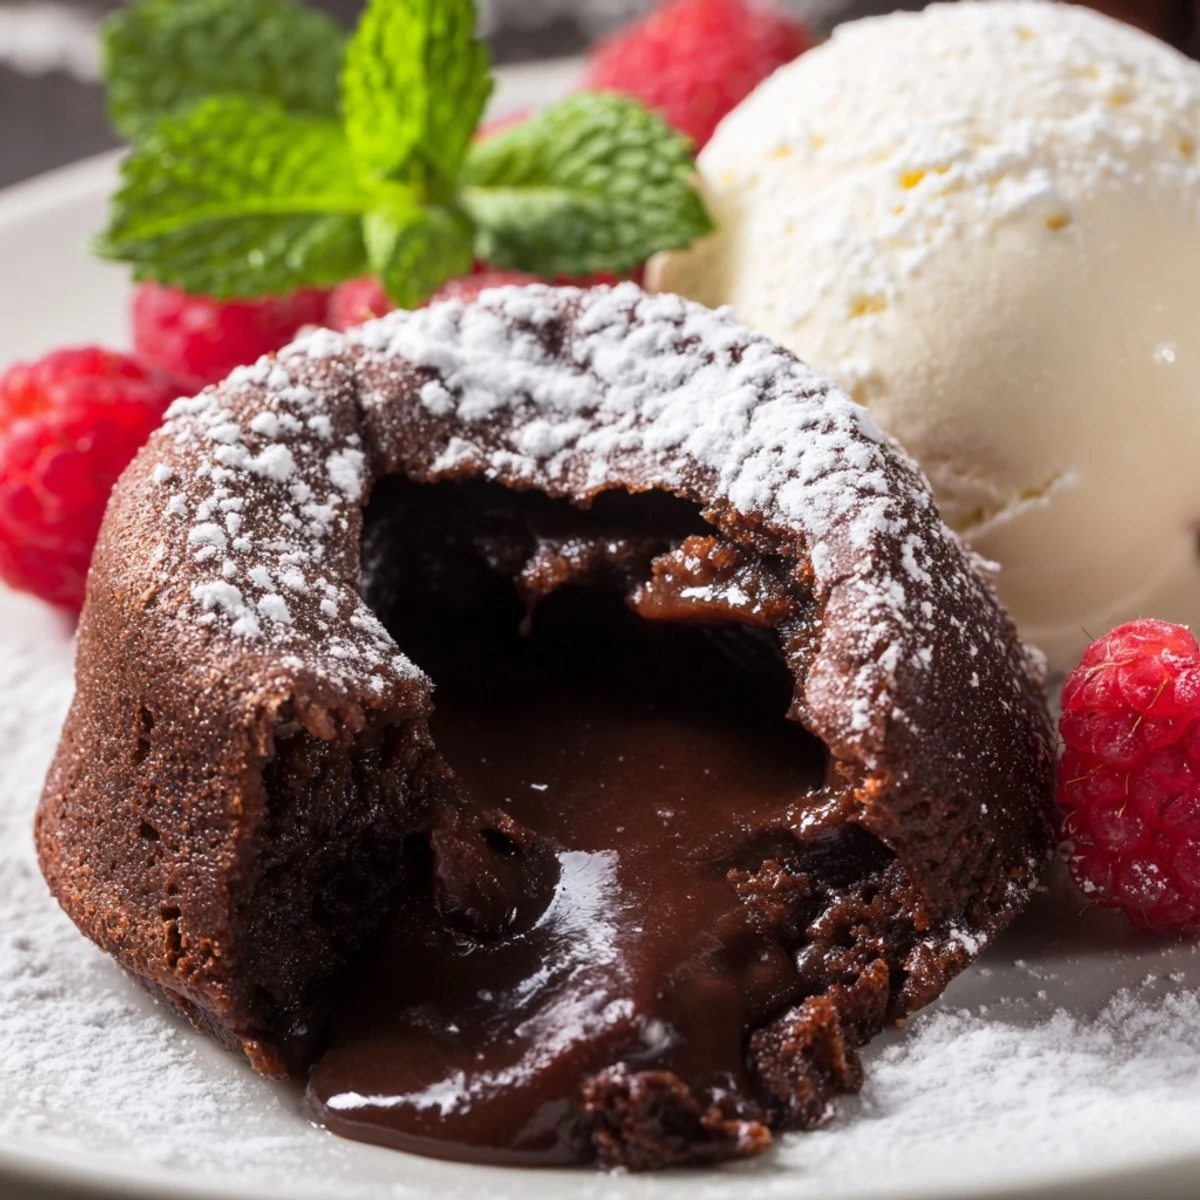
 These individual chocolate lava cakes offer a rich, molten center that melts in your mouth. Paired with creamy vanilla bean ice cream, they create a perfect balance of warm and cold textures. Prepared with bittersweet chocolate, eggs, and a touch of vanilla, these cakes bake quickly and can be garnished with fresh berries or mint. Ideal for a luxurious dessert that combines simple ingredients with an impressive presentation.
There's a particular magic to the moment when you crack into a chocolate lava cake and watch that warm center spill across the plate like edible velvet. I discovered this dessert entirely by accident one winter evening when I was trying to salvage what I thought was an underbaked chocolate cake, and instead of disappointment, I got something far better. The contrast of that molten chocolate heart against the set exterior became an obsession, and now I make these whenever I want to feel like I've pulled off something restaurant-worthy in my own kitchen.
I remember making these for my best friend's birthday dinner, and watching her face when that chocolate poured out was worth every careful minute of preparation. She kept asking if I'd learned to do this professionally, and I loved not telling her how forgiving the recipe actually is. It became our tradition that night—she'd come over and we'd make them together, and somehow just the ritual of it made everything taste better.
Ingredients
- Bittersweet or semisweet chocolate (115 g): This is where quality actually matters because chocolate is the main event here; anything below 55% cocoa will taste waxy, and above 70% might be too intense alongside the sweetness of the sugar.
- Unsalted butter (115 g plus extra for greasing): The butter and chocolate melt together into pure luxury, so don't skip the extra for coating your ramekins or those edges won't release cleanly.
- Eggs and egg yolks (2 whole plus 2 yolks): The yolks are what give you that velvety batter and contribute to that signature molten center; don't be tempted to use all whole eggs.
- Powdered sugar (80 g): This dissolves into the eggs more smoothly than granulated would, and it gives the cake a delicate crumb structure.
- All-purpose flour (30 g): You're using just enough to give structure without making this heavy; too much and you lose the molten magic.
- Fine sea salt (1/4 tsp) and vanilla extract (1/2 tsp): These quiet ingredients sharpen the chocolate flavor and add depth without announcing themselves.
- Vanilla bean ice cream (4 scoops): Cold against hot is the whole reason this dessert works; that temperature contrast is non-negotiable.
Instructions
- Prep your ramekins with care:
- Butter them generously—and I mean really generously, working it into every crevice—then dust with cocoa powder and tap out the excess. This step determines whether your cake slides out beautifully or sticks. A hot oven and buttered ramekins mean a clean release every time.
- Melt chocolate and butter together:
- Use a double boiler over gentle heat, or microwave in short 30-second bursts, stirring between each one to avoid scorching. You want it smooth and glossy, not grainy; cooling it slightly before adding the eggs prevents scrambling them.
- Whisk eggs and sugar into pale ribbons:
- Spend the full two minutes whisking here—this step incorporates air that makes the cake light and gives it structure. You'll know it's ready when the mixture doubles in volume and falls in thick ribbons.
- Fold in chocolate and vanilla:
- Pour the slightly cooled chocolate into the egg mixture and stir until combined, then add the vanilla. Folding is everything here; overmixing knocks out the air you just whisked in.
- Sift and fold in dry ingredients:
- Sift the flour and salt together, then fold gently into the batter using just a few strokes. The moment you don't see white streaks anymore, stop; the batter should look loose and silky, not thick.
- Divide batter and prepare to bake:
- Pour equal amounts into each prepared ramekin, filling them about three-quarters full. Set them on a baking sheet so they bake evenly and you can move them in and out of the oven as one unit.
- Bake until edges are set, centers jiggle:
- At 425°F (220°C), watch them carefully around the 11-minute mark; you want the edges firm but the very center still wobbling slightly when you gently shake the ramekin. This is the sweet spot between cooked and molten.
- Rest, release, and serve immediately:
- One minute of rest lets the edges firm up just enough to release cleanly. Run a thin knife around the edge and invert onto a warm plate, then crown with ice cream while the chocolate is still flowing.
 Pin It
 There's something about dessert that shifts a whole evening, and these little cakes do that every time. They transform a simple dinner into something that feels celebratory, even if it's just a Tuesday night and you're eating alone.
The Science of the Molten Center
The magic happens because you're baking a custard-like batter just long enough to set the outside while the inside stays liquid. The starch from the flour gelatinizes at the edges, creating structure, while the center remains essentially uncooked—it's not a trick, it's chemistry. That wobble in the center when you shake the ramekin is your visual cue that you've hit the exact moment before it solidifies, and learning to trust that feeling over a timer changed everything about how confident I felt making these.
Chocolate Quality and Selection
I used to think expensive chocolate was pretentious until I made these with supermarket brands and quality brands side-by-side. The difference was immediate—cheaper chocolate left a waxy coating on my palate while good chocolate melted into something silky and complex. For this recipe, aim for 55 to 70 percent cocoa content; anything lower tastes dull, anything higher might overwhelm the sweetness unless you love intense chocolate.
Make-Ahead and Flexibility
One of the reasons these cakes became my go-to dinner party dessert is that you can prepare them completely ahead and just bake them when you're ready. The raw batter sits happily in the refrigerator for up to 24 hours, and there's something deeply comforting about knowing your dessert is already made.
- Bake from chilled batter adds one to two minutes to the cooking time, so give yourself a little extra cushion.
- Serve with espresso, a glass of ruby port, or even cold milk—the pairing changes the entire experience.
- These are best eaten immediately while the contrast between warm cake and cold ice cream is most dramatic.
 Pin It
 These cakes remind me why I love cooking—they're technically simple but they create a moment of genuine surprise and delight. Make them when you want to feel like you're doing something special, because you absolutely are.
Recipe Questions
- → How do I achieve the perfect molten center?
-
Bake the cakes until the edges are set but the centers remain slightly soft and jiggly, typically 11–12 minutes.
- → Can I prepare the batter in advance?
-
Yes, you can refrigerate the raw batter; just add 1–2 extra minutes to the baking time when baking from chilled.
- → What type of chocolate is best to use?
-
High-quality bittersweet or semisweet chocolate with 60–70% cocoa provides the richest flavor.
- → How should I serve these cakes?
-
Invert the cakes onto plates after baking and serve warm with a scoop of vanilla bean ice cream and optional fresh berries or mint.
- → Are there any common allergens in this dish?
-
Contains eggs, milk (butter and ice cream), and wheat (flour). Check chocolate and ice cream labels for soy, nuts, or gluten traces.
