 Pin It
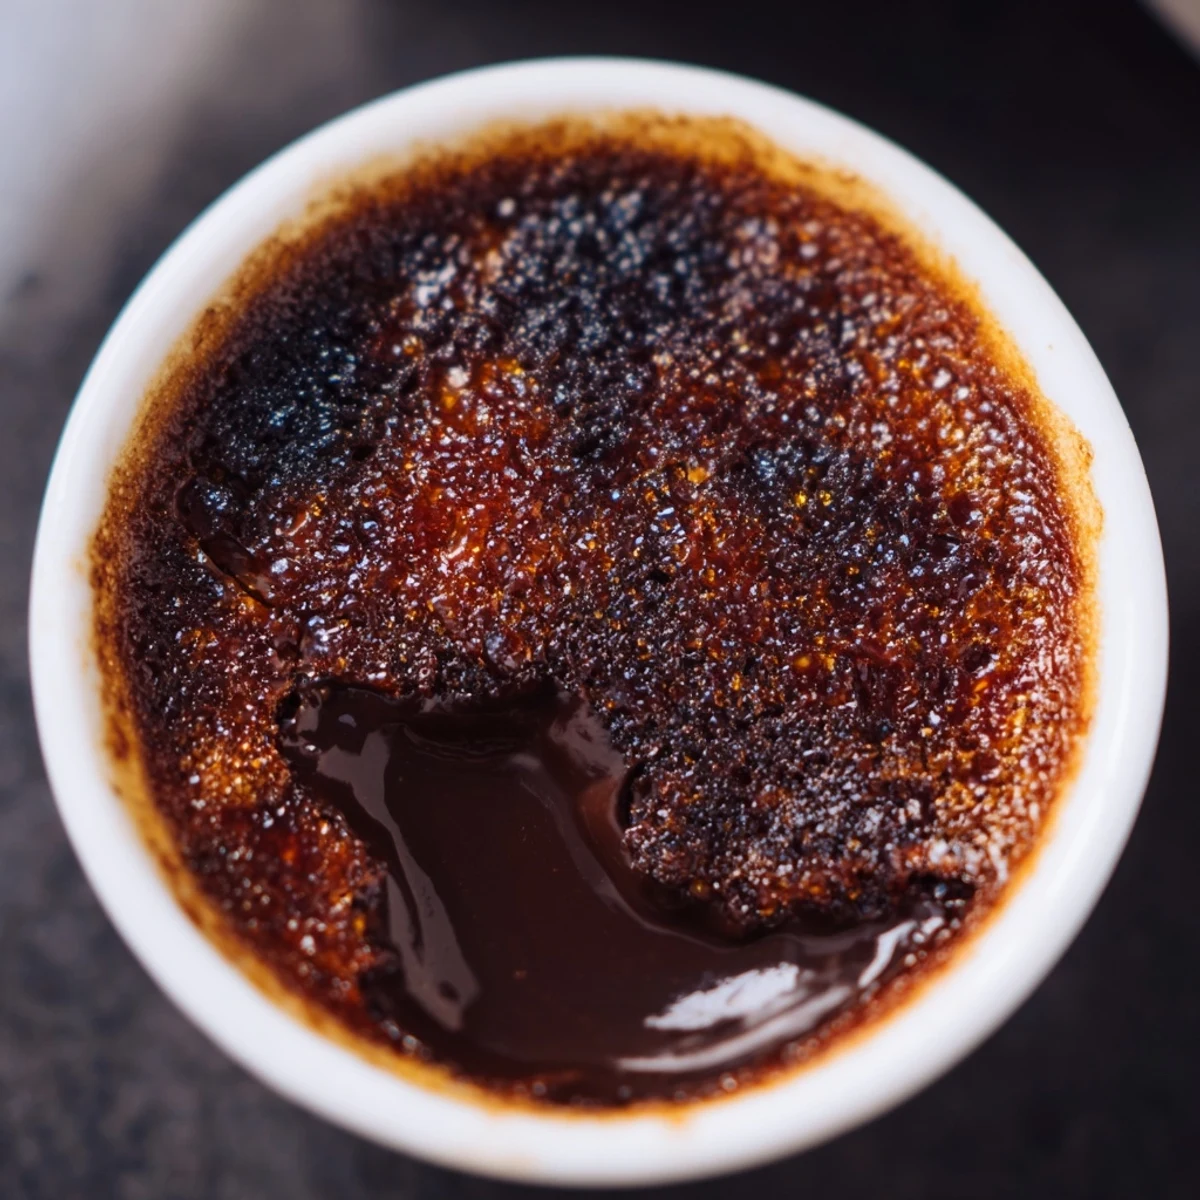
 This indulgent French dessert transforms the classic crème brûlée with velvety bittersweet chocolate custard. The silky base gets its luxurious texture from heavy cream and melted chocolate, while traditional egg yolks create that signature smooth consistency. After baking in a gentle water bath, each serving emerges perfectly set with a slight wobble. The magic happens just before serving when sugar is sprinkled over the surface and caramelized to create that signature crackling crust that contrasts beautifully with the creamy interior.
The kitchen was quiet except for the gentle crackle of sugar turning to amber under my torch. My partner sat at the counter, watching me make these chocolate crème brûlées for our anniversary dinner, and I remember thinking how something so elegant could actually be quite forgiving to make.
I first attempted crème brûlée years ago and overcooked the custard into something resembling sweet scrambled eggs. Since then, I have learned that patience and a good water bath make all the difference between disappointment and the kind of dessert that makes people close their eyes when they take the first bite.
Ingredients
- Heavy cream and whole milk: The combination creates the perfect richness without becoming too heavy
- Bittersweet chocolate: Use something you would eat plain because the flavor really comes through
- Egg yolks: Room temperature yolks incorporate more smoothly into the warm cream
- Granulated sugar: Divide this between the custard and the caramelized topping
- Vanilla extract: Pure vanilla makes a noticeable difference in the final flavor
- Salt: Just a pinch intensifies the chocolate flavor
Instructions
- Prepare your water bath:
- Preheat your oven to 325°F and arrange four ramekins in a deep baking dish before you start mixing anything
- Heat the cream mixture:
- Warm the cream and milk over medium heat until you see tiny bubbles around the edges, then remove from heat
- Melt the chocolate:
- Add your chopped chocolate to the hot cream and let it sit for a minute before whisking until completely smooth and glossy
- Whisk the yolks:
- Beat the egg yolks with the custard sugar, vanilla, and salt until the mixture is pale and slightly thickened
- Combine carefully:
- Slowly pour the warm chocolate cream into the yolks while whisking constantly to prevent the eggs from cooking
- Strain for silkiness:
- Pour the mixture through a fine-mesh sieve to catch any bits of cooked egg or chocolate
- Fill the ramekins:
- Divide the custard evenly among your prepared ramekins
- Create the water bath:
- Pour hot water into the baking dish until it reaches halfway up the sides of the ramekins
- Bake gently:
- Bake for 30 to 35 minutes until the edges are set but the center still wobbles slightly like gelatin
- Chill completely:
- Cool to room temperature, then refrigerate for at least 2 hours or overnight for the best texture
- Caramelize the tops:
- Sprinkle one teaspoon of sugar over each chilled custard and torch until golden and crisp
 Pin It
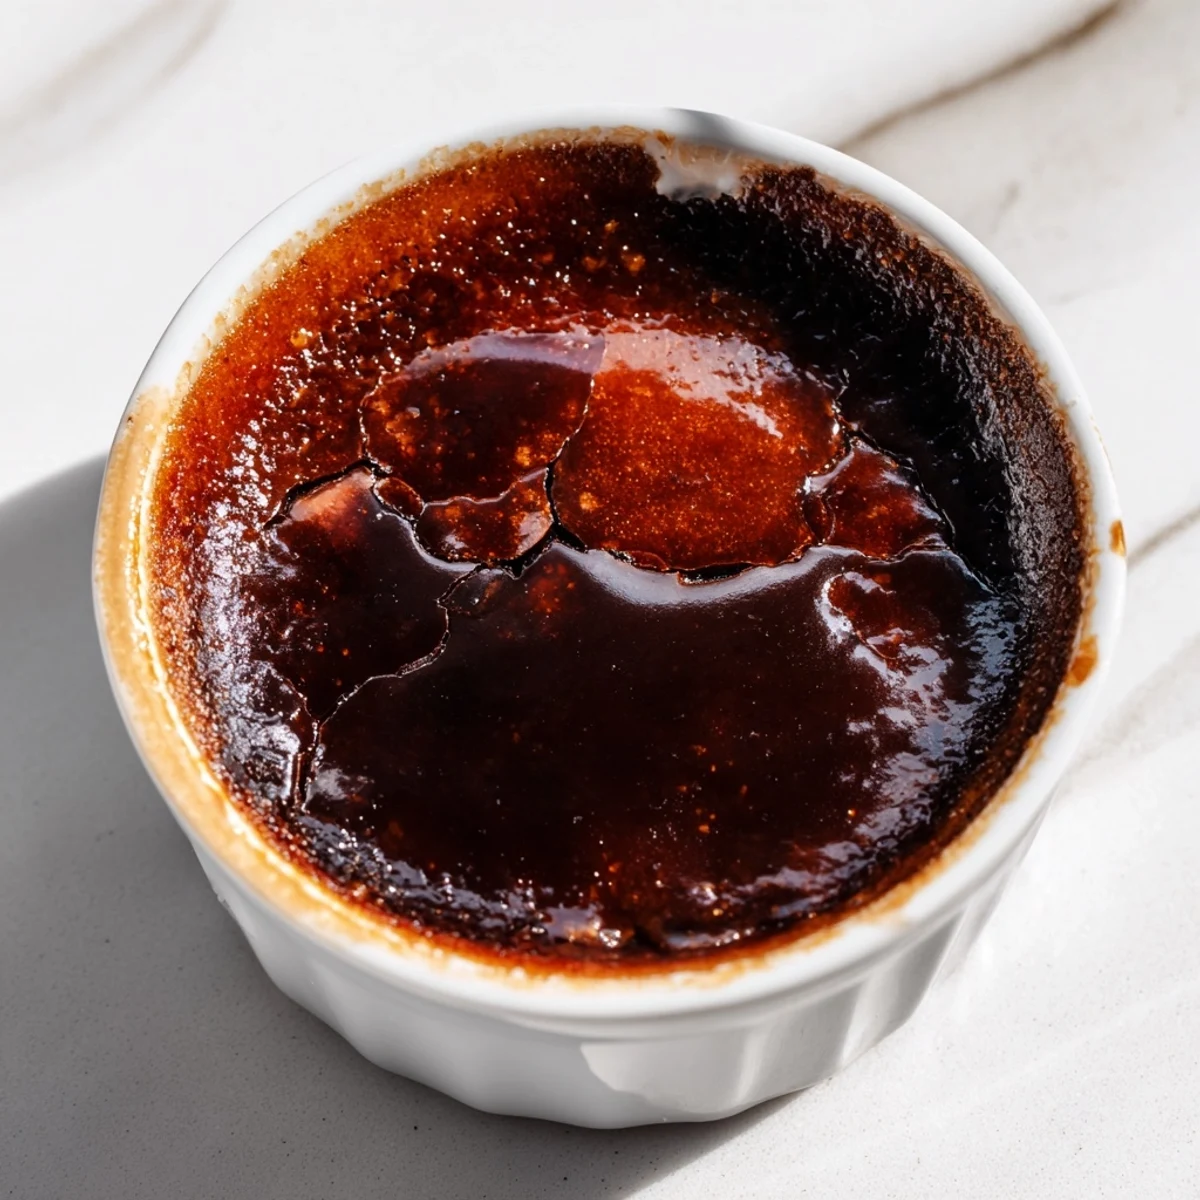
 Last Valentines Day, I made these for my entire family and watched my father-in-law tap his spoon through the caramelized top with such childlike delight. Dessert became the main topic of conversation for the rest of the evening.
Choosing the Right Chocolate
I have found that chocolate between 60 and 70 percent cocoa works best for this recipe. Anything darker can make the custard slightly bitter, while milk chocolate loses its intensity against the rich cream base.
Making Ahead
The custards can be refrigerated for up to two days before caramelizing. Actually, I think they develop a deeper flavor after resting overnight in the refrigerator.
Serving Suggestions
A few fresh raspberries or a scattering of edible rose petals makes these feel even more special for a romantic occasion. The tart fruit cuts beautifully through the rich chocolate.
- Consider serving with a small glass of port or dessert wine
- Have your kitchen torch ready before you bring them to the table
- The crackled top is best within 30 minutes of torching
 Pin It
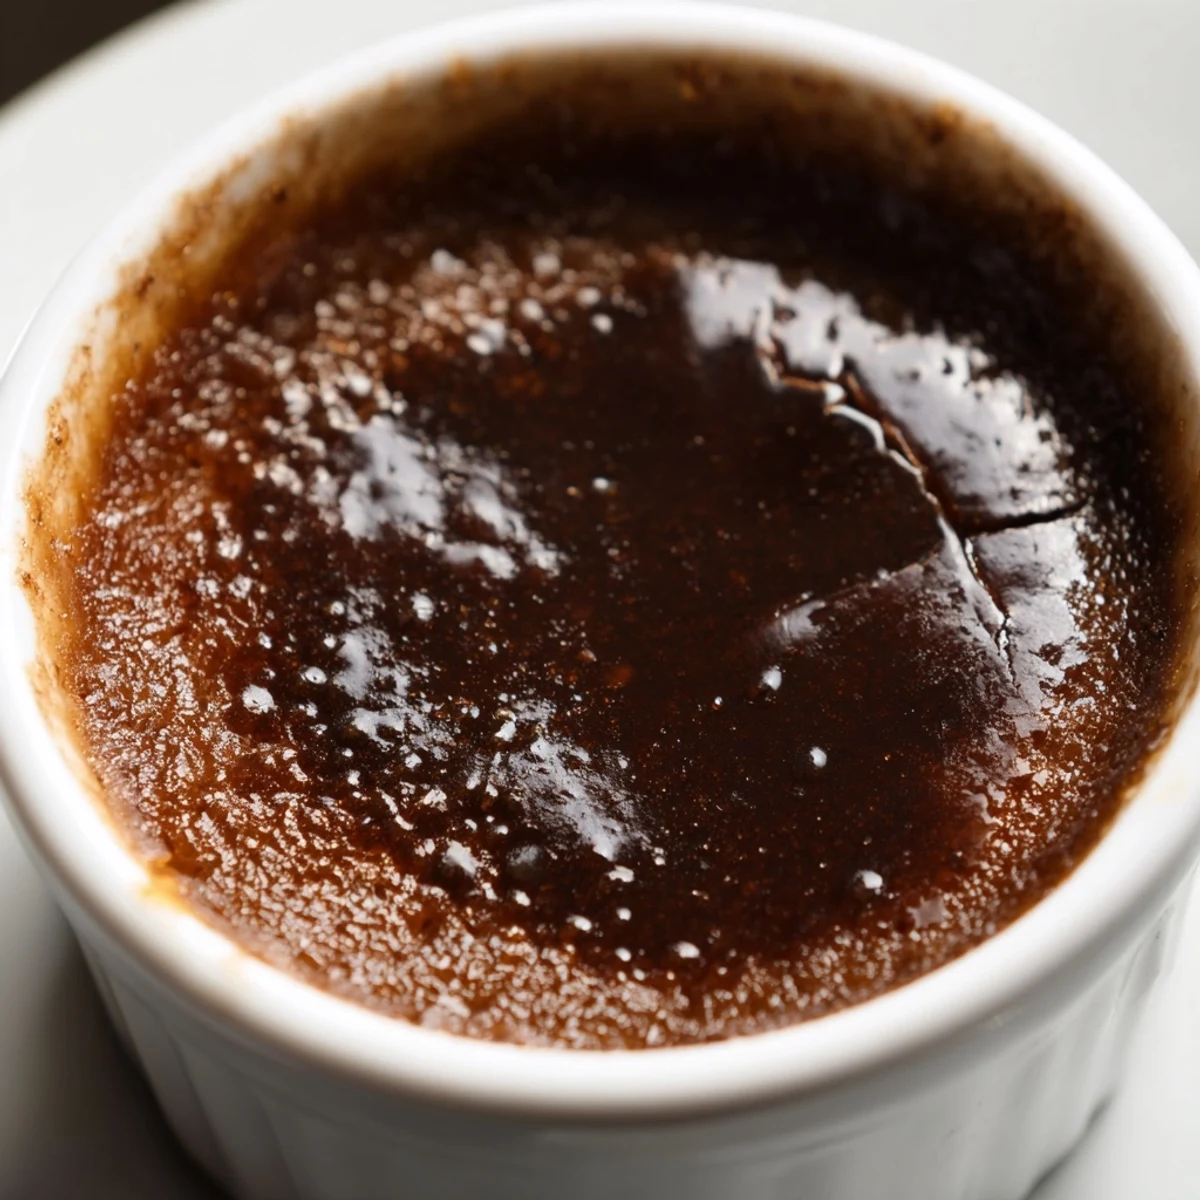
 There is something deeply satisfying about making a dessert that feels so luxurious yet comes together with such straightforward technique. Enjoy every spoonful.
Recipe Questions
- → What makes chocolate crème brûlée different from the classic version?
-
Chocolate crème brûlée incorporates melted bittersweet chocolate into the custard base, creating a richer, deeper flavor profile. The chocolate adds intensity while maintaining the signature silky texture and crackly caramelized sugar topping that makes this French dessert so beloved.
- → Can I prepare this dessert in advance?
-
Absolutely. The custards need at least 2 hours to chill thoroughly, making them perfect for preparing ahead. You can refrigerate them for up to 2 days before serving. Just caramelize the sugar topping right before serving for the best texture and that satisfying crackle.
- → What type of chocolate works best?
-
High-quality bittersweet chocolate with 60-70% cocoa content provides the ideal balance. The intense chocolate flavor pairs beautifully with the creamy custard base. You can substitute dark chocolate for a more intense taste or milk chocolate for a sweeter variation.
- → Do I need a kitchen torch for the sugar topping?
-
While a kitchen torch gives you the most control and best results, you can use your oven's broiler instead. Place the chilled custards under the preheated broiler for 1-2 minutes, watching closely to prevent burning. The torch method creates a more evenly caramelized crust.
- → How do I know when the custards are done baking?
-
The custards are ready when they're just set around the edges but still slightly wobbly in the center, similar to gelatin. This gentle wobble ensures they'll be perfectly creamy after chilling. Overbaking will cause them to become rubbery and lose their silky texture.
- → Why is a water bath necessary?
-
The water bath, or bain-marie, provides gentle, indirect heat that prevents the eggs from scrambling and ensures even cooking. This method creates that signature velvety smooth texture throughout each custard while preventing the edges from overcooking before the center is set.
