 Pin It
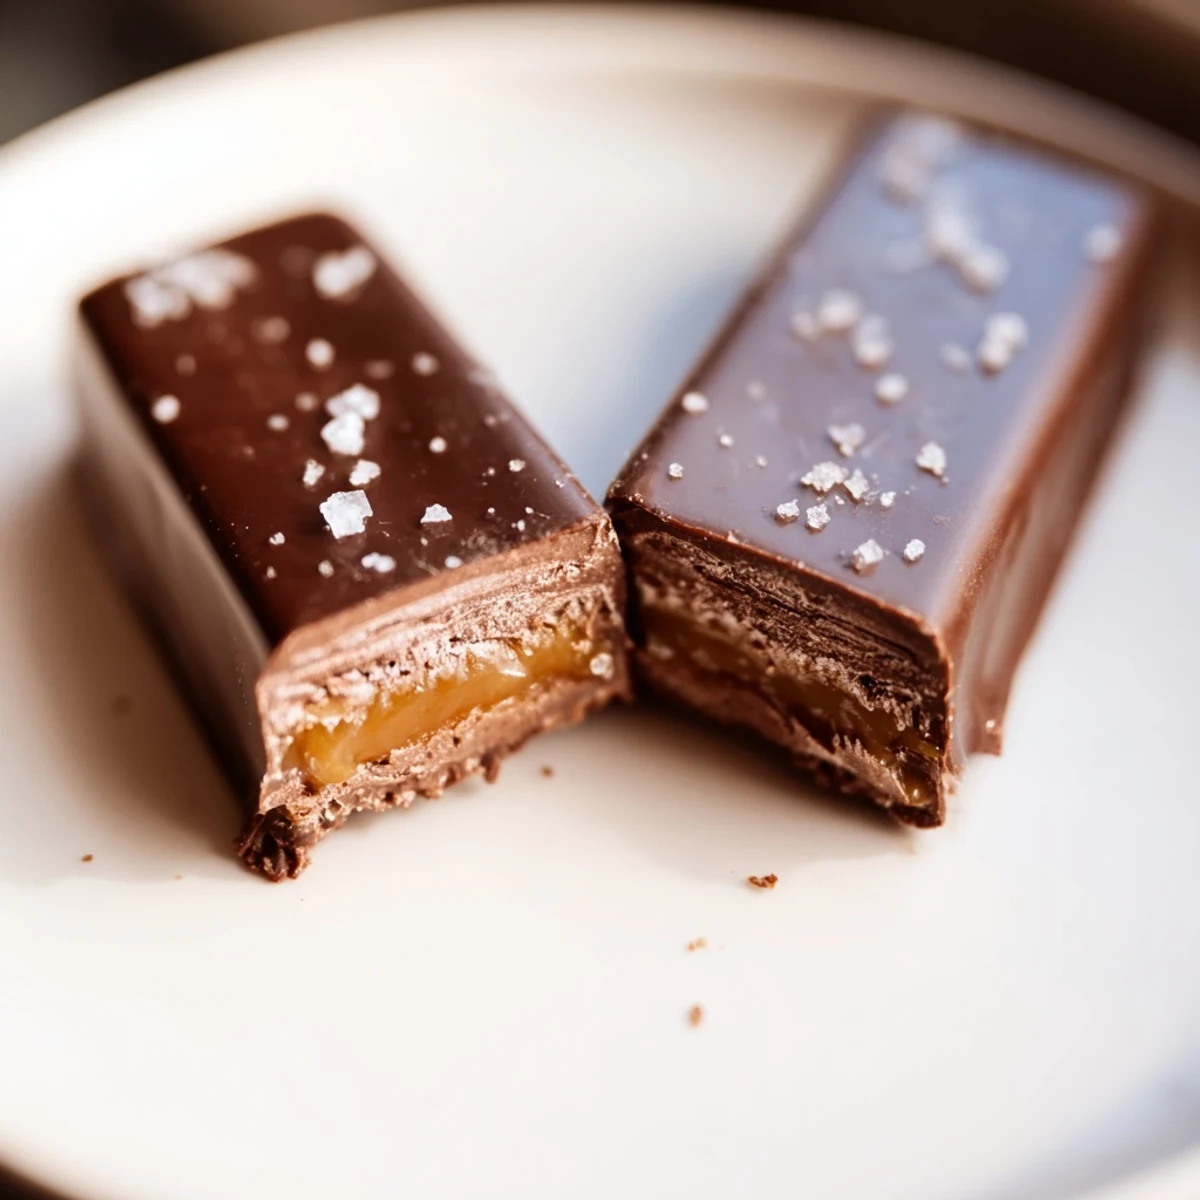
 Experience a decadent treat with layers of semi-sweet chocolate and buttery caramel, accented by a sprinkle of sea salt. The process involves melting chocolate and butter to create a smooth base, followed by a golden caramel layer infused with vanilla and cream. Chilling between layers ensures a firm, rich texture perfect for cutting into bars. Optional toppings like flaky salt or nuts add extra texture. Store chilled to maintain freshness and enjoy a balanced sweetness and saltiness.
I discovered these chocolate caramel bars by accident on a rainy Tuesday when my friend texted that she was craving something rich and buttery. We stood in my kitchen debating whether homemade candy could ever match the store-bought versions, and I decided right then to prove her wrong. Three layers, a touch of sea salt, and thirty minutes of patience later, she was convinced—and honestly, so was I.
My sister brought these to a potluck last month, and I watched people's faces light up when they bit through the chocolate into that caramel center. Someone asked if I'd ordered them from a bakery, and I couldn't help grinning when my sister said she'd made them. That moment—the surprise and pride mixed together—is exactly why I keep coming back to this recipe.
Ingredients
- Semi-sweet or dark chocolate, 300 g chopped: The base and top layers give you control over how intense the chocolate flavor is, and chopping it yourself means faster, more even melting.
- Unsalted butter, 92 g total: Keeps the chocolate layers silky and helps the caramel emulsify, so use good quality butter if you can.
- Granulated sugar, 200 g: This becomes your caramel, and the key is watching the color turn golden-brown without burning.
- Heavy cream, 120 ml: This is what makes the caramel luxurious instead of hard, so don't skip it or substitute.
- Fine sea salt, 1/2 tsp: Balances the sweetness and makes every bite taste more sophisticated than it should.
- Vanilla extract, 1 tsp: A small addition that rounds out the flavor in a way people notice but can't quite name.
- Flaky sea salt, for finishing: Optional but worth it—the larger crystals add texture and a salty pop that contrasts beautifully.
Instructions
- Prep your pan:
- Line a 20 x 20 cm baking pan with parchment paper, letting it hang over the edges so you can lift the whole thing out later without breaking anything. This step saves you from scraping dried chocolate off the pan.
- Make the base chocolate layer:
- Melt 180 g chocolate with 1 tbsp butter using a double boiler or microwave in 30-second bursts, stirring between each one until completely smooth. Pour it into the pan, spread it even, and refrigerate for 20 minutes—you want it set but not brittle.
- Create the caramel:
- In a medium saucepan over medium heat, add the sugar and stir constantly as it melts into a golden-brown liquid, about 5-7 minutes. Watch the color carefully; it can go from perfect to burnt in seconds.
- Build the caramel layer:
- Add cubed butter and stir until combined, then slowly pour in the heavy cream while stirring—it will bubble and seem dramatic, but this is normal. Add salt and vanilla, simmer for 2-3 minutes until smooth and slightly thickened, then let it cool for 10 minutes before pouring over the chilled chocolate.
- Add the caramel:
- Pour the cooled caramel evenly over the chocolate base and refrigerate for 30 minutes until it's set enough to hold the top layer.
- Seal with chocolate:
- Melt the remaining 120 g chocolate with 1 tbsp butter and spread it evenly over the caramel, letting it cover everything in a thin, glossy coat. Sprinkle flaky sea salt on top if you want that salty-sweet contrast.
- Final chill and cut:
- Refrigerate for at least 30 minutes until everything is firm, then use the parchment overhang to lift it out and cut into 16 bars with a sharp knife. A hot, wet knife makes cleaner cuts than a cold one.
 Pin It
 I made these for my neighbor after she'd been under the weather, and she cried—actually cried—when she opened the little box. She said it was the thoughtfulness, but I think it was also the taste of caramel that reminded her why homemade things matter. That's when I realized these bars are more than dessert; they're a small way of showing someone you care.
Choosing Your Chocolate
The chocolate you choose sets the entire tone for these bars. I usually go with semi-sweet because it's balanced and familiar, but dark chocolate creates something almost sophisticated—less sweet, more intense, perfect if you're serving them to people who think grocery store candy is too sugary. Milk chocolate works too if you want something sweeter, though the caramel can start to feel heavy at that point. The best approach is to pick what you genuinely enjoy eating straight from the wrapper, because that's what you're making here.
The Caramel Formula
The magic of this caramel isn't complicated, but it does require respect. The sugar melts, the butter emulsifies it, and the cream transforms it from hard candy into something soft and spoonable. I've tried making caramel a dozen ways, and this method works because each step has a clear purpose—no guessing, no hoping. Once you understand why each ingredient goes in when it does, you'll never doubt the process again.
Storage and Sharing
These bars stay fresh in an airtight container in the refrigerator for up to a week, though they rarely last that long in my house. They're sturdy enough to wrap in parchment and give as gifts, and they travel well if you're bringing them to someone. Cut them into sixteen pieces, or if you're feeling generous, make them smaller and offer more to more people.
- For extra texture and a fun twist, layer chopped toasted nuts or crushed shortbread cookies between the caramel and top chocolate.
- A knife dipped in hot water and wiped clean between cuts gives you sharp, clean edges instead of messy breaks.
- If the bars are hard to cut straight from the fridge, let them sit on the counter for five minutes first.
 Pin It
 Every time I make these, I'm reminded that the simplest recipes often taste the most like care. There's something about three layers, done right, that says more than complicated instructions ever could.
Recipe Questions
- → What type of chocolate works best for these bars?
-
Semi-sweet or dark chocolate provides a rich flavor, while milk chocolate adds sweetness. Choose based on your preferred intensity.
- → How can I get a smooth caramel layer?
-
Stir the sugar continuously over medium heat until golden brown, then slowly add butter and cream while stirring to ensure a creamy, even caramel.
- → What’s the purpose of chilling between layers?
-
Chilling firms each layer, preventing mixing and ensuring clean, distinct layers once cut.
- → Can I add extra texture to the bars?
-
Yes, incorporate chopped toasted nuts or cookie pieces between the caramel and top chocolate layers for added crunch.
- → How should these bars be stored to maintain freshness?
-
Keep the bars in an airtight container in the refrigerator for up to one week to retain their texture and flavor.
