 Pin It
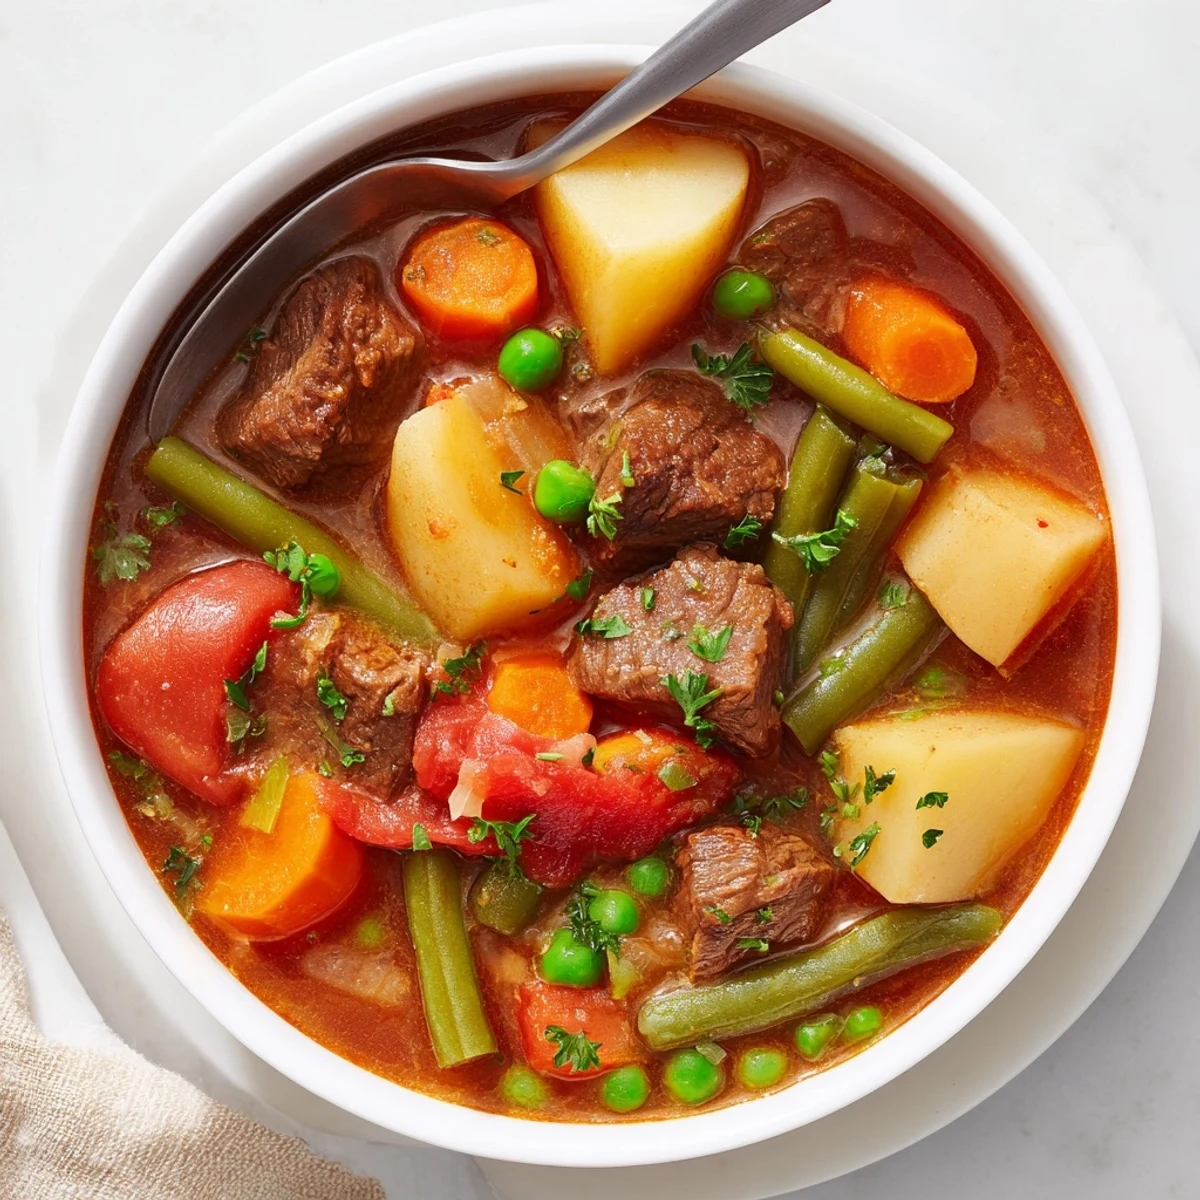
 This braised beef and vegetable soup begins by browning chuck to build depth, then softening onion, carrots and celery before simmering with tomatoes, beef broth and herbs until the meat is very tender. Potatoes and green beans cook until just soft, peas finish the pot, and parsley brightens the bowl. Total time yields a rich, well-rounded broth—serve with crusty bread.
The aroma of sizzling onions mingling with beef always transports me to those chilly evenings when I needed something robust yet soothing. Braised Vegetable Beef Soup became my go-to comfort after a long hike, when the thought of a bubbling pot warming up the kitchen felt especially right. It’s the kind of recipe that invites you to stand around the stove, tasting the broth with a wooden spoon as vegetables soften and flavors meld. There’s something deeply satisfying about watching a hearty meal come together from honest ingredients, one simmer at a time.
I once made this soup for friends after we’d spent the whole day planting our new garden—mud on our boots and hands red from pulling carrots. Even with messy hair and rumbling stomachs, we all stopped for a moment just to soak in the scent coming from the pot. Someone joked that soup like this should be bottled as cologne. It’s become a tradition every early spring, now, right after the last frost fades.
Ingredients
- Beef chuck: Choose beef chuck for its marbling—after slow cooking, it becomes deliciously tender instead of dry. I always trim large bits of fat but leave enough for flavor.
- Olive oil: Use enough oil to get a good sear on the beef; the fond left over is the start of a flavorful base.
- Onion: A large onion adds a foundational sweetness when sautéed until just translucent.
- Carrots and celery: These vegetables contribute both texture and a classic, aromatic background that supports the broth beautifully.
- Garlic: I add garlic after the other veggies so it doesn’t burn—just a quick fragrant turn to unlock its flavor.
- Potatoes: Dice evenly for even cooking; Yukon Golds or Russets both work well and help thicken the broth a bit.
- Green beans: Fresh or frozen both work; I add these later so they stay bright and tender.
- Diced tomatoes with juice: The juice is key for balancing richness and brightening up the broth.
- Frozen peas: Add right at the end for a pop of freshness and color without mushiness.
- Beef broth: Use low-sodium if possible—it lets you control the seasoning and truly taste the beef.
- Tomato paste: Stir into hot vegetables to deepen and concentrate flavors.
- Worcestershire sauce: A dash provides depth—think umami, not just saltiness.
- Bay leaves, thyme, oregano: These dried herbs infuse slowly, creating a layered, savory profile.
- Salt and black pepper: Season as you go and always taste before serving.
- Fresh parsley: Sprinkle on just before serving for a clean, herbal brightness.
Instructions
- Prep and season the beef:
- Pat the beef cubes dry on paper towels, then sprinkle them all over with salt and pepper for a good base layer of flavor.
- Sear the beef:
- Heat the olive oil in a Dutch oven over medium-high until shimmering, then add beef in batches, browning well on all sides; you’ll hear that satisfying sizzle—don’t crowd the pieces.
- Sauté vegetables:
- Tip in the onions, carrots, and celery and stir for about 5 minutes until the edges look golden and aromatic fills the air. Toss in the garlic for a minute—just until the kitchen smells irresistible.
- Build the broth:
- Add the beef back in, then stir in tomato paste so it coats the ingredients and deepens color. Pour in the beef broth, tomatoes (with juice), Worcestershire sauce, and all the herbs; bring to a rolling boil, then reduce heat to low, cover, and allow it to gently simmer for about 1.5 hours.
- Add potatoes and green beans:
- Uncover, tip in potatoes and green beans, and simmer, covered, for 25 minutes—test a chunk for tenderness by poking it with a fork.
- Finish with peas and final seasoning:
- Drop in the peas just at the end, bubbling for 5 minutes more until bright green; fish out the bay leaves and adjust salt and pepper to taste.
- Serve and garnish:
- Ladle steaming soup into bowls and shower with fresh parsley, inhaling the comfort before you dig in.
 Pin It
 The night we first shared this soup with my father-in-law, I’ll never forget his quiet nod and second helping—he’s not one for words, but that clean bowl said it all. It felt less like serving dinner and more like inviting everyone to linger a little longer around the table, sharing stories over hearty bowls.
The Joy of Adjusting as You Go
Every batch of soup is a little different depending on what’s in season or in the fridge. Sometimes I swap in turnips or handfuls of chopped spinach, and it always feels like discovering the recipe anew. Trust your nose and tastebuds above all—the best soups are personal.
Making It Work for Busy Days
If I’m in a rush, I’ve chopped all the vegetables in the morning, letting them wait in cold water in the fridge, so assembling everything at night is pure ease. And the soup tastes even better the next day, so leftovers are a rare treat you’ll want to plan for. Double the recipe and freeze a batch for future you—it reheats perfectly.
Simple Garnishes and Serving Ideas
I love to finish this soup with a drizzle of olive oil, a shake of chili flakes, or a big hunk of buttered, crusty bread, depending on the evening mood. The soup can carry almost any garnish—you can even stir in a dash of vinegar for brightness at the very end.
- If you don’t have parsley, chives or scallion tops are also great for a fresh finish.
- Use a shallow bowl so the aromas don’t escape too quickly—half the joy is inhaling it before the first bite.
- Keep the bay leaves in until the very end for max flavor, but always remember to fish them out!
 Pin It
 Braising together on a cool day turns ordinary ingredients into something you’ll look forward to sharing. May your kitchen bring you warmth, comfort, and just the right amount of mess.
Recipe Questions
- → What cut of beef works best?
-
Beef chuck is ideal for long braises because its marbling breaks down into rich gelatin, creating tender meat and a flavorful broth. Short ribs or brisket can also be used with similar results.
- → How can I shorten the cooking time?
-
Use a pressure cooker to reduce simmering time significantly—about 35–45 minutes at pressure for chuck. Alternatively, cut beef into smaller pieces and simmer until tender, though flavor deepening is better with longer, slower cooking.
- → Can I make this in a slow cooker?
-
Yes. Brown the beef first for best flavor, then transfer to a slow cooker with the aromatics, liquids and tomatoes. Cook on low for 6–8 hours or high for 3–4 hours, adding quicker-cooking vegetables like potatoes and green beans in the last hour.
- → How do I keep vegetables from overcooking?
-
Add sturdier vegetables such as potatoes and green beans partway through the simmer so they finish tender but not mushy. Peas and delicate greens should be stirred in at the end and heated through briefly.
- → What are good flavor variations?
-
Swap thyme and oregano for rosemary and bay, add a splash of red wine when deglazing, or stir in a spoonful of mustard or balsamic for brightness. Root vegetables like turnips or parsnips add earthiness, while corn brings sweetness.
- → How should leftovers be stored and reheated?
-
Cool quickly and refrigerate in an airtight container for up to 3–4 days or freeze for 2–3 months. Reheat gently on the stovetop over low heat, adding a splash of broth or water if the broth has thickened.
